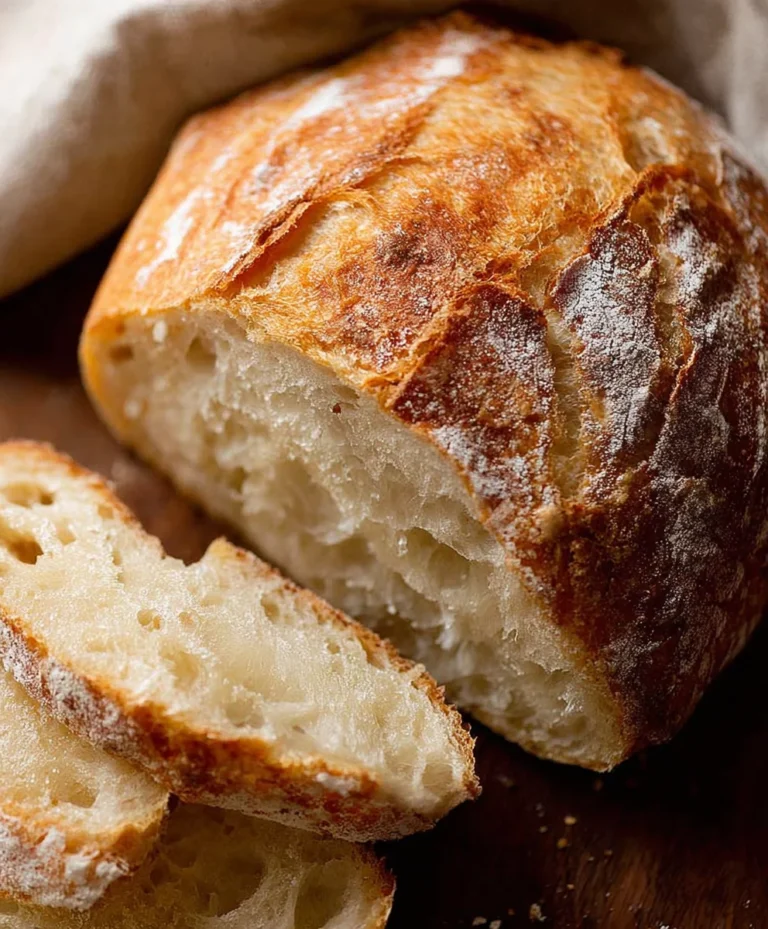
Easy Homemade Bread Recipe – Delicious & Simple
Homemade bread is more than just a food item; it’s an experience, a comforting aroma that fills your kitchen and a delightful texture that simply can’t be replicated by store-bought loaves. There’s an undeniable magic in transforming simple ingredients like flour, water, yeast, and salt into a golden-brown masterpiece with a crusty exterior and a soft, airy interior. People adore homemade bread for its incredible freshness, its superior flavor profile, and the sheer satisfaction of creating something so fundamental from scratch. This particular recipe elevates the humble loaf with a touch of wholesome goodness, making it a go-to for weeknight dinners, hearty sandwiches, or simply as a delightful accompaniment to your favorite soup. Get ready to discover how easy and rewarding it is to bake your very own perfect batch of homemade bread.
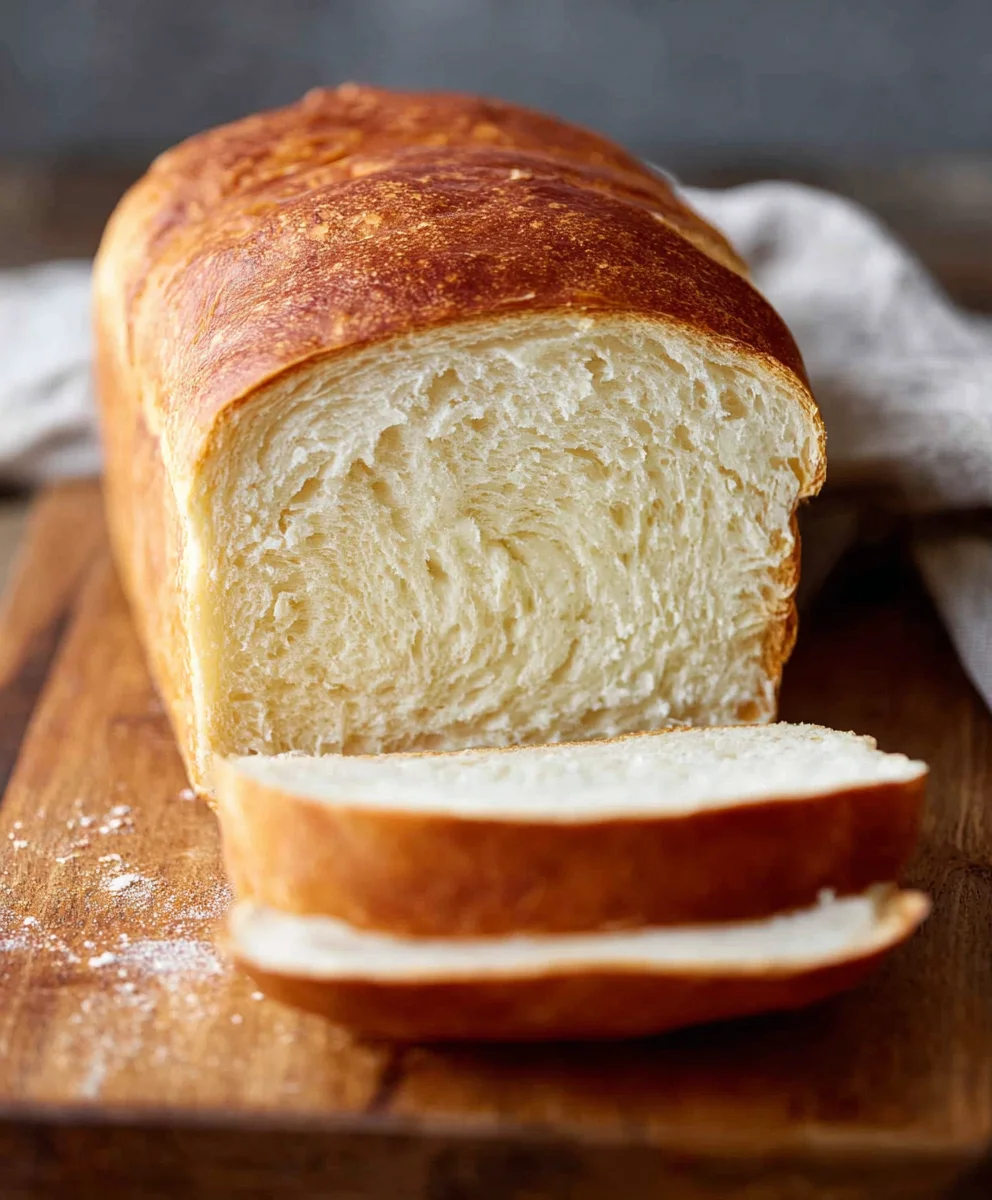
Ingredients:
- 2 cups warm water (105-115 degrees Fahrenheit / 40-46 degrees Celsius)
- 1 Tablespoon active dry yeast
- 1/4 cup honey (or granulated sugar if honey is unavailable)
- 2 teaspoons salt
- 2 Tablespoons vegetable oil (canola or vegetable oil work well)
- 4 to 5 1/2 cups all-purpose flour or bread flour (bread flour will yield a chewier loaf)
Preparing the Dough
Step 1: Activating the Yeast
The first step to creating beautiful, airy homemade bread is to wake up your yeast. In a large mixing bowl, combine the 2 cups of warm water with the 1 Tablespoon of active dry yeast. It’s crucial that your water is the right temperature – too hot and you’ll kill the yeast, too cold and it won’t activate properly. Aim for that sweet spot between 105 and 115 degrees Fahrenheit, which feels pleasantly warm to the touch but not scalding. Stir in the 1/4 cup of honey (or sugar). The honey acts as food for the yeast, giving it something to feed on as it begin extracts to multiply. Let this mixture sit undisturbed for about 5 to 10 minutes. You should see it become foamy and bubbly on the surface. This visual cue tells you the yeast is alive and ready to work its magic. If it doesn’t foam, your yeast might be old or the water temperature was off, and you’ll need to start again with fresh yeast.
Step 2: Building the Dough Base
Once your yeast mixture is frothy and active, it’s time to add the other wet ingredients and the salt. Add the 2 Tablespoons of vegetable oil and the 2 teaspoons of salt to the yeast mixture. Give it a good stir to combine everything evenly. The oil will contribute to a softer crum extractb and prevent the dough from sticking too much. The salt is important not only for flavor but also for controlling the yeast’s activity and strengthening the gluten structure of the bread.
Step 3: Incorporating the Flour
Now comes the flour. Start by adding 4 cups of your chosen flour (all-purpose or bread flour) to the wet ingredients. Use a sturdy spoon or a dough whisk to mix everything together until a shaggy gin extractgh begins to form. At this point, the dough will likely be quite sticky and wet. This is perfectly normal. You’re aiming for a consistency where the ingredients are just coming together. Don’t be tempted to add all the flour at once, as you might end up with a dry, tough loaf.
Kneading and First Rise
Step 4: Kneading the Dough
This is where the gluten development happens, which gives our homemade bread its structure. Turn the shaggy dough out onto a lightly flogin extractd surface. Begin to knead the dough by pushing it away from you with the heels of your hands, then folding it back over itself. Rotate the dough a quarter turn and repeat. Continue this process for about 8 to 10 minutes. As you knead, gradually add more flour, a tablespoon at a time, only if the dough is too sticky to handle. You’re looking for a smooth, elastic dough that springs back slowly when you gently poke it. It should be slightly tacky to the touch but not sticking aggressively to your hands or the work surface. If you have a stand mixer, you can use the dough hook attachment and knead on medium-low speed for about 5-7 minutes until the dough is smooth and elastic.
Step 5: The First Rise (Bulk Fermentation)
Once your dough is nicely kneaded and smooth, it’s time for its first rise, also known as bulk fermentation. Lightly grease a clean large bowl with a little of your oil. Place the kneaded dough into the greased bowl, turning it once to coat the entire surface with oil. This prevents a dry skin from forming. Cover the bowl tightly with plastic wrap or a clean, damp kitchen towel. Find a warm, draft-free spot in your kitchen for the dough to rise. An oven that has been turned off after a brief preheat (then cooled significantly) or simply a sunny windowsill can work wonders. Allow the dough to rise for 1 to 1.5 hours, or until it has doubled in size. This doubling in volume indicates that the yeast has been actively producing carbon dioxide, creating those desirable air pockets within the dough.
Shaping and Second Rise
Step 6: Punching Down and Shaping
Once the dough has doubled in size, gently punch it down to release the trapped gases. This deflates the dough and redistributes the yeast and sugars. Turn the dough out onto a lightly floured surface. At this point, you can shape your bread. For a basic loaf, gently form it into a round or an oblong shape. If you’re making rolls, divide the dough into equal portions and shape them into your desired roll form. Place the shaped dough onto a baking sheet lined with parchment paper or into a greased loaf pan.
Step 7: The Second Rise (Proofing)
Now, cover the shaped dough loosely with plastic wrap or a clean kitchen towel and let it rise again. This second rise, called proofing, typically takes about 30 to 60 minutes, or until the dough has increased in size by about 50-75%. It won’t necessarily double again, but it should look visibly puffier. This stage is crucial for achieving a light and airy texture in your finished bread. While the dough is proofing, preheat your oven to 375 degrees Fahrenheit (190 degrees Celsius).
Baking the Homemade Bread
Step 8: Baking to Perfection
Once the dough has completed its second rise and your oven is preheated, it’s time to bake. If you like a nice crusty top, you can lightly brush the top of the loaf with a little milk or an egg wash before baking. You can also score the top of the loaf with a sharp knife or a lame, which allows the bread to expand more evenly in the oven and creates beautiful patterns. Carefully place the baking sheet or loaf pan into the preheated oven. Bake for 30 to 40 minutes for a standard loaf, or until the crust is a deep golden brown and the internal temperature of the bread reaches 200-210 degrees Fahrenheit (93-99 degrees Celsius) when tested with an instant-read thermometer. For rolls, the baking time will be shorter, usually around 15-20 minutes.
Step 9: Cooling and Enjoying
This final step is arguably the hardest part – waiting! As soon as the bread comes out of the oven, transfer the loaf from the pan to a wire cooling rack. Allowing the bread to cool completely on a rack is essential. This allows the steam inside the loaf to escape and the internal structure to set properly. If you cut into it too early, it can result in a gummy texture. Once cooled, you’ll be rewarded with the incredible aroma and taste of truly delicious homemade bread. Slice it generously and enjoy!
Conclusion:
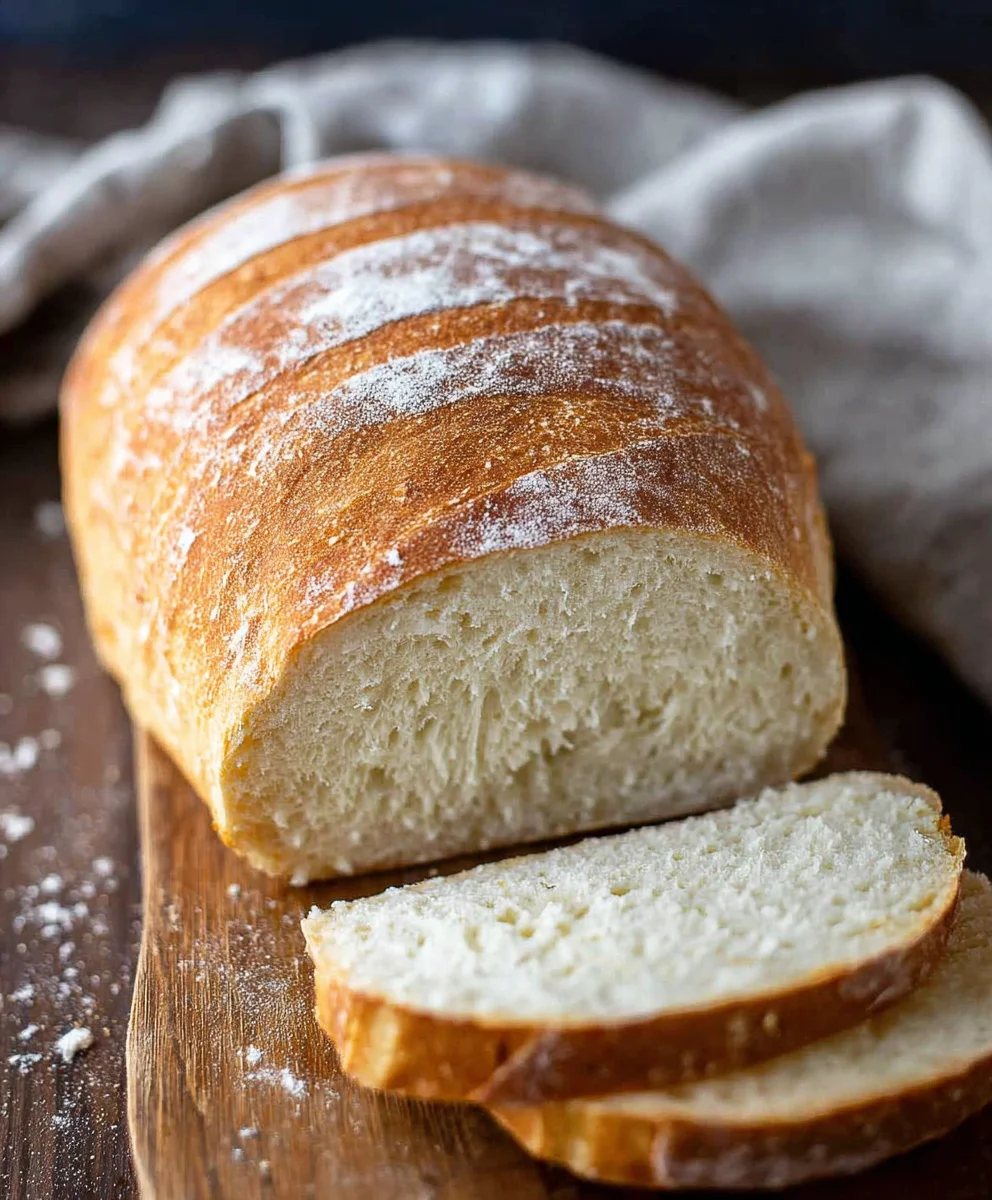
There you have it – the simple yet incredibly rewarding journey to baking your very own Homemade Bread! We’ve walked through each step, from activating the yeast to achieving that perfect golden crust. The aroma that fills your kitchen as this loaf bakes is truly unparalleled, a testament to the satisfaction of creating something so wholesome from scratch. This Homemade Bread is not just a recipe; it’s an experience that brings warmth and comfort to any table.
For serving, this Homemade Bread is incredibly versatile. It’s perfect on its own, lightly toasted with a smear of butter, or as the foundation for your favorite sandwiches. It also makes a wonderful accompaniment to soups, stews, and salads, soaking up all those delicious flavors. Don’t be afraid to experiment with variations! You can incorporate herbs like rosemary or thyme into the dough, add seeds for extra texture, or even swirl in some garlic butter before baking for a savory twist. The possibilities are truly endless with this foundational recipe. So go ahead, embrace the joy of baking, and savor every slice of your delicious Homemade Bread!
Frequently Asked Questions about Homemade Bread:
Why isn’t my Homemade Bread rising properly?
Several factors can affect dough rising. Ensure your yeast is fresh and activated correctly in warm (not hot) water. The ambient temperature of your kitchen also plays a role; a cooler room might require a longer proofing time. Overworking or underworking the dough can also hinder rising, so follow the kneading instructions carefully.
How can I achieve a crispier crust on my Homemade Bread?
To get that desirable crispy crust, try placing a pan of water in the bottom of your oven while it preheats. This creates steam, which helps the crust expand and become wonderfully crunchy. You can also brush the top of the loaf with water or milk just before baking.
Easy Homemade Bread Recipe – Delicious & Simple
A straightforward recipe for creating delicious and simple homemade bread, perfect for beginners.
Ingredients
-
2 cups warm water (105-115 degrees Fahrenheit / 40-46 degrees Celsius)
-
1 Tablespoon active dry yeast
-
1/4 cup honey
-
2 teaspoons salt
-
2 Tablespoons vegetable oil
-
4 cups all-purpose flour
Instructions
-
Step 1
Activate the yeast by combining warm water, active dry yeast, and honey in a large bowl. Let it sit for 5-10 minutes until foamy. -
Step 2
Add vegetable oil and salt to the yeast mixture and stir to combine. -
Step 3
Gradually add 4 cups of flour, mixing until a shaggy dough forms. Add more flour as needed until the dough is manageable. -
Step 4
Knead the dough on a lightly floured surface for 8-10 minutes until smooth and elastic. Place in a greased bowl, cover, and let rise in a warm place for 1-1.5 hours, or until doubled in size. -
Step 5
Punch down the dough, shape it into a loaf, and place it on a baking sheet or in a loaf pan. Cover and let rise for 30-60 minutes, or until puffy. -
Step 6
Preheat oven to 375°F (190°C). Bake for 30-40 minutes, or until golden brown and the internal temperature reaches 200-210°F (93-99°C). -
Step 7
Remove bread from the pan and let cool completely on a wire rack before slicing and enjoying.
Important Information
Nutrition Facts (Per Serving)
It is important to consider this information as approximate and not to use it as definitive health advice.
Allergy Information
Please check ingredients for potential allergens and consult a health professional if in doubt.