Artisan Bread Recipe-Easy Home Baking Delight
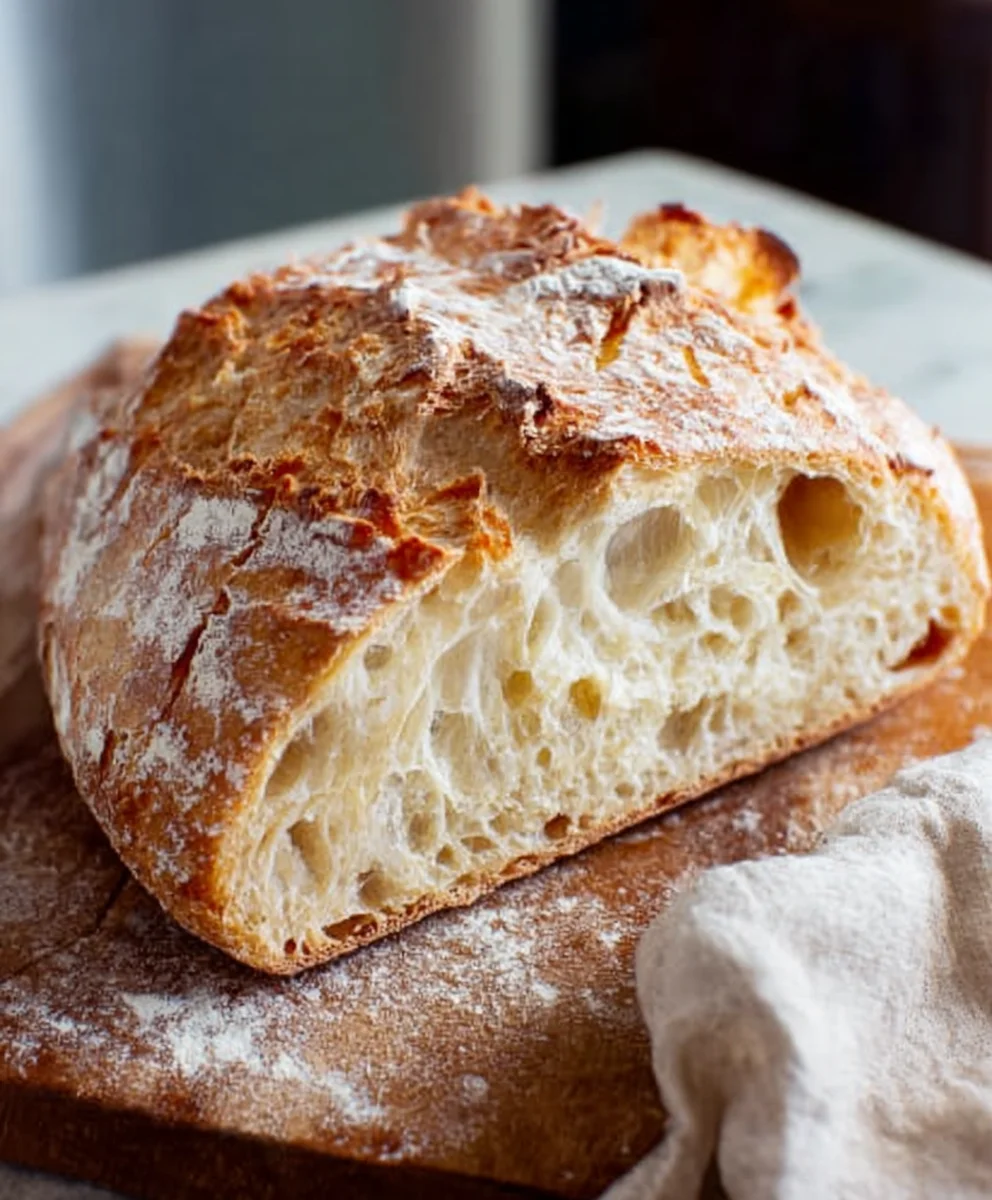
Artisan Bread Recipe. There’s something undeniably magical about a crusty, perfectly baked loaf of artisan bread, isn’t there? The satisfying crackle of the crust as you slice into it, the soft, airy crum extractb within, and that wonderfully complex flavor profile that’s miles away from any store-bought imitation. It’s no wonder so many of us are drawn to the idea of creating this culinary masterpiece in our own kitchens. This isn’t just about making bread; it’s about the experience, the aroma that fills your home, and the pride that comes with presenting a truly exceptional loaf. What makes this particular artisan bread recipe so special is its simplicity, the focus on high-quality ingredients, and a technique that allows for that signaturrum extractpen crumb and beautiful golden-brown crust. Get ready to elevate your baking game and impress yourself, and everyone lucky enough to share your table, with this incredible artisan bread recipe.
Ingredients:
- 3 cups (395 grams) all-purpose flour or bread flour
- ½ tablespoon kosher salt
- ¼ ounce instant or active dry yeast packet (or 2 ¼ teaspoons)
- 1 ½ cups warm water (105°F)
Preparing the Dough: A Simple Begin extractning
This artisan bread recipe is designed to be achievable for home bakers, even those new to bread making. The beauty of this recipe lies in its simplicity, relying on just a few key ingredients to create a loaf with a fantastic crust and a soft, airy interior. We’ll start by activating the yeast, which is a crucial step for a well-risen loaf.
Mixing and Kneading: Developing the Gluten
Now comes the part where we bring everything together and start building the structure of our bread. Kneading is essential for developing the gluten in the flour, which gives the bread its chegrape juicess and ability to rise. Don’t be intimidated by kneading; it’s a satisfying process that you’ll get the hang of quickly.
Step 1: Activating the Yeast
In a large mixing bowl, or the bowl of your stand mixer if you’re using one, combine the warm water and the yeast. The water should be around 105°F (40°C) – warm to the touch but not hot enough to kill the yeast. If it’s too cold, the yeast won’t activate properly, and if it’s too hot, you’ll do the same. Gently stir the yeast into the water until it’s mostly dissolved. Let this mixture sit undisturbed for about 5 to 10 minutes. You’ll know the yeast is alive and ready when it becomes foamy and bubbly on the surface, resembling a light mousse. This indicates that the yeast is actively consuming sugars and producing carbon dioxide, the gas that will make your bread rise. If you don’t see any foam after 10 minutes, your yeast might be old or inactive, and it’s best to start again with fresh yeast.
Step 2: Combining the Dry Ingredients and Adding to Yeast Mixture
While the yeast is proofing, in a separate medium-sized bowl, whisk together the all-purpose flour (or bread flour, which will give you a slightly chewier crust) and the kosher salt. Whisking ensures that the salt is evenly distributed throughout the flour, which is important for consistent flavor and to prevent pockets of saltiness. Once the yeast mixture is foamy, add the flour and salt mixture to the bowl with the activated yeast.
Step 3: Initial Mixing and Dough Formation
If you’re using a stand mixer, attach the dough hook and mix on low speed until the ingredients just come together to form a shaggy dough. This usually takes about 1 to 2 minutes. If you’re mixing by hand, use a sturdy spoon or spatula to stir everything until there are no dry pockets of flour visible and the mixture starts to clump together. The dough will look a bit rough and sticky at this stage, which is perfectly normal. Resist the urge to add more flour at this point; we want a relatively wet dough for a tender crum extractb.
Step 4: Kneading the Dough
This is where we develop the gluten. If using a stand mixer, increase the speed to medium-low and knead for 8 to 10 minutes. The dough should become smooth, elastic, and start to pull away from the sides of the bowl. It will still be slightly tacky to the touch, but it shouldn’t stick aggressively to your fingers. If you’re kneading by hand, turn the shaggy dough out onto a lightly floured surgin extracte. Begin to push the dough away from you with the heels of your hands, then fold it back over itself. Rotate the dough a quarter turn and repeat. Continue this push, fold, and turn motion for about 10 to 15 minutes. You’re looking for that same smooth, elastic texture. You can test for proper gluten development by gently stretching a small piece of dough. If it stretches thin enough to see light through it without tearing (the “windowpane test”), your gluten is well-developed.
Step 5: First Rise (Bulk Fermentation)
Lightly grease a clean large bowl with a little bit of oil or cooking spray. Shape the kneaded dough into a ball and place it in the greased bowl, turning it to coat all sides with the oil. Cover the bowl tightly with plastic wrap or a clean kitchen towel. Place the bowl in a warm, draft-free place to rise for 1 to 1.5 hours, or until the dough has doubled in size. The exact time will depend on the warmth of your room. A good place to let it rise is in a slightly warmed oven that has been turned off, or near a sunny window. The dough needs time to ferment, allowing the yeast to create those lovely air pockets that will result in a light and airy bread. Gently poke the dough with a floured finger; if the indentation springs back slowly, it’s ready. If it springs back immediately, it needs more time.
Shaping and Second Rise: Preparing for the Oven
Once the dough has had its first rise, we’ll punch it down and prepare it for its final shape. This stage is crucial for creating the structure and appearance of your finished loaf.
Step 6: Punching Down and Shaping the Loaf
Once the dough has doubled in size, gently punch it down in the center to release the accumulated gases. This is called “degassing” the dough. Turn the dough out onto a lightly floured surface. You can shape this dough into a round “boule” or an oblong “batard” shape. For a boule, gently cup your hands around the dough and use a slight pulling motion to create surface tension, tucking the edges underneath to form a smooth, taut ball. For a batard, gently flatten the dough into a rectangle and then roll it up tightly, pinching the seams closed. Place your shaped loaf onto a baking sheet lined with parchment paper or a well-floured tea towel, making sure the seam side is down if you’re aiming for a smooth top.
Step 7: Second Rise (Proofing)
Cover the shaped loaf loosely with plastic wrap or a clean kitchen towel. Let it rise again in a warm place for another 30 to 60 minutes, or until it has visibly puffed up and increased in size by about 50-75%. This second rise, or proofing, is important for the final texture and volume of your bread. Be careful not to over-proof, as this can lead to a dense loaf or a loaf that collapses in the oven. You can test for readiness by gently poking the dough. If the indentation springs back slowly, leaving a slight mark, it’s ready. If it springs back fully, it needs more time. If it doesn’t spring back at all, it’s likely over-proofed.
Baking: The Magic of Transformation
The final stage is baking, where the simple dough transforms into a beautiful, golden-brown loaf. This is where the magic truly happens, creating that irresistible artisan bread.
Step 8: Preheating the Oven and Preparing for Baking
About 20 minutes before you anticnon-alcoholic ipate the second rise to be complete, preheat your oven to 450°F (230°C). If you have a baking stone or a Dutch oven, place it in the oven while it preheats. The hot surface will help create a better crust. If you’re using a baking stone, you’ll likely want to transfer your loaf onto it using a pizza peel or the parchment paper it’s on. If you’re using a Dutch oven, you’ll preheat the Dutch oven itself, then carefully place your shaped loaf inside. Just before baking, you can lightly score the top of the loaf with a sharp knife or a lame (a baker’s blade). This allows the bread to expand evenly in the oven and creates a beautiful pattern. A simple single slash or a few diagonal cuts are perfect for this recipe.
Step 9: Baking the Artisan Bread
Carefully place your shaped loaf into the preheated oven. If you’re using a Dutch oven, carefully remove the hot lid and place your loaf inside, then replace the lid. The lid traps steam, which is essential for a good crust. Bake for 20 minutes with the lid on (or without a Dutch oven, you can create steam by placing a pan of hot water on the bottom rack of your oven). After 20 minutes, remove the lid from the Dutch oven, or remove the steam pan from the oven. Reduce the oven temperature to 425°F (220°C) and continue baking for another 20-25 minutes, or until the crust is a deep golden brown and the internal temperature of the bread reaches 200-210°F (93-99°C) on an instant-read thermometer. The crust should sound hollow when tapped.
Step 10: Cooling and Enjoying
Once baked to perfection, carefully remove the loaf from the oven and transfer it to a wire rack to cool completely. This is perhaps the hardest step – waiting for the bread to cool! Resist the temptation to slice into it immediately. Cooling allows the internal structure of the bread to set and the moisture to distribute evenly, resulting in the best texture and flavor. Once cooled, slice your beautiful artisan bread with a serrated knife and enjoy the fruits of your labor. It’s wonderful on its own, toasted with butter, or as a base for your favorite toppings.
Conclusion:
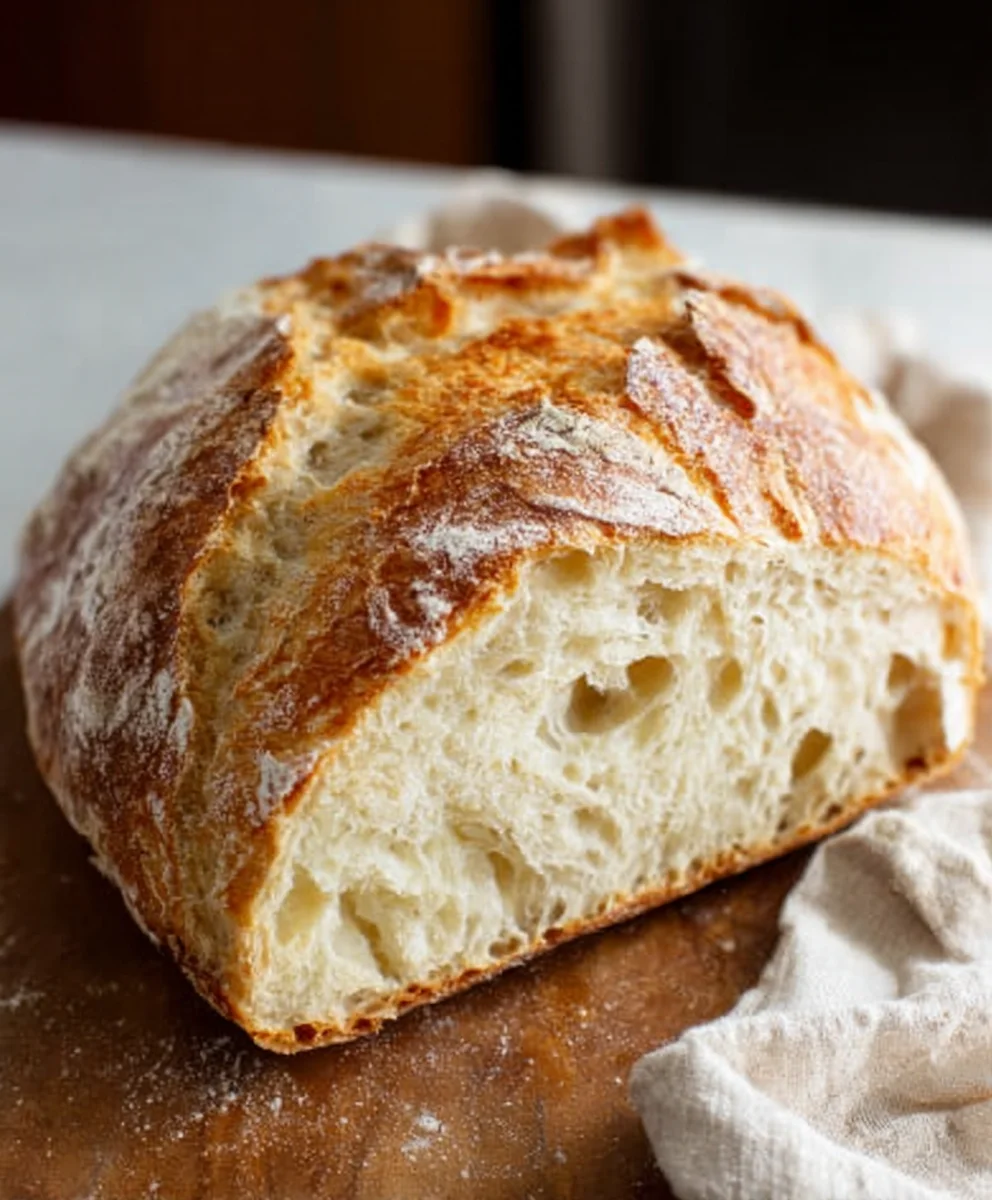
And there you have it – your guide to crafting the perfect Artisan Bread Recipe at home! We’ve walked through each step, from nurturing your starter to achieving that beautiful golden crust and airy crum extractb. This Artisan Bread Recipe isn’t just about baking; it’s a rewarding journey that fills your kitchen with an irresistible aroma and your table with a truly special treat. Don’t be discouraged if your first loaf isn’t absolutely perfect; the beauty of this recipe lies in its practice and refinement.
This versatile Artisan Bread Recipe is wonderful served simply with butter, or as the base for a delightful bruschetta. It also makes an outstanding accompaniment to soups, stews, and salads. For a touch of gourmet flair, consider topping slices with a drizzle of olive oil and fresh herbs, or a smear of fig jam. Don’t hesitate to experiment with different flours for unique flavors – perhaps a touch of whole wheat or rye can add depth to your next bake.
Now it’s your turn to experience the satisfaction of pulling a magnificent loaf of homemade Artisan Bread Recipe from your oven. Embrace the process, enjoy the delicious results, and share the joy with loved ones. Happy baking!
Frequently Asked Questions:
Why is my artisan bread not rising enough?
Insufficient rise can be due to several factors. Ensure your yeast or sourdough starter is active and has been properly proofed. Over-mixing or under-kneading the dough can also hinder gluten development, impacting its ability to trap gases. Finally, check the ambient temperature; dough rises best in a warm environment, typically between 75-80°F (24-27°C).
How can I achieve a crispier crust on my artisan bread?
A crispy crust is all about steam. During the initial phase of baking, introducing steam into your oven is crucial. You can achieve this by placing a pan of hot water on the bottom rack of your oven, or by using a Dutch oven with the lid on for the first 20-30 minutes of baking. Removing the lid for the remainder of the bake allows the crust to crisp up beautifully.
Artisan Bread Recipe-Easy Home Baking Delight
An easy and delightful home baking recipe for artisan bread with a fantastic crust and a soft, airy interior.
Ingredients
-
3 cups (395 grams) all-purpose flour or bread flour
-
1/2 tablespoon kosher salt
-
1/4 ounce instant or active dry yeast packet (or 2 1/4 teaspoons)
-
1 1/2 cups warm water (105°F)
-
1 teaspoon olive oil (for greasing bowl)
Instructions
-
Step 1
Activate the yeast: In a large mixing bowl, combine warm water (105°F) and yeast. Stir gently and let sit for 5-10 minutes until foamy. -
Step 2
Combine dry ingredients: In a separate bowl, whisk together flour and salt. Add this mixture to the foamy yeast mixture. -
Step 3
Mix and knead: Mix until a shaggy dough forms. Knead for 8-10 minutes in a stand mixer or 10-15 minutes by hand until smooth and elastic. The dough should be slightly tacky. -
Step 4
First rise: Place dough in a lightly oiled bowl, cover, and let rise in a warm place for 1-1.5 hours, or until doubled in size. -
Step 5
Shape the loaf: Gently punch down the dough, turn it out onto a lightly floured surface, and shape into a round boule or oblong batard. Place on a parchment-lined baking sheet or floured towel. -
Step 6
Second rise: Cover the shaped loaf loosely and let rise for 30-60 minutes until visibly puffed up. -
Step 7
Bake: Preheat oven to 450°F (230°C). Score the top of the loaf. Bake for 20 minutes, then reduce temperature to 425°F (220°C) and bake for another 20-25 minutes until golden brown and hollow-sounding when tapped. -
Step 8
Cool: Transfer the baked loaf to a wire rack and let cool completely before slicing and enjoying.
Important Information
Nutrition Facts (Per Serving)
It is important to consider this information as approximate and not to use it as definitive health advice.
Allergy Information
Please check ingredients for potential allergens and consult a health professional if in doubt.