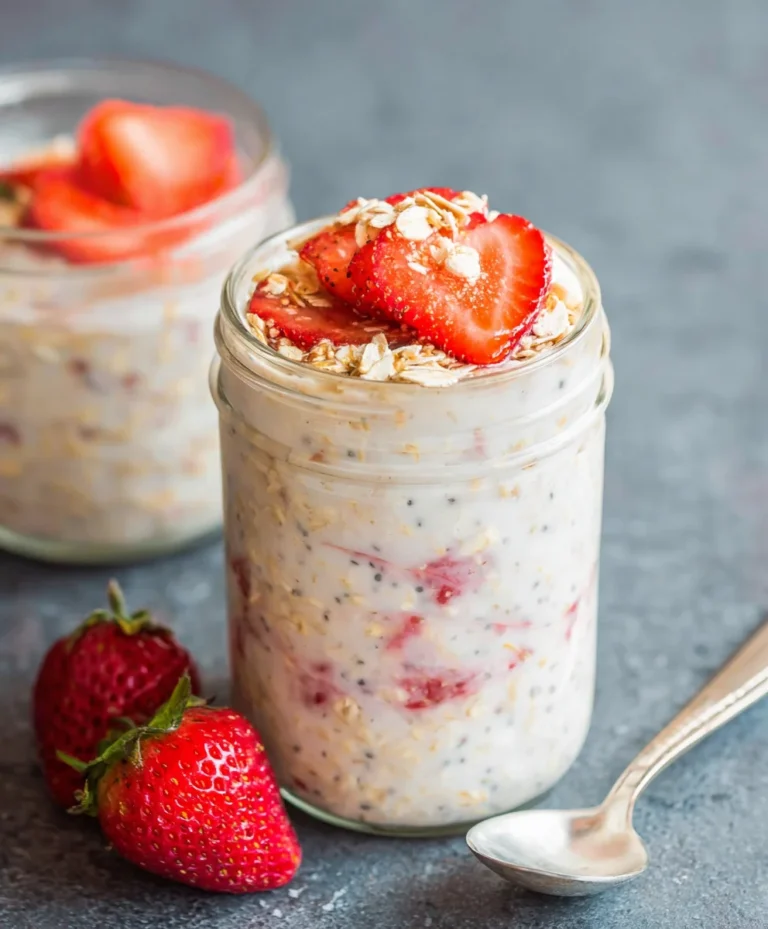
Easy No-Bake Protein Balls-Quick Healthy Snack
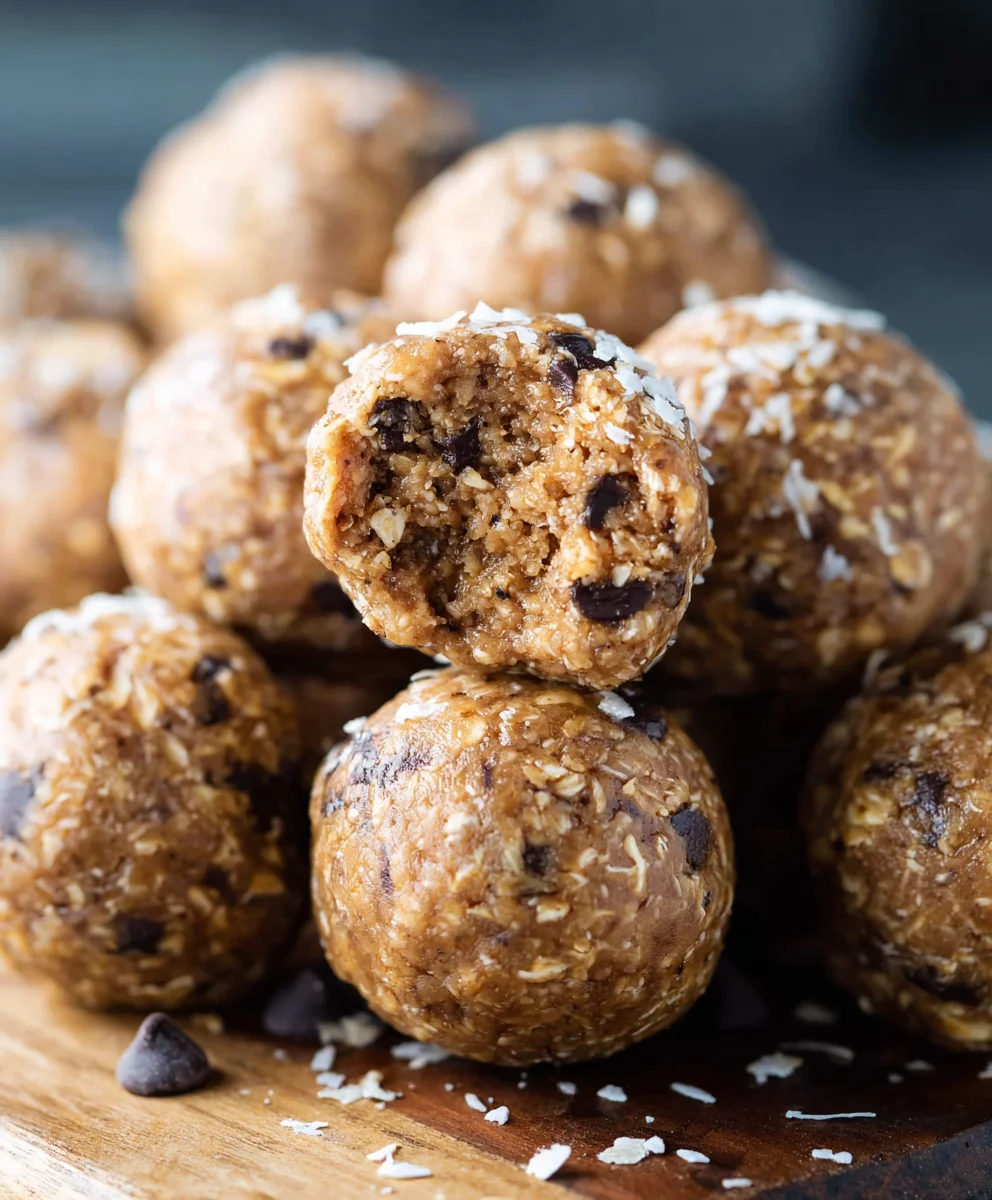
No Bake Protein Balls are the ultimate snack saviors for busy lives and health-conscious cravings. Have you ever found yourself reaching for something sweet and energy-boosting, only to be met with a cupboard full of processed options? That’s where these delightful little powerhouses come in. What makes these No Bake Protein Balls so incredibly popular? It’s their effortless creation – no oven required, minimal fuss, and maximum flavor. They are the perfect solution for that mid-afternoon slump, a post-workout refuel, or even a guilt-free dessert. We love them because they’re infinitely customizable, letting you tailor the taste and nutritional profile to your exact preferences. This recipe isn’t just about convenience; it’s about creating a satisfying, wholesome treat that you can feel truly good about enjoying. Prepare to be addicted to their chewy texture and bursting with deliciousness!
Ingredients:
- 1 1/2 cups no-stir creamy peanut butter
- 1/2 cup honey
- 1 1/3 cups old-fashioned oats (rolled oats)
- 1/2 cup vanilla protein powder
- 1/8 teaspoon salt
- 1/2 cup mini chocolate chips
Getting Started: The Base
The foundation of our delicious No Bake Protein Balls is a simple yet effective combination of creamy peanut butter and honey. This dynamic duo not only binds all our ingredients together but also provides a wonderful base flavor that pairs perfectly with the other components. I like to use a “no-stir” creamy peanut butter because it’s already perfectly smooth and emulsified, meaning you won’t have to spend extra time stirring in any separated oil. This saves us a step and ensures a consistent texture right from the start. Measure out your 1 1/2 cups of no-stir creamy peanut butter and place it into a large mixing bowl. To this, we’ll add our liquid sweetener. The 1/2 cup of honey is crucial for sweetness and helps create that slightly chewy, satisfying texture that makes these protein balls so enjoyable. Pour the honey directly into the bowl with the peanut butter.
Combining the Dry Ingredients
Now it’s time to introduce the dry ingredients that will give our No Bake Protein Balls their substance and nutritional boost. The old-fashioned oats, also known as rolled oats, are our primary binder and provide a delightful chegrape juicess and texture. We’ll use 1 1/3 cups of these wholesome oats. It’s important to use old-fashioned oats rather than quick oats, as the latter can become mushy when mixed with the wet ingredients, potentially leading to a less desirable texture. The slightly thicker and chewier nature of rolled oats is ideal for these no-bake treats. Next, we add the flavor and protein punch: 1/2 cup of vanilla protein powder. I prefer vanilla because it complements the peanut butter and chocolate beautifully and adds a subtle sweetness. Feel free to use your favorite brand of vanilla protein powder; whether it’s whey, plant-based, or a blend, it will work wonderfully here. Finally, a tiny pinch of salt, just 1/8 teaspoon, is added. This might seem insignificant, but salt plays a vital role in enhancing all the other flavors in the mixture, making the peanut butter more pronounced and balancing the sweetness of the honey and chocolate chips.
The Mixing Process: Bringin extractg It All Together
With all our ingredients in the bowl, it’s time to get our hands (or a sturdy spoon) in there and mix everything thorougin extracty. Begin by stirring the peanut butter and honey together until they are well combined. This creates a smooth, cohesive base. Then, gradually add the old-fashioned oats, vanilla protein powder, and salt. Using a strong spoon or spatula, start to incorporate all the dry ingredients into the wet. It can be a bit stiff at first, especiallgin extracts the oats begin to absorb some of the moisture. The key here is to mix until everything is evenly distributed. You want to ensure there are no pockets of unmixed protein powder or dry oats. Don’t be afraid to put a little muscle into it! If the mixture feels a little too dry and crum extractbly, you can add another tablespoon of peanut butter or honey, a little at a time, until it holds together when you squeeze a small amount in your hand. Conversely, if it feels too sticky, you can add a tablespoon more oats. The goal is a pliable dough that you can easily roll into balls.
Adding the Chocolatey Goodness
This is arguably the most exciting step for many! We’re going to fold in our mini chocolate chips. Measure out 1/2 cup of these delightful little morsels. Mini chocolate chips are perfect for this recipe because they distribute evenly throughout the mixture without being too overpowering in any single bite. They add that classic chocolatey contrast to the nutty peanut butter and sweet honey. Gently fold the chocolate chips into the combined mixture. You don’t want to overmix at this stage, as that could potentially break up the chocolate chips too much. Just aim to get them distributed as evenly as possible throughout the dough. A few swirls and folds should do the trick. The vibrant speckles of chocolate within the tan mixture are a visual treat, and they promise bursts of deliciousness in every protein ball.
Rolling and Chilling: The Final Touches
Once the chocolate chips are incorporated, it’s time to shape our No Bake Protein Balls. Take about a tablespoon of the mixture at a time and roll it between your palms to form a compact ball, roughly 1 to 1.5 inches in diameter. If the mixture is sticking to your hands, you can lightly dampen them with water or a tiny bit of oil, or simply dust your hands with a little extra protein powder or oat flour. It’s important to roll them firmly so they hold their shape andrum extractn’t crumble apart later. Place the rolled balls onto a baking sheet lined with parchment paper or wax paper. This prevents them from sticking to the sheet. Continue this process until all the mixture has been used. After rolling, the protein balls need a little time to firm up. Place the baking sheet with the rolled balls into the refrigerator for at least 30 minutes. This chilling period allows the fats from the peanut butter to solidify and the oats to absorb any remaining moisture, ensuring your No Bake Protein Balls maintain their structure and are perfectly firm for snacking. You can also freeze them for about 10-15 minutes if you’re in a real hurry.
Conclusion:
And there you have it – your guide to creating the ultimate No Bake Protein Balls! We’ve walked through a simple, delicious recipe that’s perfect for a quick energy boost, a satisfying snack, or even a healthier dessert. The beauty of these No Bake Protein Balls lies in their versatility and ease of preparation. No oven required means you can whip them up in minutes, making them an ideal addition to busy schedules.
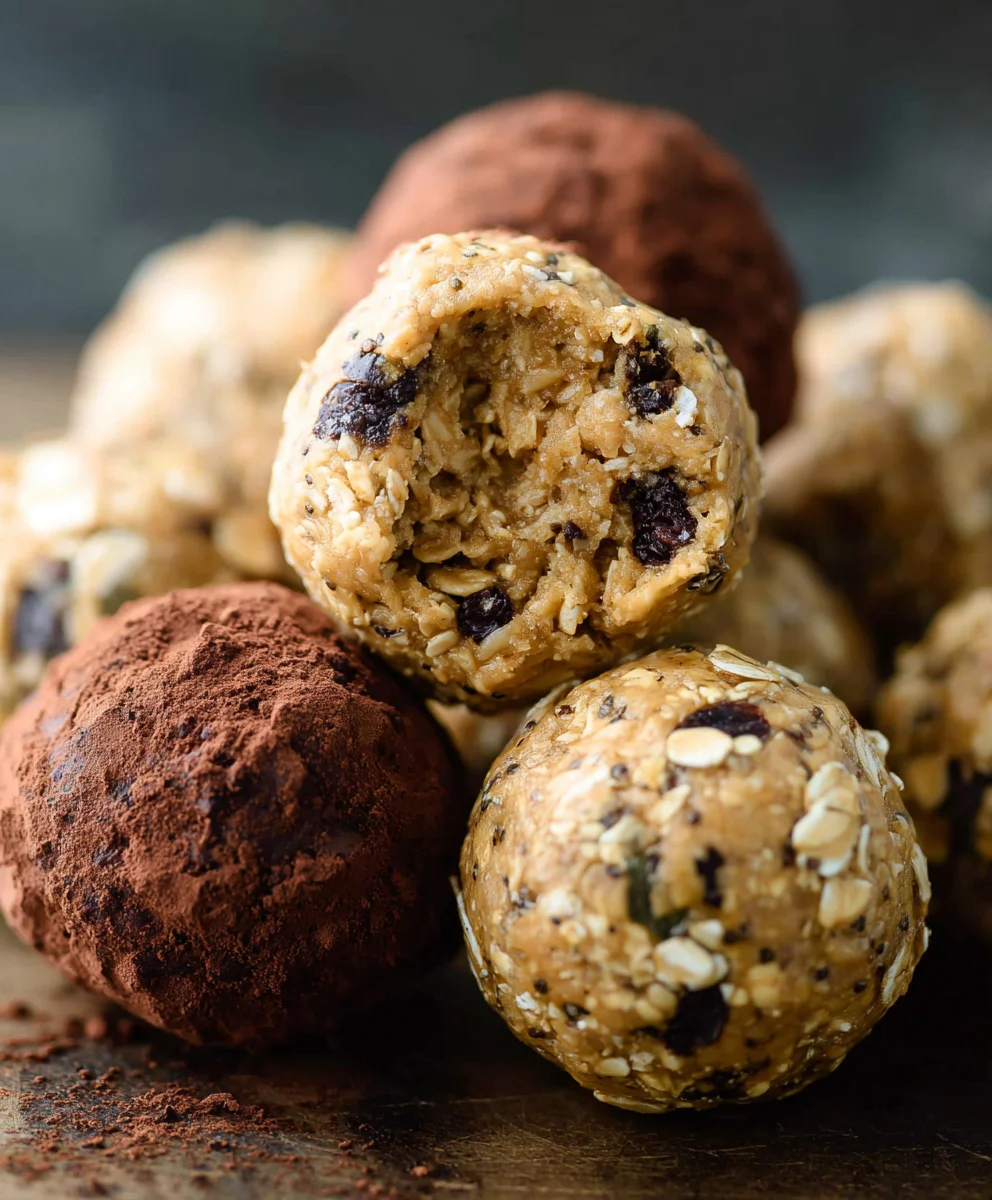
For serving, these No Bake Protein Balls are fantastic on their own, but you can also pair them with a cup of coffee or tea. They’re a great grab-and-go option for breakfast or a post-workout treat. Get creative with variations! Feel free to experiment with different nut butters, add-ins like shredded coconut, mini chocolate chips, or even a sprinkle of cinnamon for an extra flavor kick. Don’t be afraid to tailor these No Bake Protein Balls to your personal taste preferences.
We encourage you to give this recipe a try. It’s incredibly rewarding to make something so healthy and delicious from scratch. Enjoy the process and savor the results!
Frequently Asked Questions:
How long do No Bake Protein Balls last?
Properly stored in an airtight container in the refrigerator, No Bake Protein Balls will typically last for about 1 to 2 weeks. You can also freeze them for longer storage, up to 2-3 months, though their texture might change slightly upon thawing.
Can I make No Bake Protein Balls nut-free?
Absolutely! If you have nut allergies or simply prefer a nut-free option for your No Bake Protein Balls, you can substitute the nut butter with seed butters like sunflower seed butter or tahini. Ensure your protein powder is also nut-free.
What’s the best way to store No Bake Protein Balls?
For optimal freshness and to prevent them from becoming too soft, it’s best to store your No Bake Protein Balls in an airtight container in the refrigerator. This also helps them maintain their shape.
Easy No-Bake Protein Balls-Quick Healthy Snack
Delicious and healthy no-bake protein balls, perfect for a quick snack. Made with peanut butter, oats, and protein powder.
Ingredients
-
1 1/2 cups no-stir creamy peanut butter
-
1/2 cup honey
-
1 1/3 cups old-fashioned oats (rolled oats)
-
1/2 cup vanilla protein powder
-
1/8 teaspoon salt
-
1/2 cup mini chocolate chips
Instructions
-
Step 1
In a large mixing bowl, combine the 1 1/2 cups of no-stir creamy peanut butter and 1/2 cup of honey. Stir until well combined, creating a smooth base. -
Step 2
Gradually add the 1 1/3 cups of old-fashioned oats, 1/2 cup of vanilla protein powder, and 1/8 teaspoon of salt to the wet ingredients. Mix thoroughly until all dry ingredients are evenly distributed and a pliable dough forms. -
Step 3
Gently fold in the 1/2 cup of mini chocolate chips, distributing them evenly throughout the mixture without overmixing. -
Step 4
Take about a tablespoon of the mixture at a time and roll it firmly between your palms to form compact balls, approximately 1 to 1.5 inches in diameter. Place the rolled balls onto a baking sheet lined with parchment paper. -
Step 5
Refrigerate the protein balls on the baking sheet for at least 30 minutes to allow them to firm up before serving.
Important Information
Nutrition Facts (Per Serving)
It is important to consider this information as approximate and not to use it as definitive health advice.
Allergy Information
Please check ingredients for potential allergens and consult a health professional if in doubt.