Easy Rustic Bread Recipe-Homemade Comfort
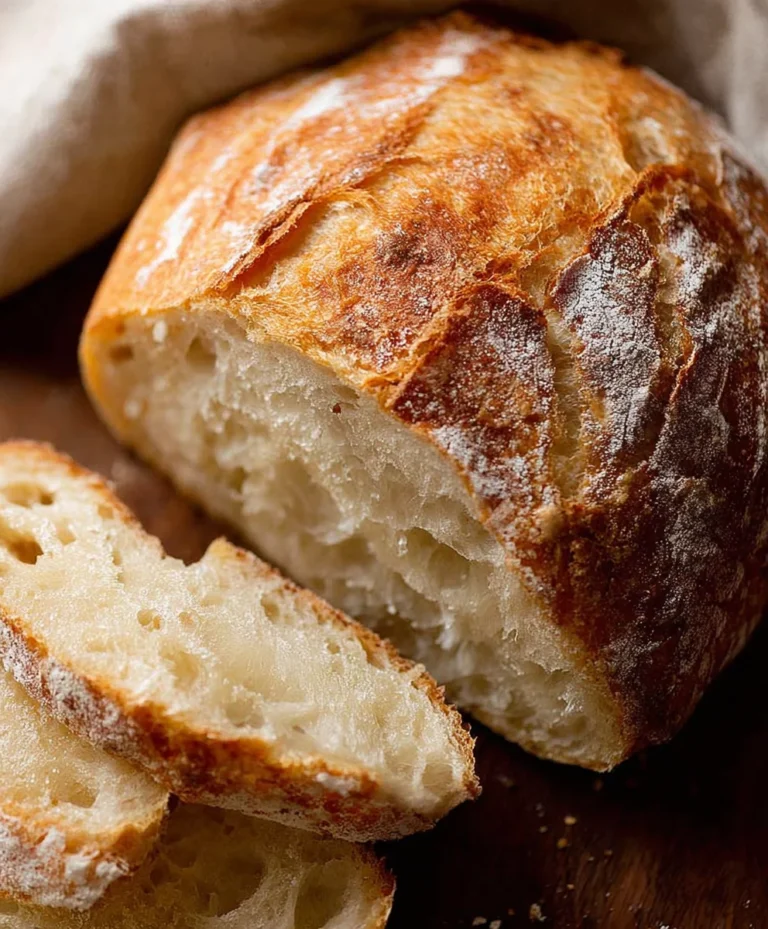
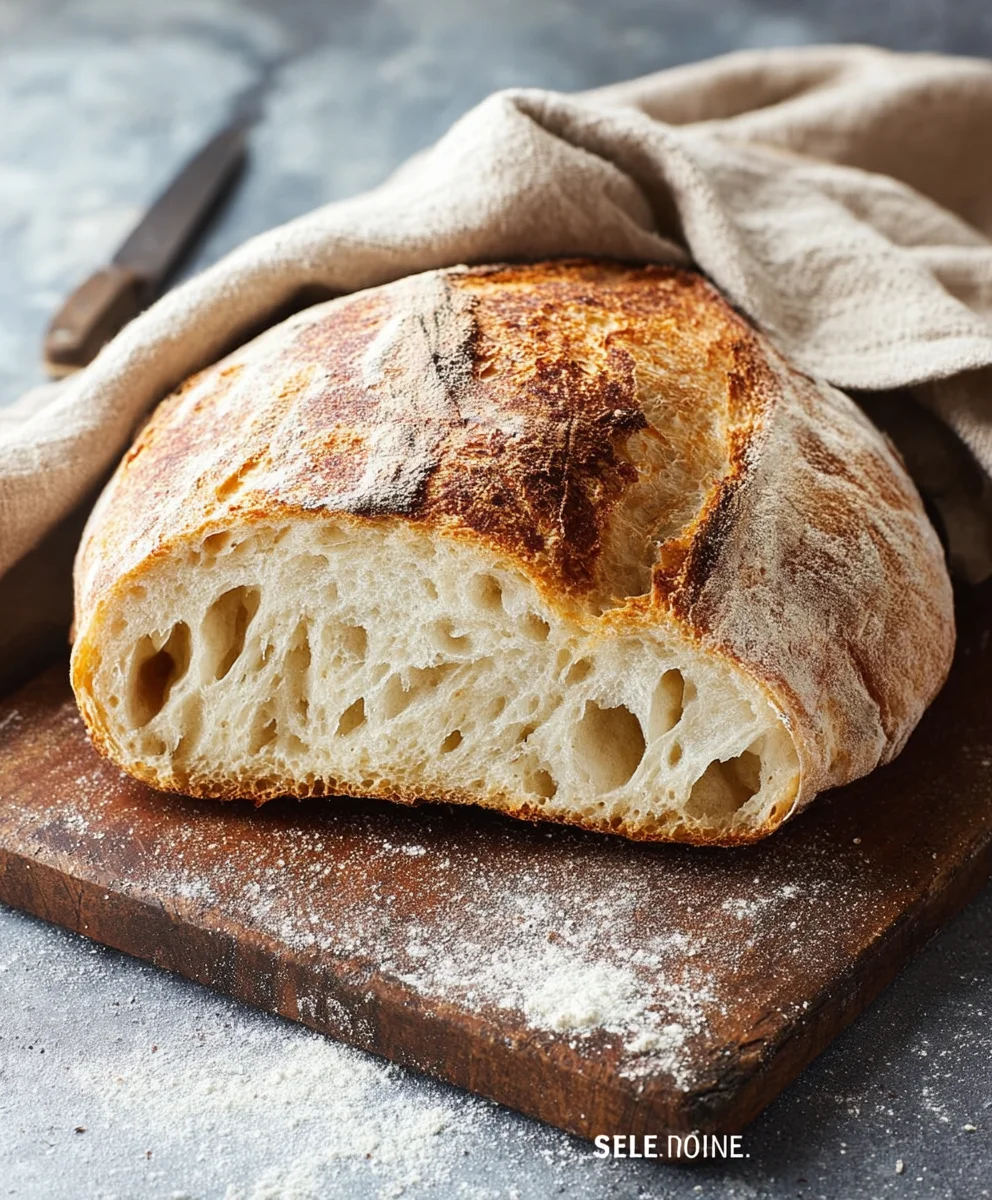
Rustic Bread Recipe perfection is closer than you think! Imagin extracte pulling a golden-brown loaf, still warm from the oven, its crust crackling invitingly as you slice into its fluffy interior. There’s an undeniable comfort and joy that comes from homemade bread, and this Rustic Bread Recipe delivers precisely that. It’s the kind of bread that elevates any meal, from a simple breakfast toast to the star accompaniment at your dinner table. What makes this particular Rustic Bread Recipe so beloved? It’s the perfect balance of a hearty, slightly chewy texture with a wonderfully complex flavor that hints at tradition and care. We’ve honed this recipe to ensure that even novice bakers can achieve impressive results, creating a loaf that looks and tastes like it came from a artisanal bakery, but with the added satisfaction of knowing you made it yourself.
Ingredients:
- 3 cups warm water
- 2 ¼ teaspoons active dry yeast (which is one standard packet)
- 1 tablespoon sugar
- 6 cups all-purpose flour (approximately 750 grams)
- 3 teaspoons salt
Preparing the Dough
Activating the Yeast
The first crucial step in creating a wonderful rustic bread recipe is to ensure our yeast is alive and ready to work its magic. In a large mixing bowl, combine the 3 cups of warm water. It’s important that the water is warm, not hot, as excessively hot water can kill the yeast. Aim for a temperature between 105-115°F (40-46°C), which should feel comfortably warm to the touch, like a baby’s bath. To this warm water, add the 2 ¼ teaspoons of active dry yeast and the 1 tablespoon of sugar. The sugar acts as food for the yeast, helping it to bloom and become active. Stir gently to combine, then let this mixture sit undisturbed for about 5 to 10 minutes. You should see the yeast begin extract to foam and develop a creamy layer on the surface. This “proofing” indicates that the yeast is active and ready for the next stage. If you don’t see any foam, your yeast might be old or the water too hot or cold, and it would be best to start again with fresh yeast.
Mixing the Dough
Once your yeast mixture is foamy and fragrant, it’s time to add the flour and salt. To the yeast mixture, gradually add about 4 cups of the 6 cups of flour. Add the 3 teaspoons of salt with the flour to ensure it’s evenly distributed. Mix everything together with a wooden spoon or a sturdy spatula until a shaggy gin extractgh begins to form. It will be quite sticky at this point, and that’s perfectly normal for a rustic bread. As you continue to mix, gradually incorporate the remaining 2 cups of flour. You might not need all of it, or you might need a tiny bit more, depending on the humidity and the type of flour you’re using. The goal is to bring the dough together into a cohesive mass that pulls away from the sides of the bowl, but it should still be slightly sticky to the touch. Over-mixing at this stage isn’t ideal, as it can develop the gluten too much too early, leading to a tougher crum extractb.
Kneading and First Rise
Kneading the Dough
Now comes the fun part: kneading! Turn the shaggy dough out onto a lightly floured surface. If the dough is excessively sticky, don’t be tempted to add too much extra flour; a little bit is fine, but too much will make your bread dense. Instead, use your hands to push and fold the dough. To knead, push the dough away from you with the heels of your hands, then fold it back over itself. Rotate the dough a quarter turn and repeat. Continue this process for about 8 to 10 minutes. You’ll notice the dough becoming smoother, more elastic, and less sticky as you knead. It should spring back slowly when you gently press it with your finger. Proper kneading develops the gluten structure, which is essential for the bread’s rise and its characteristic chewy texture. Don’t rush this step; it’s key to a great rustic loaf.
First Rise (Bulk Fermentation)
Once your dough is smooth and elastic, it’s time for its first rise, also known as bulk fermentation. Lightly oil a clean, large bowl. Place the kneaded dough into the oiled bowl, turning it to coat all sides with a thin layer of oil. This prevents the dough from drying out. Cover the bowl tightly with plastic wrap or a clean, damp kitchen towel. Place the bowl in a warm, draft-free place to rise. A good spot is a slightly warm oven that has been turned off, or simply on your kitchen counter if your kitchen is relatively warm. Allow the dough to rise for about 1 to 1.5 hours, or until it has doubled in size. This rise allows the yeast to produce carbon dioxide, creating air pockets within the dough that will give your bread its lovely, airy interior. You’ll know it’s ready when you can gently poke the dough with your finger and the indentation remains.
Shaping and Baking
Shaping the Loaf
Once the dough has doubled in size, it’s time to shape your rustic loaf. Gently punch down the dough to release the air that has accumulated. Turn the dough out onto a lightly floured surface. For a classic rustic look, you can shape the dough into a round boule or an oblong shape. To make a boule, gently gather the edges of the dough towards the center, creating tension on the surface. Then, flip the dough over so the seam side is down and cup your hands around it, rotating it to create a smooth, round ball. If you prefer an oblong shape, gently pat the dough into a rough rectangle and then roll it up tightly, pinching the seam closed. Place your shaped loaf on a baking sheet lined with parchment paper, or directly into a floured proofing basket (banneton) if you have one. Cover the shaped loaf loosely with plastic wrap or a clean towel and let it rest for another 20-30 minutes while your oven preheats. This final rest, or “proofing,” allows the dough to relax slightly and prepares it for baking.
Baking the Bread
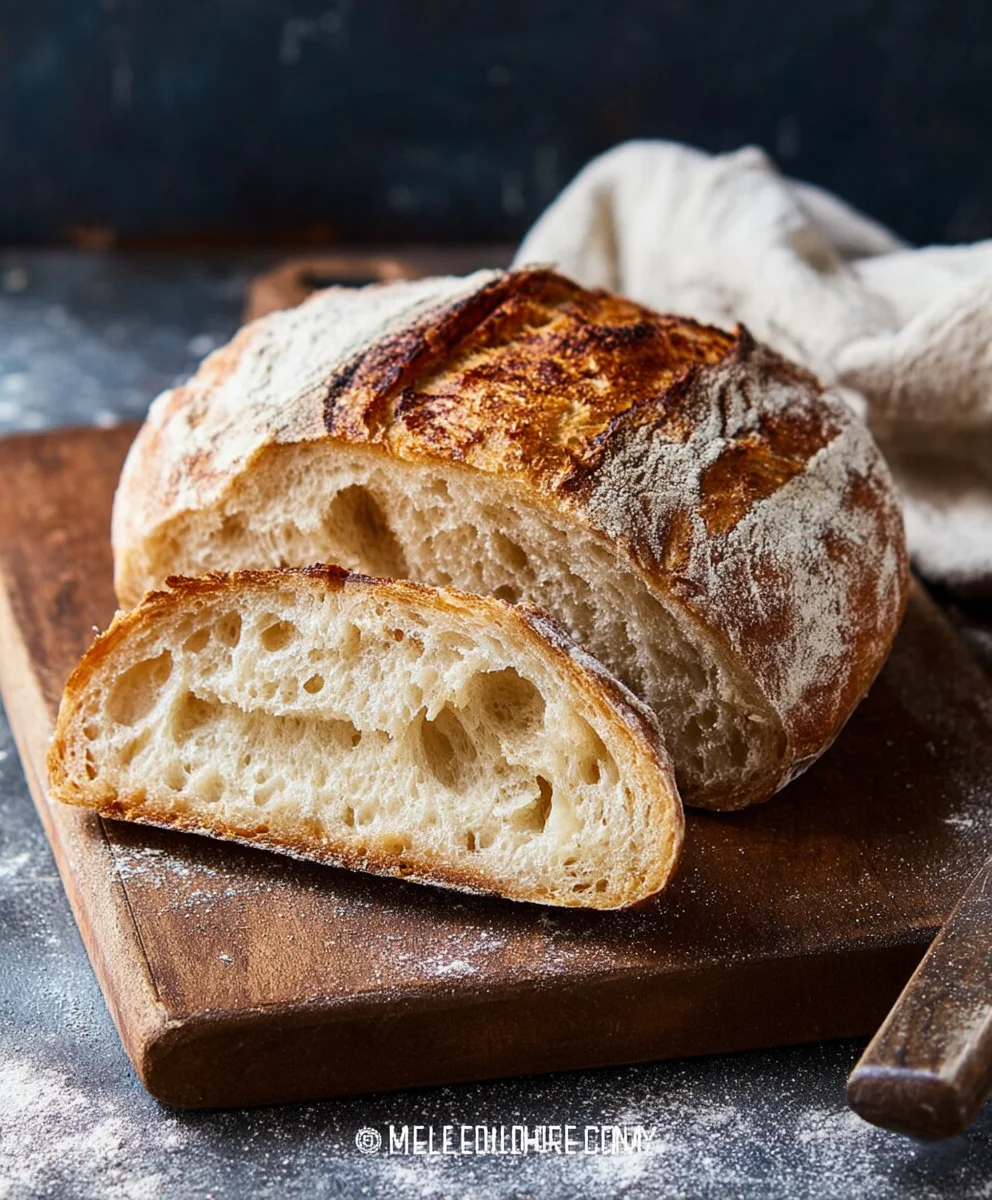
Preheat your oven to 425°F (220°C). For an excellent crust on your rustic bread, it’s beneficial to bake it in a preheated Dutch oven or a baking vessel that can trap steam. If using a Dutch oven, place it in the oven as it preheats. Carefully place your shaped loaf into the preheated Dutch oven (be very careful, as it will be extremely hot!), score the top of the loaf with a sharp knife or lame (this helps control the expansion of the bread during baking), and then cover it with the lid. If you don’t have a Dutch oven, you can place your loaf on a baking sheet and create steam in the oven by placing a pan of hot water on the rack below the bread during the first 20 minutes of baking. Bake for 20 minutes with the lid on (or with steam). After 20 minutes, remove the lid (or the steam pan) and continue to bake for another 20-25 minutes, or until the crust is a deep golden brown and the internal temperature of the bread reaches 200-210°F (93-99°C) when measured with an instant-read thermometer. The crust should sound hollow when tapped. For the best texture and to prevent a gummy interior, let the bread cool completely on a wire rack for at least 1-2 hours before slicing.
Conclusion:
And there you have it – your very own delicious Rustic Bread Recipe! This recipe has been designed to be accessible for bakers of all levels, resulting in a beautifully crusty exterior and a soft, airy crum extractb that’s perfect for any occasion. We’ve covered the steps to achieve that signature rustic charm, from the initial mixing to the final bake. Don’t be afraid to experiment and make this recipe your own. Enjoy the aroma filling your kitchen and the incredible taste of homemade bread!
This Rustic Bread Recipe is incredibly versatile. Serve it warm with a generous smear of butter, use it to create fantastic sandwiches, or dip it into your favorite soups and stews. For a delightful twist, consider adding a handful of fresh herbs like rosemary or thyme to the dough, or even some grated cheese for a savory kick. The possibilities are truly endless, and the reward of a freshly baked loaf is immeasurable.
Frequently Asked Questions about Rustic Bread Recipe:
Q1: My rustic bread didn’t rise as much as I expected. What could be the issue?
Several factors can affect bread rise. Ensure your yeast is fresh and active by proofing it in warm water with a pinch of sugar before adding it to the flour. Overworking the dough can also make it tough and hinder rise. Be gentle during the kneading process and allow sufficient time for bulk fermentation and proofing in a warm, draft-free environment. Sometimes, a cooler oven can also lead to a less dramatic rise.
Q2: Can I make this Rustic Bread Recipe ahead of time?
Absolutely! Once baked and cooled, the Rustic Bread Recipe can be stored at room temperature in a paper bag for 2-3 days to maintain its crust. For longer storage, you can slice the cooled loaf and freeze it in an airtight container or freezer bag. It thaws beautifully and can be re-crisped in a moderate oven if desired.
Easy Rustic Bread Recipe-Homemade Comfort
A simple and comforting recipe for delicious homemade rustic bread with a wonderful crust and chewy interior.
Ingredients
-
3 cups warm water
-
2 ¼ teaspoons active dry yeast
-
1 tablespoon sugar
-
6 cups all-purpose flour
-
3 teaspoons salt
Instructions
-
Step 1
Activate the yeast: In a large bowl, combine 3 cups of warm water (105-115°F), 2 ¼ teaspoons active dry yeast, and 1 tablespoon sugar. Let sit for 5-10 minutes until foamy. -
Step 2
Mix the dough: Add about 4 cups of flour and 3 teaspoons of salt to the yeast mixture. Stir until a shaggy dough forms. Gradually add the remaining 2 cups of flour until a cohesive, slightly sticky dough forms. -
Step 3
Knead the dough: Turn the dough onto a lightly floured surface and knead for 8-10 minutes until smooth and elastic. The dough should spring back slowly when poked. -
Step 4
First rise: Place the kneaded dough in a lightly oiled bowl, cover, and let rise in a warm place for 1 to 1.5 hours, or until doubled in size. -
Step 5
Shape the loaf: Gently punch down the dough, then shape it into a round boule or an oblong loaf. Place on a parchment-lined baking sheet or in a floured proofing basket. Cover and let rest for 20-30 minutes. -
Step 6
Bake the bread: Preheat oven to 425°F (220°C). Bake in a preheated Dutch oven (covered) or on a baking sheet with a steam pan for 20 minutes. Remove lid/steam and bake for another 20-25 minutes until golden brown and internal temperature reaches 200-210°F. Cool completely before slicing.
Important Information
Nutrition Facts (Per Serving)
It is important to consider this information as approximate and not to use it as definitive health advice.
Allergy Information
Please check ingredients for potential allergens and consult a health professional if in doubt.