Easy Oreo Cheesecake Bites – Delicious Dessert Recipe
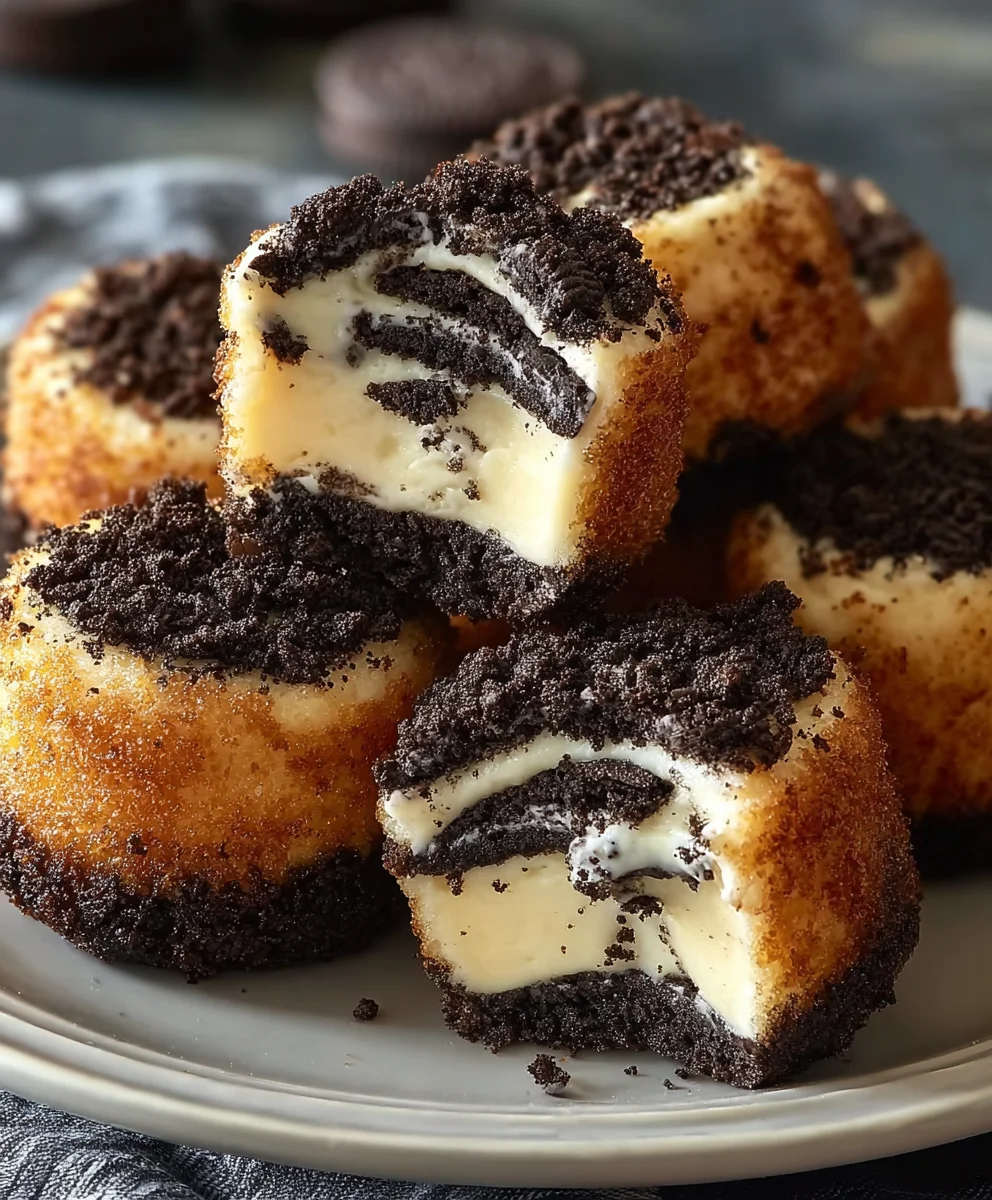
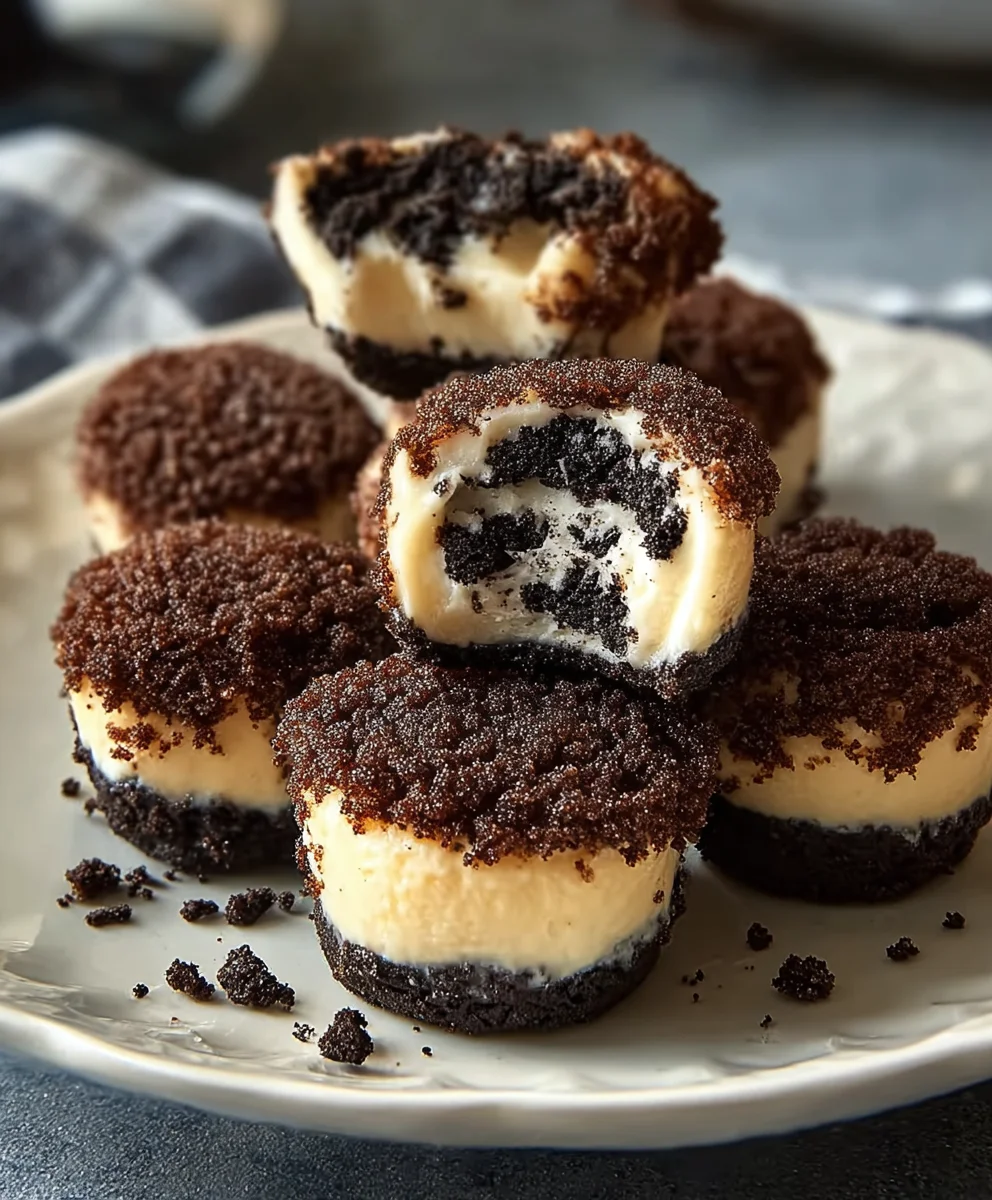
Oreo Cheesecake Bites are a testament to the idea that sometimes, the most delightful treats come in small packages. If you’re anything like me, the mere mention of these decadent morsels can send your taste buds into a frenzy. Who can resist the irresistible combination of creamy, dreamy cheesecake and the rich, chocolatey crunch of crushed Oreos? It’s a match made in dessert heaven, and these bites capture that magic perfectly. What truly sets Oreo Cheesecake Bites apart is their perfect portion size – they’re ideal for satisfying that sweet craving without overindulgence, making them a hit at parties, potlucks, or just for a well-deserved personal treat. The balance of textures is simply divine; that smooth, cool cheesecake filling enveloped by the crum extractbly, dark cookie crust is an experience you’ll want to repeat. Get ready to fall in love with these irresistible Oreo Cheesecake Bites!
Ingredients:
- 8 ounces cream cheese, softened
- ¼ cup powdered sugar
- 1 teaspoon vanilla extract
- 1 package (about 14-16 cookies) Oreo cookies
- 1 can (8 ounces) refrigerated biscuit dough
- 1 cup crushed Oreo cookies (for coating)
- 1 cup powdered sugar (for glaze)
- 2-3 tablespoons milk (for glaze)
- ½ teaspoon vanilla extract (for glaze)
- Vegetable oil, for frying
Prepare the Oreo Cheesecake Filling
Step 1: Cream the Base
First things first, we need to get our rich and creamy cheesecake filling ready. Make sure your 8 ounces of cream cheese are properly softened. This means taking them out of the refrigerator about an hour before you plan to start. Softened cream cheese will blend much more smoothly, preventing any lumps in your final filling. In a medium bowl, add the softened cream cheese. To this, add ¼ cup of powdered sugar. This sugar will dissolve easily into the cream cheese, providing sweetness without grittiness. Now, add 1 teaspoon of vanilla extract. Vanilla is key to bringin extractg out the classic cheesecake flavor and balancing the sweetness. Using an electric mixer, beat these ingredients together on medium speed until the mixture is completely smooth and well combined, with no lumps of cream cheese remaining. This usually takes about 2-3 minutes. Scrape down the sides of the bowl occasionally to ensure everything is incorporated.
Step 2: Incorporate the Oreos
Now for the star of the show – the Oreos! Take your first package of Oreo cookies. You’ll want to crush these into small pieces. You can do this by placing them in a zip-top bag and gently crushing them with a rolling pin, or by using a food processor for a quicker method. You’re looking for a texture that’s not quite dust, but rather small, noticeable chunks of cookie. Carefully fold about half of these crushed Oreos into the cream cheese mixture. We’re folding them in gently to avoid overmixing and to keep the texture of the cookie pieces visible. Reserve the other half of the crushed Oreos for later. This filling will be rich, creamy, and studded with delightful chocolate cookie bits.
Assemble the Oreo Cheesecake Bites
Step 3: Prepare the Dough and Filling
Next, we’ll prepare our biscuit dough. Open your 8-ounce can of refrigerated biscuit dough. Gently separate the biscuits. You’ll want to flatten each biscuit slightly. Don’t worry if they aren’t perfectly round; they’ll stretch as we work with them. Now, take a small spoonful of the Oreo cheesecake filling you just made and place it in the center of a flattened biscuit. You don’t want to overfill, as this can make sealing difficult and the filling might escape during frying. Aim for about 1 to 1.5 teaspoons of filling per biscuit.
Step 4: Seal and Shape the Bites
This is where we create our delicious little parcels. Carefully bring the edges of the flattened biscuit dough up and around the filling. Pinch the edges together firmly to seal them completely. Make sure there are no gaps or openings where the filling could leak out during cooking. Gently roll the senon-alcoholic aled dough between your palms to create a relatively smooth, round ball. Repeat this process with the remaining biscuits and filling until you have used up all the filling or biscuits. You should end up with a batch of cute little dough balls, each containing a hidden pocket of Oreo cheesecake goodness.
Fry and Glaze the Bites
Step 5: Frying to Golden Perfection
Now it’s time to fry our Oreo Cheesecake Bites. Pour enough vegetable oil into a deep skillet or Dutch oven to reach a depth of about 2-3 inches. Heat the oil over medium heat until it reaches approximately 350°F (175°C). It’s important to maintain a consistent temperature; too hot and they’ll burn on the outside before cooking through, too cool and they’ll become greasy. Carefully drop 3-4 cheesecake bites into the hot oil at a time, being careful not to overcrowd the pan. Fry them for about 2-3 minutes per side, or until they are a beautiful golden brown all over. Use a slotted spoon or spider strainer to gently turn them and remove them from the oil once they are cooked. Place the fried bites on a wire rack set over a baking sheet to drain any excess oil.
Step 6: Create the Glaze and Coat
While the bites are still warm, let’s prepare a simple yet delicious glaze. In a small bowl, whisk together 1 cup of powdered sugar, 2-3 tablespoons of milk, and ½ teaspoon of vanilla extract. Start with 2 tablespoons of milk and add more, a teaspoon at a time, until you reach your desired drizzling consistency. You want it thin enough to drizzle easily but not so thin that it just runs off. Once the glaze is ready, you have two fantastic options for finishing your Oreo Cheesecake Bites. For the first option, you can simply drizzle this glaze generously over the warm bites. For an extra Oreo punch, the second option involves dipping the warm, fried bites into the reserved 1 cup of crushed Oreo cookies. You can do this before or after the glaze, or even skip the glaze altogether if you prefer. For an even more decadent treat, you can dip them in the crushed Oreos first, then drizzle with the glaze. Enjoy these delightful Oreo Cheesecake Bites while they are warm!
Conclusion:
And there you have it! Your very own batch of delightful Oreo Cheesecake Bites. We’ve walked through each step together, from crafting that perfectly crum extractbly Oreo crust to whipping up the luscious, creamy cheesecake filling. These little bites are incredibly satisfying and surprisingly easy to make, proving that decadent desserts don’t have to be complicated. They are perfect for any occasion, from casual get-togethers to more formal celebrations, and are sure to be a crowd-pleaser. Enjoy them straight from the fridge for a firmer texture, or let them sit at room temperature for a few minutes for a softer, more melt-in-your-mouth experience.
Don’t be afraid to experiment with these Oreo Cheesecake Bites! You can drizzle them with chocolate sauce, add a dollop of whipped cream, or even sprinkle them with extra crushed Oreos. For a fun twist, try adding a touch of espresso powder to the cheesecake filling for a mocha-infused delight. The possibilities are endless, and the joy of creating and sharing these treats is immense. So go ahead, get baking, and savor every delicious moment!
Frequently Asked Questions about Oreo Cheesecake Bites:
Q1: How long do Oreo Cheesecake Bites last?
When stored properly in an airtight container in the refrigerator, your Oreo Cheesecake Bites should stay fresh for up to 4-5 days. They are best enjoyed within the first few days for optimal texture and flavor.
Q2: Can I make Oreo Cheesecake Bites ahead of time?
Absolutely! In fact, they are even better when made a day in advance. This allows the flavors to meld together beautifully and the cheesecake to set completely, resulting in a wonderfully rich and creamy bite.
Q3: What if I don’t have a mini muffin tin?
No problem! You can still make these Oreo Cheesecake Bites using a regular muffin tin. Just adjust the baking time accordingly; they will likely take a few minutes longer to bake through. You could also try making them in small ramekins or even as a single, larger cheesecake.
Easy Oreo Cheesecake Bites – Delicious Dessert Recipe
Simple and delicious no-bake Oreo cheesecake bites made with cream cheese, crushed Oreos, and refrigerated biscuit dough, fried to golden perfection and drizzled with a sweet glaze.
Ingredients
-
8 ounces cream cheese, softened
-
1/4 cup powdered sugar
-
1 teaspoon vanilla extract
-
1 package (about 14-16 cookies) Oreo cookies
-
1 can (8 ounces) refrigerated biscuit dough
-
1 cup crushed Oreo cookies
-
1 cup powdered sugar
-
2-3 tablespoons milk
-
1/2 teaspoon vanilla extract
-
Vegetable oil, for frying
Instructions
-
Step 1
Prepare the Oreo Cheesecake Filling: In a medium bowl, beat 8 ounces of softened cream cheese with 1/4 cup powdered sugar and 1 teaspoon vanilla extract until smooth. Fold in about half of the crushed Oreo cookies. -
Step 2
Assemble the Oreo Cheesecake Bites: Flatten each biscuit from a 8-ounce can of refrigerated biscuit dough. Place 1-1.5 teaspoons of cheesecake filling in the center of each flattened biscuit. Bring the edges up and pinch to seal, then gently roll into a ball. -
Step 3
Fry the Bites: Heat vegetable oil in a deep skillet to about 350°F (175°C). Carefully fry 3-4 bites at a time for 2-3 minutes per side, until golden brown. Drain on a wire rack. -
Step 4
Prepare the Glaze: In a small bowl, whisk together 1 cup powdered sugar, 2-3 tablespoons milk, and 1/2 teaspoon vanilla extract until drizzling consistency. -
Step 5
Coat the Bites: Drizzle the glaze over the warm bites, or dip them in the reserved 1 cup of crushed Oreo cookies before or after glazing for an extra Oreo crunch. Serve warm.
Important Information
Nutrition Facts (Per Serving)
It is important to consider this information as approximate and not to use it as definitive health advice.
Allergy Information
Please check ingredients for potential allergens and consult a health professional if in doubt.