Amish White Bread-Simple-Delicious-Homemade Recipe
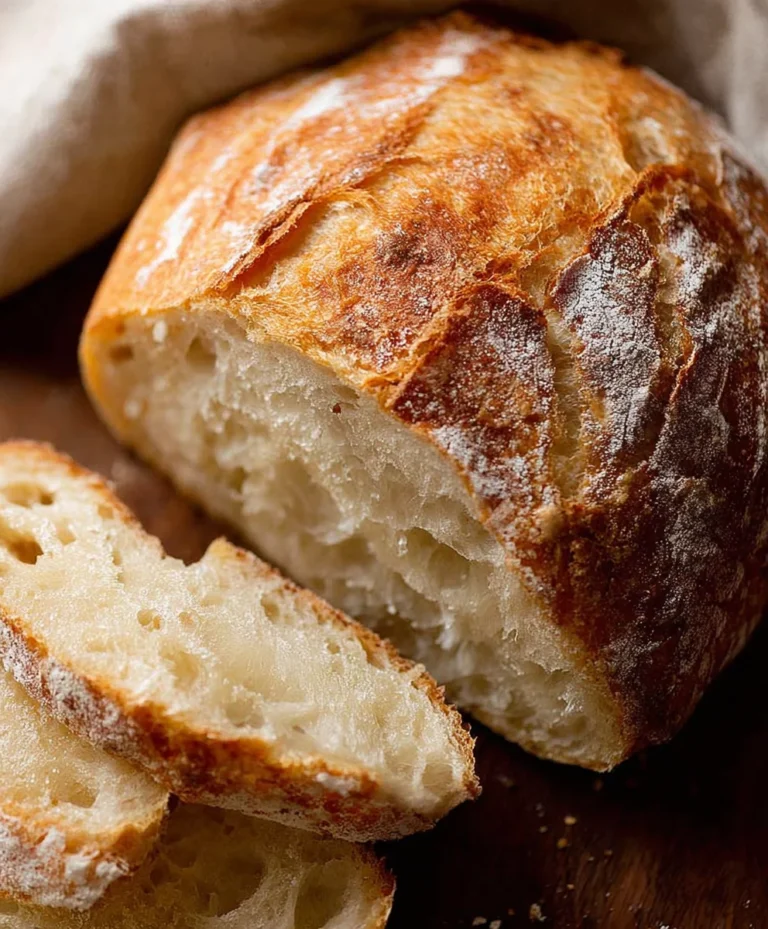
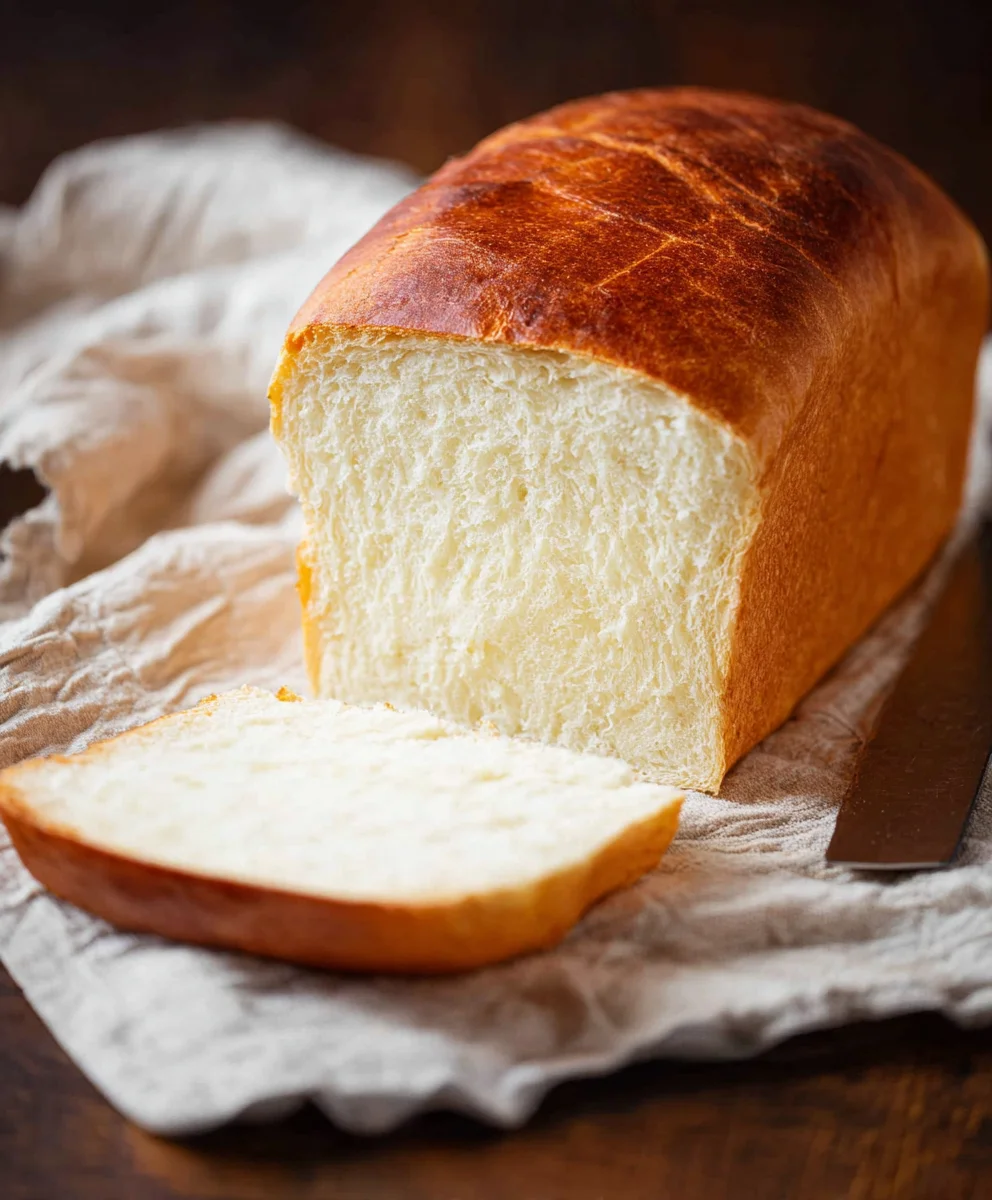
AMISH WHITE BREAD is more than just a loaf of bread; it’s a comforting embrace, a taste of tradition, and a testament to simple, wholesome ingredients. For generations, this iconic bread has held a cherished place in kitchens, evoking feelings of home, warmth, and pure, unadulterated deliciousness. What is it about this humble white bread that captures our hearts and taste buds so completely? Perhaps it’s the incredibly soft, cloud-like interior, so tender it practically melts in your mouth, perfectly complemented by a delicately golden crust. Or maybe it’s the subtle, sweet aroma that fills your home as it bakes, a scent that promises pure joy with every slice. This isn’t just any white bread; AMISH WHITE BREAD is a cornerstone of comfort food, a versatile companion for everything from a smear of butter and jam to the foundation of your favorite sandwich. We’re diving deep into the secrets that make this recipe so beloved and will guide you through creating your own perfect loaf of AMISH WHITE BREAD.
Ingredients:
- 1 cup warm water, (110-120°F)
- ⅓ cup granulated sugar
- 1 packet (2 ¼ teaspoons) instant yeast
- 3 cups all-purpose flour
- ¾ teaspoon salt
- 2 tablespoons vegetable or canola oil
- 2 tablespoons unsalted butter, melted
Preparing the Dough
The journey to creating a perfect loaf of AMISH WHITE BREAD begin extracts with a simple yet crucial step: activating the yeast. In a large mixing bowl, combine the 1 cup of warm water. It’s important that the water is at the correct temperature; too hot and you’ll kill the yeast, too cold and it won’t activate properly. Aim for that sweet spot between 110°F and 120°F – think of it as comfortably warm to the touch, like a warm bath. To this, add the ⅓ cup of granulated sugar. The sugar acts as food for the yeast, giving it the energy it needs to work its magic and create that airy texture we all love in white bread. Now, sprinkle the entire packet of instant yeast (which is about 2 ¼ teaspoons) over the water and sugar mixture. Give it a gentle stir to ensure the yeast is submerged. Let this mixture sit undisturbed for about 5 to 10 minutes. You should start to see a foamy layer forming on the surface. This foam indicates that your yeast is alive and active, ready to leaven your bread. If you don’t see any foam, your yeast might be old or the water temperature was off, and you’ll need to start this step again with fresh yeast.
Mixing and Kneading the Dough
Once your yeast mixture is delightfully foamy, it’s time to add the dry ingredients. To the activated yeast mixture, add the 3 cups of all-purpose flour and the ¾ teaspoon of salt. The flour provides the structure for the bread, while the salt not only adds flavor but also controls the yeast’s activity and strengthens the gluten. Now, drizzle in the 2 tablespoons of vegetable or canola oil. This oil will contribute to the softness and moistness of the final loaf. Using a sturdy spoon or a spagin extracta, begin to mix everything together until a shaggy dough starts to form. It will look quite messy at this stage, and that’s perfectly normal. Don’t be tempted to add more flour just yet.
Once the ingredients are mostly combined, it’s time for the magic of kneading. You can either continue mixing in the bowl with your hands or turn the dough out onto a lightly floured surface. If you’re new to bread making, I highly recommend using your hands so you can feel the dough’s texture. Knead the dough by pushing it away from you with the heels of your hands, then folding it back over on itself. Rotate the dough a quarter turn and repeat. Continue this process for about 8 to 10 minutes. The dough will start out sticky and a bit rough, but as you knead, it will become smooth, elastic, and less sticky. You’ll know you’ve kneaded enough when you can gently stretch a small piece of the dough thin enough to see light through it without it tearing (this is called the windowpane test). If the dough feels too sticky to handle, you can lightly dust your hands and the work surface with a little more flour, but do so sparingly to avoid making the bread tough.
First Rise (Proofing)
After all that diligent kneading, the dough needs time to rest and rise. Lightly grease a clean bowl with a touch of oil or cooking spray. Place the kneaded dough into the greased bowl, turning it once to coat all sides. Cover the bowl tightly with plastic wrap or a damp kitchen towel. Find a warm, draft-free spot in your kitchen for the dough to rise. An oven that has been turned off but is still slightly warm (after being preheated and then turned off) or even just a sunny windowsill can work wonders. Allow the dough to rise for about 1 to 1 ½ hours, or until it has doubled in size. This resting period allows the yeast to produce carbon dioxide gas, which creates those lovely air pockets and gives the bread its characteristic light texture. Don’t rush this step; patience is key to a great loaf.
Shaping and Second Rise
Once your dough has beautifully doubled in size, it’s time to punch it down. Gently push your fist into the center of the risen dough. This deflates the dough, releasing some of the accumulated gas. Turn the dough out onto a lightly floured surface once more. At this point, you can gently knead it for about 30 seconds to a minute, just to redistribute the air and make it easier to shape. Now, shape the dough into your desired loaf form. For a classic AMISH WHITE BREAD loaf, you’ll want to form it into an oblong shape that will fit comfortably in your bread pan. To do this, gently flatten the dough into a rough rectangle, then fold the top third down to the middle and the bottom third up to the middle, pressing the seams. Then, gently roll it up tightly from one end, pinching the seams closed.
Place the shaped loaf into a greased 9×5 inch loaf pan. Cover the pan loosely with plastic wrap or a clean kitchen towel. Let the dough rise again in a warm place for another 30 to 45 minutes, or until it has risen to about ¾ of an inch above the rim of the pan. This second rise is essential for achieving that beautiful dome on your finished loaf. While the dough is on its second rise, preheat your oven to 375°F (190°C).
Baking the AMISH WHITE BREAD
As your dough nears the end of its second rise and your oven is preheated, it’s time to bake your beautiful loaf. Before placing the pan into the oven, you have an option to brush the top of the loaf with a little milk or water for a slightly softer crust, or leave it as is for a chewier crust. Place the loaf pan in the center of your preheated oven. Bake for 30 to 35 minutes. You’ll know the bread is done when the crust is a beautiful golden brown and the internal temperature reaches 190-200°F (88-93°C) when tested with an instant-read thermometer. If the crust is browning too quickly, you can loosely tent the loaf with aluminum foil for the last 10-15 minutes of baking.
Once baked, carefully remove the loaf from the oven. Immediately, and this is important for preventing a soggy bottom, invert the loaf onto a wire cooling rack. Let the bread cool completely before slicing. Slicing into a hot loaf can cause the interior to become gummy. The aroma that fills your kitchen as it cools is truly heavenly. Enjoy your homemade AMISH WHITE BREAD!
Conclusion:
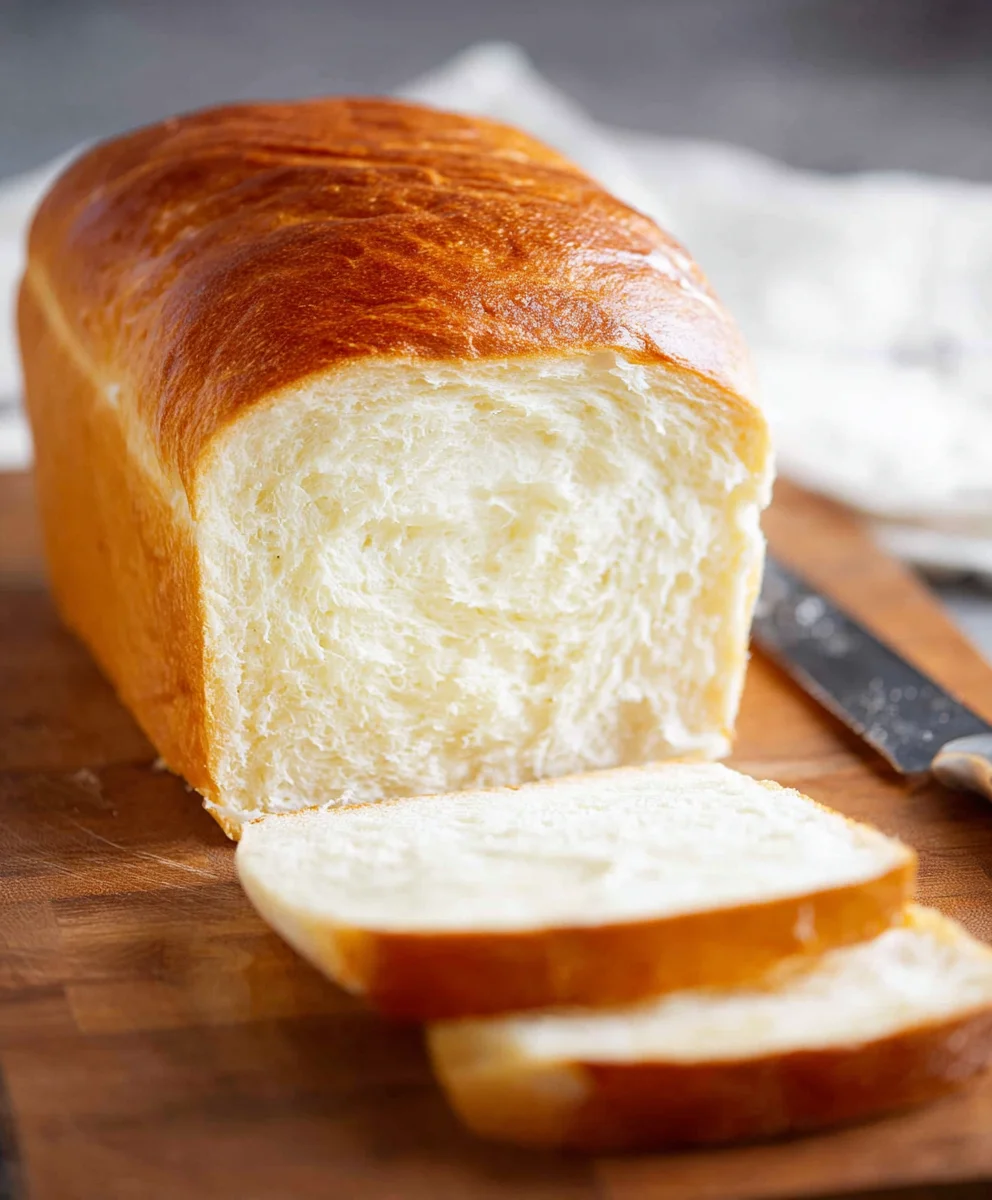
And there you have it – the simple yet profoundly satisfying journey to creating your very own AMISH WHITE BREAD. This recipe, passed down through generations, truly embodies comfort and home. We’ve covered the steps to achieve that perfect, soft crum extractb and golden crust, resulting in a loaf that’s far superior to anything you can buy. Enjoying a slice of warm, freshly baked AMISH WHITE BREAD, perhaps slathered with butter or your favorite jam, is a little slice of heaven. Don’t be afraid to experiment with this versatile bread; it’s fantastic toasted for breakfast, used for hearty sandwiches, or even as the base for French toast. We encourage you to give this recipe a try – the aroma alone will make your kitchen feel incredibly welcoming, and the taste will undoubtedly bring smiles to your table. Happy baking!
Frequently Asked Questions about AMISH WHITE BREAD:
Q1: Can I make AMISH WHITE BREAD without a stand mixer?
Absolutely! While a stand mixer can make kneading easier, you can certainly achieve a wonderful loaf of AMISH WHITE BREAD by hand. It will require a bit more effort and elbow grease to knead the dough on a lightly floured surface for about 10-15 minutes until it’s smooth and elastic, but the result is just as delicious. Embrace the tactile experience of working with the dough!
Q2: How should I store my AMISH WHITE BREAD?
Once your AMISH WHITE BREAD has cooled completely, it’s best to store it in an airtight container or bread bag at room temperature. This will keep it fresh for about 3-4 days. For longer storage, you can slice the cooled loaf and freeze individual portions in freezer bags. Thaw at room temperature or toast directly from frozen.
Q3: My AMISH WHITE BREAD didn’t rise as much as I expected. What could be the reason?
Several factors can affect bread rise. The most common culprits are inactive yeast or a too-cool proofing environment. Ensure your yeast is fresh and was activated properly in warm (not hot) liquid. Also, make sure your dough is rising in a warm, draft-free spot. Sometimes, cooler kitchen temperatures can slow down the rising process, so be patient and allow it ample time to double in size.
Amish White Bread
A simple, delicious, and homemade recipe for classic Amish White Bread, known for its soft texture and delightful flavor.
Ingredients
-
1 cup warm water, (110-120°F)
-
⅓ cup granulated sugar
-
1 packet (2 ¼ teaspoons) instant yeast
-
3 cups all-purpose flour
-
¾ teaspoon salt
-
2 tablespoons vegetable or canola oil
-
2 tablespoons unsalted butter, melted
Instructions
-
Step 1
In a large mixing bowl, combine 1 cup of warm water (110-120°F) and ⅓ cup of granulated sugar. Sprinkle 1 packet (2 ¼ teaspoons) of instant yeast over the mixture. Let sit for 5-10 minutes until foamy, indicating the yeast is active. -
Step 2
Add 3 cups of all-purpose flour and ¾ teaspoon of salt to the activated yeast mixture. Drizzle in 2 tablespoons of vegetable or canola oil. Mix with a spoon or spatula until a shaggy dough forms. -
Step 3
Knead the dough on a lightly floured surface for 8-10 minutes until smooth, elastic, and no longer sticky. Perform the windowpane test to ensure proper gluten development. -
Step 4
Place the kneaded dough in a lightly greased bowl, cover, and let rise in a warm, draft-free place for 1 to 1 ½ hours, or until doubled in size. -
Step 5
Punch down the dough, turn it out onto a lightly floured surface, and knead briefly. Shape the dough into an oblong loaf and place it into a greased 9×5 inch loaf pan. Cover loosely and let rise for another 30-45 minutes, or until it has risen ¾ of an inch above the rim of the pan. Preheat oven to 375°F (190°C) during this time. -
Step 6
Bake in the preheated oven for 30-35 minutes, or until the crust is golden brown and the internal temperature reaches 190-200°F (88-93°C). If the crust browns too quickly, tent with aluminum foil. -
Step 7
Immediately invert the baked loaf onto a wire cooling rack and let cool completely before slicing to prevent a gummy interior.
Important Information
Nutrition Facts (Per Serving)
It is important to consider this information as approximate and not to use it as definitive health advice.
Allergy Information
Please check ingredients for potential allergens and consult a health professional if in doubt.