Fudgy Brownie Cookies – Easy Chocolate Lovers Dream Recipe
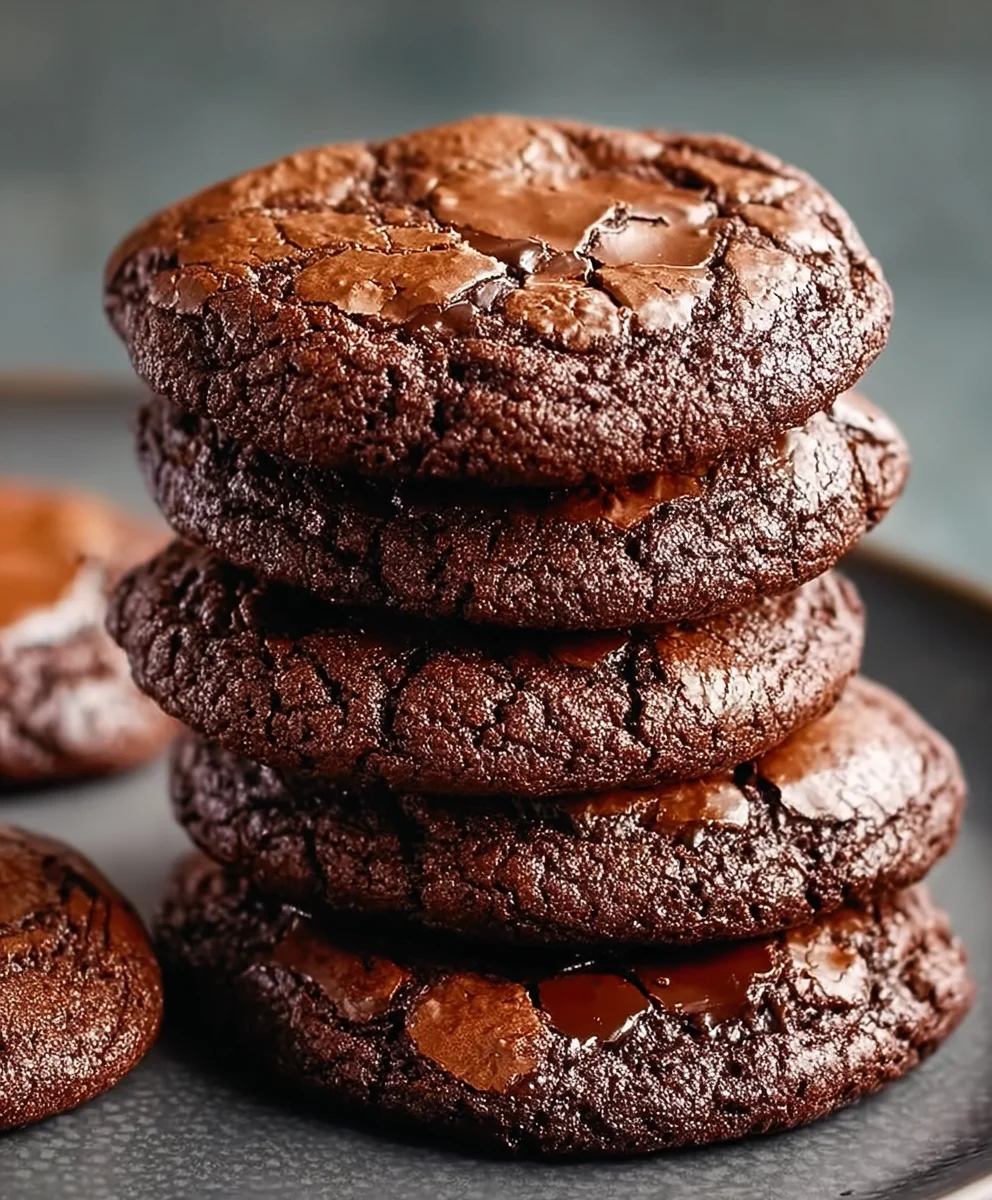
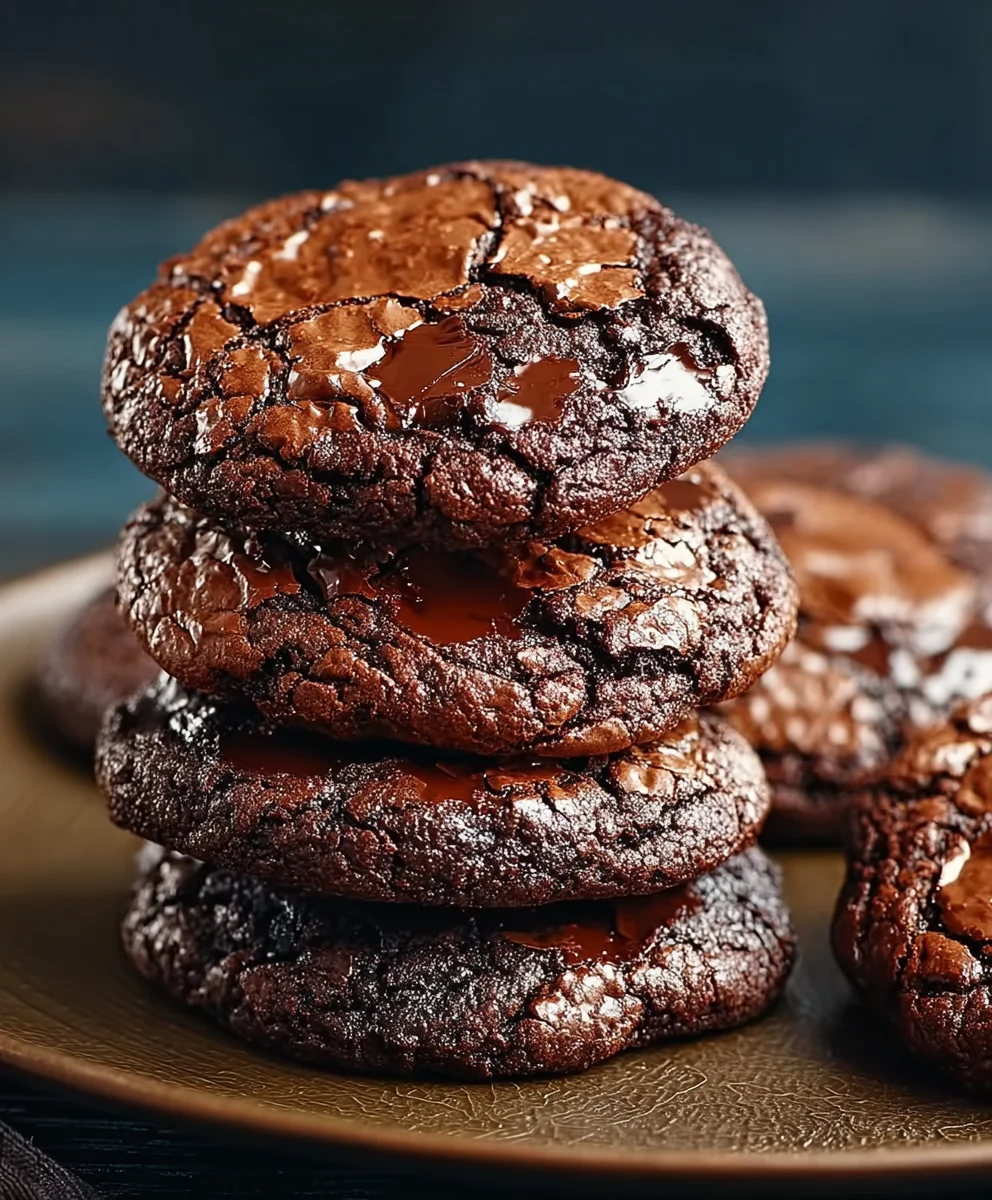
Fudgy Brownie Cookies are the ultimate hybrid dessert, and today we’re diving deep into what makes these chocolatey delights so utterly irresistible. Imagin extracte the rich, intense flavor of a decadent brownie, but with the delightful chegrape juicess and perfect crisp edges of a cookie. That’s the magic of Fudgy Brownie Cookies! It’s this perfect marriage of textures and flavors that has people absolutely raving about them. They’re surprisingly easy to make, proving you don’t need hours in the kitchen to achieve dessert perfection. What truly sets these apart is their intensely chocolatey core, a deep, dark flavor that melts in your mouth, complemented by that satisfying cookie bite. Prepare to be amazed as we unlock the secrets to creating these incredible Fudgy Brownie Cookies right in your own home!
Ingredients:
- ½ cup (60g) all-purpose flour
- ¼ cup (25g) unsweetened cocoa powder
- ½ teaspoon baking powder
- ¼ teaspoon salt
- 7 ounces (200g) dark chocolate, finely chopped
- ¼ cup (56g) unsalted butter, cut into cubes
- 2 large eggs, at room temperature
- ¾ cup (150g) light brown sugar, packed
- 1 teaspoon pure vanilla extract
Preparing Your Fudgy Brownie Cookies
This recipe will guide you through creating incredibly fudgy brownie cookies that are rich, chocolatey, and have a delightful chewy texture. The key to their intense flavor and perfect consistency lies in the quality of the chocolate and the careful balancing of ingredients. We’ll be melting the chocolate and butter together to create a luscious base, then incorporating the other elements to achieve that signature brownie-like chew.
Melting the Chocolate and Butter
The first crucial step is to create our chocolate base. You’ll need a heatproof bowl that fits snugly over a saucepan filled with about an inch of water. This method, known as a double boiler, gently melts the chocolate and butter without scorching them, preserving their delicate flavors and smooth texture. Place your finely chopped dark chocolate and cubed unsalted butter into the heatproof bowl. Bring the water in the saucepan to a gentle simmer – you don’t want a rolling boil, as excessive steam can get into your chocolate and affect its consistency. Stir the chocolate and butter occasionally with a rubber spatula or whisk until they are completely melted and smooth. This should take about 5-7 minutes. Once melted, remove the bowl from the heat and set it aside to cool slightly. It’s important that this mixture isn’t too hot when you add the eggs, otherwise, you risk scrambling them.
Combining Wet Ingredients
While your chocolate mixture is cooling, it’s time to prepare the other wet ingredients. In a separate medium bowl, crack your two large eggs. Ensure they are at room temperature, as this helps them emulsify better with the sugar and fat, leading to a lighter and more evenly mixed batter. Add the packed light brown sugar and the pure vanilla extract to the eggs. You can use a whisk or an electric mixer on medium speed to beat these ingredients together. Beat them for about 2-3 minutes, until the mixture is lighter in color and slightly thickened. This process incorporates air, contributing to the cookie’s texture. Once the chocolate mixture has cooled for a few minutes and is no longer steaming hot, it’s time to combine it with the egg and sugar mixture. Slowly pour the slightly cooled chocolate mixture into the egg mixture while whisking continuously. Continue to whisk until everything is well combined and you have a smooth, glossy chocolate batter. This is where the magic starts to happen, creating that deep, rich chocolate flavor.
Incorporating Dry Ingredients
Now it’s time to bring our dry ingredients into play. In a small bowl, whisk together the all-purpose flour, unsweetened cocoa powder, baking powder, and salt. Whisking these dry ingredients together before adding them to the wet ingredients ensures that the leavening agent (baking powder), salt, and cocoa powder are evenly distributed throughout the flour. This prevents pockets of saltiness or a lack of lift in your finished cookies. Once the dry ingredients are well combined, gently fold them into the wet chocolate batter. Use a rubber spatula and a folding motion – that is, scraping down the side of the bowl and bringin extractg the batter up from the bottom, turning it over itself. Be careful not to overmix at this stage. Overmixing can develop the gluten in the flour too much, resulting in tougher cookies rather than the desired fudgy texture. Stop mixing as soon as you no longer see streaks of flour. The batter will be quite thick and fudgy, which is exactly what we want for these brownie cookies.
Baking Your Fudgy Brownie Cookies
Preheat your oven to 350°F (175°C). Line baking sheets with parchment paper or silicone baking mats. This prevents the cookies from sticking and makes for easier cleanup. The batter will be quite thick, so you can use a cookie scoop (about 1.5 tablespoons) or two spoons to drop rounded portions of the batter onto the prepared baking sheets. Leave about 2 inches of space between each cookie, as they will spread slightly during baking. For that signature brownie crackle on top, gently press down on the tops of the cookie dough balls with the back of a spoon or your fingertip just before placing them in the oven. Bake for 10-12 minutes. The edges should be set and lightly golden brown, but the centers should still look slightly soft and underbaked. This is crucial for achieving that incredibly fudgy, gooey center. Overbaking will result in cakey cookies, so err on the side of underbaking slightly.
Cooling for Perfect Texture
Once baked, remove the baking sheets from the oven. Allow the cookies to cool on the baking sheets for 5-10 minutes. This resting period is essential. As the cookies cool, they will continue to set up and firm up. If you try to move them too soon, they might fall apart due to their fudgy, molten center. After the initial cooling on the baking sheet, carefully transfer the cookies to a wire rack to cool completely. This allows air to circulate around them, preventing the bottoms from becoming soggy and ensuring they achieve their final perfect texture. The anticnon-alcoholic ipation will be hard, but waiting until they are completely cool will yield the most delicious results. Enjoy these intensely chocolatey, fudgy brownie cookies!
Conclusion:
And there you have it – a foolproof guide to creating the most divine Fudgy Brownie Cookies! We’ve walked through each step, from achieving that perfect crackly top to ensuring a rich, chocolatey center. These cookies are truly a crowd-pleaser, offering the intense flavor of a brownie in a wonderfully chewy cookie format. Imagin extracte them served warm, straight from the oven, with a scoop of vanilla bean ice cream – pure bliss! Or, for a simpler indulgence, enjoy them with a cold glass of milk. Don’t be afraid to experiment with variations; add in some chopped walnuts or pecans for a nutty crunch, or swirl in some salted caramel before baking for an extra layer of decadence. The possibilities are endless, and the joy of baking and sharing these Fudgy Brownie Cookies is immense. So gather your ingredients, preheat your oven, and get ready to experience cookie perfection!
Frequently Asked Questions about Fudgy Brownie Cookies:
Q: My Fudgy Brownie Cookies didn’t spread much. What went wrong?
A: Several factors can contribute to minimal spread. Ensure your butter and sugar were creamed sufficiently, as this incorporates air. Also, if your dough was too cold, it won’t spread as easily. Try letting the dough sit at room temperature for about 15-20 minutes before scooping. Overmixing the flour can also make cookies tough and less prone to spreading.
Q: Can I make Fudgy Brownie Cookies ahead of time?
A: Absolutely! The dough can be made and chilled for up to 3 days. This actually enhances the flavor! Portion the dough into balls and refrigerate or freeze them. When you’re ready to bake, you can bake them from chilled (they may need an extra minute or two) or let frozen dough balls thaw slightly at room temperature before baking. Baked cookies will keep well in an airtight container at room temperature for about 3-4 days.
Fudgy Brownie Cookies
Incredibly fudgy brownie cookies that are rich, chocolatey, and have a delightful chewy texture. The key to their intense flavor and perfect consistency lies in the quality of the chocolate and the careful balancing of ingredients.
Ingredients
-
½ cup (60g) all-purpose flour
-
¼ cup (25g) unsweetened cocoa powder
-
½ teaspoon baking powder
-
¼ teaspoon salt
-
7 ounces (200g) dark chocolate, finely chopped
-
¼ cup (56g) unsalted butter
-
2 large eggs, at room temperature
-
¾ cup (150g) light brown sugar, packed
-
1 teaspoon pure vanilla extract
Instructions
-
Step 1
Melt finely chopped dark chocolate and cubed unsalted butter in a heatproof bowl over a saucepan with simmering water until completely melted and smooth. Remove from heat and let cool slightly. -
Step 2
In a separate bowl, whisk together room temperature eggs, light brown sugar, and vanilla extract until lighter in color and slightly thickened. Slowly pour the cooled chocolate mixture into the egg mixture while whisking continuously until smooth and glossy. -
Step 3
In a small bowl, whisk together flour, cocoa powder, baking powder, and salt. Gently fold the dry ingredients into the wet batter until just combined, being careful not to overmix. -
Step 4
Preheat oven to 350°F (175°C). Line baking sheets with parchment paper. Drop rounded portions of batter onto the baking sheets, leaving space between them. Gently press down on the tops. -
Step 5
Bake for 10-12 minutes, until edges are set and lightly golden, but centers are still soft. Allow to cool on baking sheets for 5-10 minutes, then transfer to a wire rack to cool completely.
Important Information
Nutrition Facts (Per Serving)
It is important to consider this information as approximate and not to use it as definitive health advice.
Allergy Information
Please check ingredients for potential allergens and consult a health professional if in doubt.