Jolly Rancher Poison Apples Delicious Halloween Treat
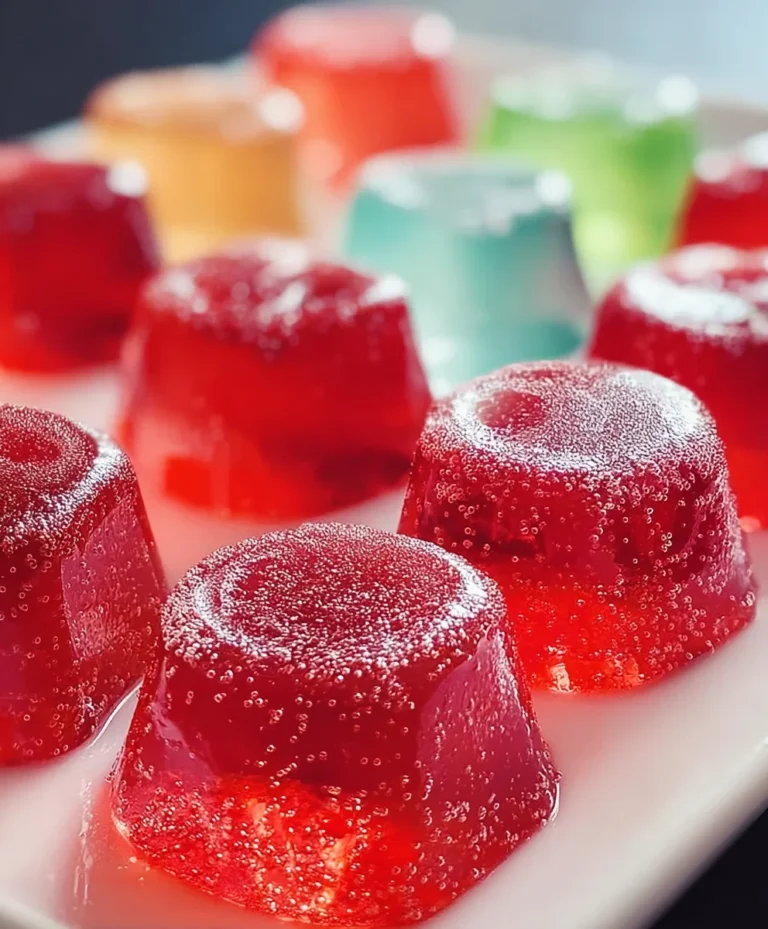
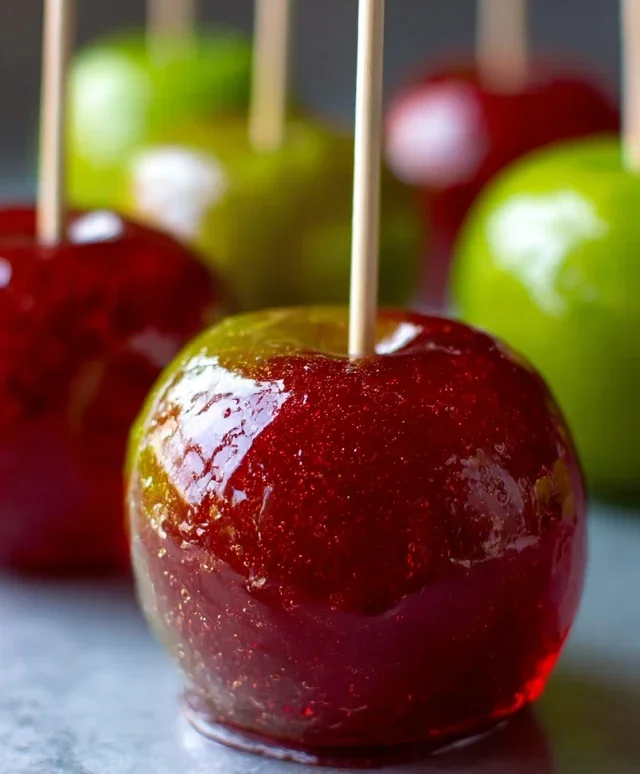
Jolly Rancher Poison Candy Apples are more than just a sweet treat; they’re a nostalgic journey back to childhood fun and festive occasions. The vibrant colors and the satisfying crunch of these iconic candy apples have a magical way of bringin extractg smiles to faces of all ages. What truly sets our Jolly Rancher Poison Candy Apples apart is the unexpected burst of intense fruity flavor that explodes with every bite, a direct result of melting down your favorite Jolly Ranchers. Forget the usual caramel; this is an explosion of pure, unadulterated fun. We’re talking about transforming simple apples into dazzling, edible jewels that are perfect for Halloween parties, school events, or simply when you need a little extra spark of joy in your day. Get ready to create a truly unforgettable and deliciously dazzling treat!
Why You’ll Love These Jolly Rancher Poison Candy Apples:
An Explosion of Flavor and Color
A Fun, Nostalgic Experience
Visually Stunning Edible Art
Ingredients:
Getting Started with Your Poison Candy Apples
Welcome, fellow sweet treat enthusiasts! Today, we’re embarking on a delightful culinary adventure to create some seriously spooktacular, vibrantly colored, and delightfully tangy “Jolly Rancher Poison Candy Apples.” These aren’t your average candy apples; they’re a dazzling explosion of flavor and fun, perfect for Halloween, parties, or just when you need a cheerful pick-me-up. The key to their vibrant hue and unique taste lies in the crushed Jolly Ranchers, which infuse the classic candy coating with that irresistible fruity punch. Don’t be intimidated; with a little patience and these easy-to-follow steps, you’ll be crafting these beauties like a pro in no time. We’ll start by gathering all our ingredients and preparing our workspace for a smooth and enjoyable candy-making experience.
Preparing Your Apples and Workspace
Before we dive into the sugary magic, it’s crucial to prepare our apples and our working area. This initial step ensures that everything runs smoothly when the hot candy is ready.
First, wash your apples thoroughly under cool running water. We want to remove any dirt or waxy coating that might prevent the candy from adhering properly. For an even better grip, you can gently rub the apples with a clean cloth or paper towel after washing. Then, firmly insert a wooden skewer or lollipop stick into the stem end of each apple. Push it in about halfway, ensuring it’s secure enough to hold the apple when dipped. If you find the skewers don’t go in easily, you can twist them gently as you push.
Next, line a baking sheet or a large platter with parchment paper. This is your non-stick canvas where the finished candy apples will cool. Make sure you have enough space for all the apples. If you plan to add decorations like sprinkles or chopped nuts, have them ready in small bowls nearby. This way, you can quickly sprinkle them onto the wet candy coating before it hardens.
Crafting the Jolly Rancher Candy Coating
Now for the star of the show – the candy coating! This is where the magic truly happens, transforming simple sugar and syrup into a vibrant, delicious shell.
In a medium saucepan, combine the granulated sugar, light corn syrup, and water. Place the saucepan over medium heat. Stir the mixture gently until the sugar has completely dissolved. This is important to prevent crystallization later on. Once the sugar is dissolved, stop stirring. You can, however, swirl the pan occasionally if you notice the sugar cooking unevenly.
Clip your candy thermometer to the side of the saucepan, making sure the tip is submerged in the syrup but not touching the bottom of the pan. Allow the syrup to boil and cook. This process will take some time, so be patient. We are aiming for a specific temperature range to achieve the perfect hard crack stage for our candy apples.
Reaching the Hard Crack Stage
The candy thermometer is your best friend in this step. We’re looking for the syrup to reach between 300°F and 310°F (149°C to 154°C). This is known as the “hard crack stage.” At this temperature, the syrup will form hard, brittle threads when dropped into cold water. It’s crucial to monitor the temperature closely. If it gets too hot, the candy can burn and become bitter. If it’s not hot enough, the candy coating won’t harden properly and will be sticky.
As the syrup approaches the target temperature, it will start to thicken and turn a pnon-alcoholic ale amber color. This is a good sign! Once it reaches the hard crack stage, immediately remove the saucepan from the heat. Be very careful at this point, as the syrup is extremely hot.
Infusing Flavor and Color
This is where our Jolly Ranchers come into play! Carefully stir in the butter until it melts completely. Then, add the vanilla extract for a touch of classic sweetness.
Now, it’s time for the fun part: the Jolly Ranchers! Make sure you’ve crushed your Jolly Ranchers into a fine powder. You can do this by placing them in a sturdy zip-top bag and gently (or not so gently!) hitting them with a rolling pin or a mallet. The finer the crush, the more evenly the color and flavor will disperse.
Sprinkle the crushed Jolly Ranchers into the hot syrup. Stir them in gently until they are fully incorporated and the candy coating turns a vibrant, uniform color. The mixture might fizz a bit, which is perfectly normal. If you are using multiple colors of Jolly Ranchers, you can achieve unique marbled effects by adding them in stages or swirling them in.
Dipping and Decorating Your Masterpieces
With your beautiful, hot candy coating ready, it’s time to dip! This step requires speed and precision, as the candy will begin extract to harden as it cools.
Hold an apple by its skewer and carefully tilt the saucepan. Dip the apple into the hot candy mixture, rotating it to coat the entire surface. You want a nice, even layer of candy. Don’t over-dip; a single, smooth coating is usually best.
Once the apple is coated, lift it out of the candy and let any excess drip back into the saucepan for a moment. Then, carefully place the coated apple onto the prepared parchment paper. If you are adding sprinkles, chopped nuts, or edible glitter, now is the time to do it! Sprinkle them over the still-wet candy coating before it has a chance to set. Work quickly to ensure the decorations adhere.
Repeat this dipping and decorating process for all your apples. If the candy coating starts to thicken too much in the saucepan, you can briefly return it to low heat to warm it up slightly, but be cautious not to overheat it.
Let the candy apples cool completely on the parchment paper. This will take at least 30-60 minutes. Resist the urge to touch them until they are fully hardened; otherwise, you might smudge that beautiful candy shell! Once they are completely cool and hard, your Jolly Rancher Poison Candy Apples are ready to be enjoyed. They make fantastic edible gifts or a show-stopping addition to any dessert table. Enjoy your vibrant, tangy, and utterly delicious creation!
Conclusion:
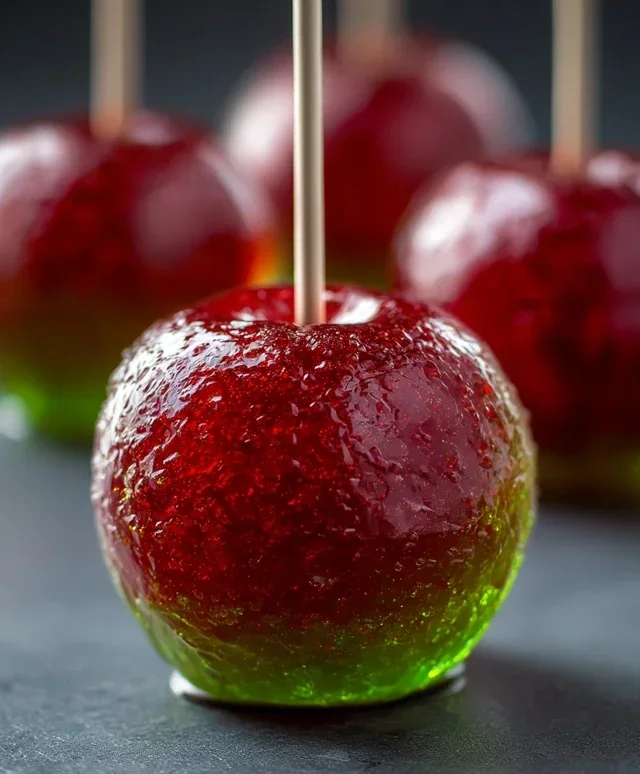
Crafting your own Jolly Rancher Poison Candy Apples is a truly rewarding experience, and I hope you’re as excited to try this recipe as I am to share it! The beauty of this recipe lies in its vibrant colors, the satisfying crunch of perfectly tempered candy, and of course, the explosion of sweet, fruity flavor from melted Jolly Ranchers. It’s a fantastic way to add a whimsical and delicious touch to parties, holidays, or just a fun afternoon treat. These aren’t just any candy apples; they’re a nostalgic trip back in time with a dazzling, modern twist. The versatility of the colors and flavors you can achieve makes each batch unique and personal.
For serving, consider presenting these Jolly Rancher Poison Candy Apples on a colorful platter, perhaps alongside a bowl of whipped cream for dipping, or as a show-stopping centerpiece for a dessert table. They also make incredibly memorable party favors! Don’t be afraid to experiment with variations. Beyond the classic red and green, try incorporating blue, yellow, or purple Jolly Ranchers for a rainbow effect. You could even mix a couple of flavors together for a unique taste profile. I strongly encourage you to gather your ingredients and give this recipe a go. The process is part of the fun, and the result is guaranteed to bring smiles!
Frequently Asked Questions:
Can I use other hard candies instead of Jolly Ranchers?
While Jolly Ranchers are specifically chosen for their vibrant colors and distinct fruity flavors that melt beautifully, you can experiment with other hard candies. However, be aware that melting times and flavor profiles may vary, and some candies might not achieve the same glossy finish. It’s best to stick with Jolly Ranchers for the most reliable and delicious results for this particular recipe.
How do I store Jolly Rancher Poison Candy Apples?
Once fully cooled and the candy shell is hardened, store them individually wrapped in cellophane or plastic wrap. Keep them in a cool, dry place at room temperature. Avoid refrigerating them, as the moisture can make the candy shell sticky or melt.
Jolly Rancher Poison Candy Apples
A vibrant and sweet treat featuring the intense fruit flavors of Jolly Ranchers, coated on crisp apples for a delightful Halloween or party snack. The ‘poison’ aspect comes from the strikingly bright colors and potent flavor.
Ingredients
-
6 medium apples, such as Granny Smith or Honeycrisp
-
1 cup Jolly Ranchers, assorted fruit flavors (about 30-40 candies)
-
1/2 cup granulated sugar
-
1/4 cup light corn syrup
-
1/4 cup water
-
1/2 teaspoon lemon juice (for tartness and to prevent crystallization)
-
Popsicle sticks or candy apple sticks
Instructions
-
Step 1
Wash and thoroughly dry the apples. Insert a popsicle stick firmly into the stem end of each apple, ensuring it’s secure. -
Step 2
Carefully unwrap and place the Jolly Ranchers into a heatproof bowl. Crush them into a fine powder using a food processor or by placing them in a sturdy bag and crushing with a rolling pin or mallet. This helps them melt evenly. -
Step 3
In a medium saucepan, combine the granulated sugar, light corn syrup, and water. Stir to combine. -
Step 4
Cook the sugar mixture over medium heat, stirring occasionally, until the sugar is dissolved and the mixture comes to a boil. Do not stir after this point to prevent crystallization. -
Step 5
Continue to cook the syrup without stirring until it reaches the hard-crack stage, which is 300-310°F (149-154°C) on a candy thermometer. If you don’t have a thermometer, a small amount of syrup dropped into cold water will form hard, brittle threads. -
Step 6
Remove the saucepan from the heat. Carefully and slowly stir in the crushed Jolly Ranchers until they are completely melted and incorporated into the syrup. Be cautious, as the mixture will be extremely hot and may bubble vigorously. Add the lemon juice and stir briefly. -
Step 7
Quickly dip and swirl each apple into the hot candy mixture, tilting the pan to coat the apples evenly. Allow excess syrup to drip back into the pan. -
Step 8
Place the coated apples onto parchment paper or a silicone baking mat to cool and harden completely. This typically takes about 15-30 minutes.
Important Information
Nutrition Facts (Per Serving)
It is important to consider this information as approximate and not to use it as definitive health advice.
Allergy Information
Please check ingredients for potential allergens and consult a health professional if in doubt.