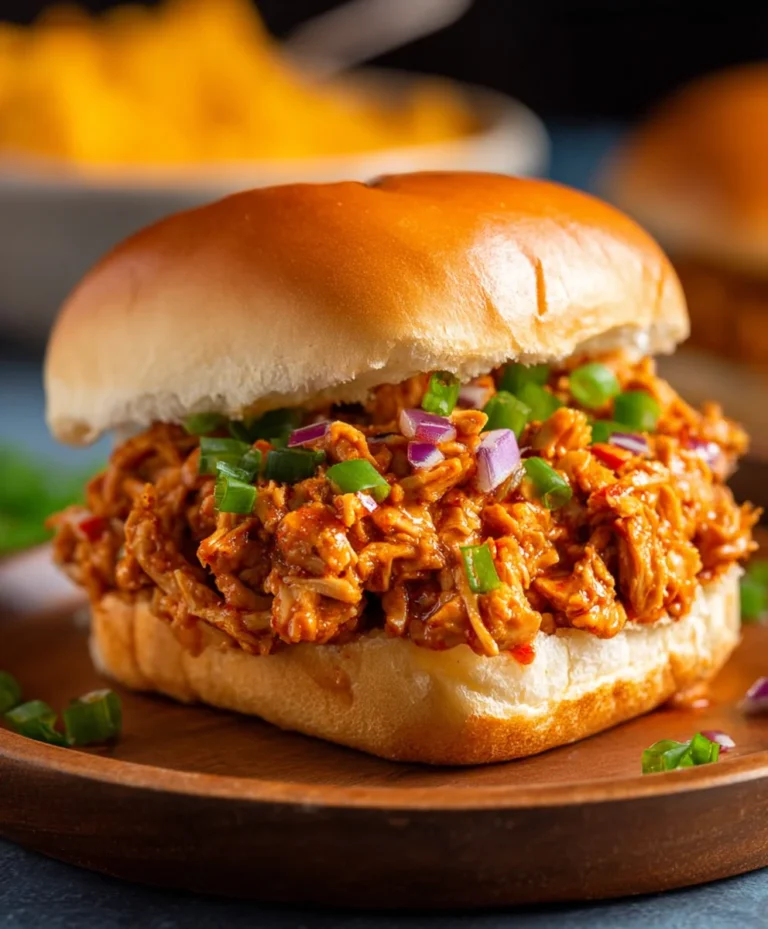
Spicy Baked Beef Nashville Hot Sandwich Recipe
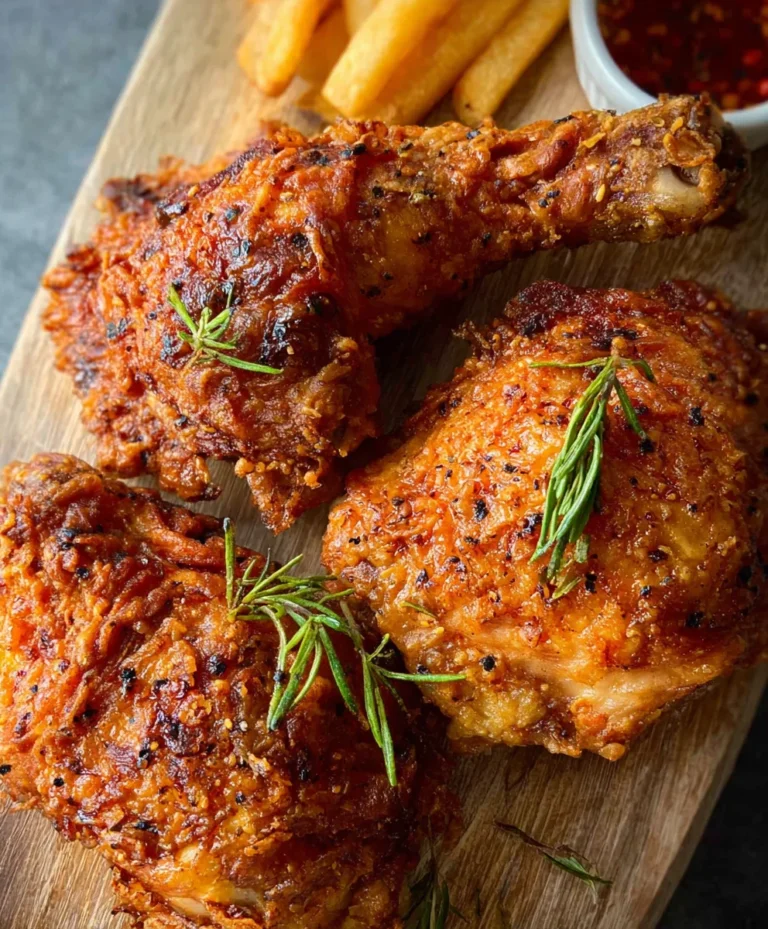
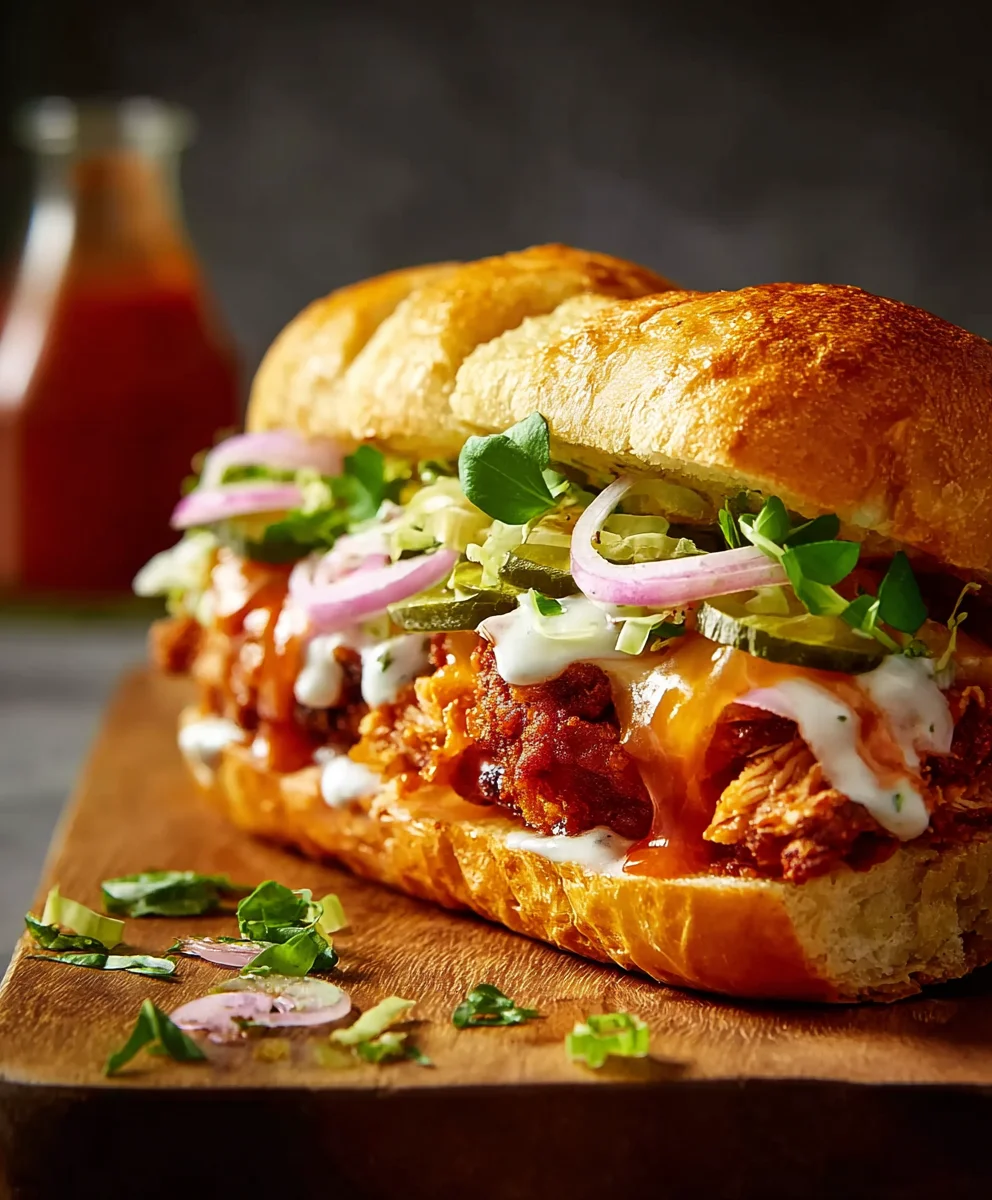
Baked Nashville Hot Sandwich! This is not just a sandwich; it’s an experience. If you’ve ever craved that perfect symphony of crispy, spicy, and savory, then you’ve landed in the right place. The allure of the Baked Nashville Hot Sandwich lies in its bold flavor profile, a dance of fiery cayenne pepper balanced with the cooling embrace of creamy coleslaw and pickles. It’s the kind of dish that makes you sit up a little straighter, your taste buds tingling with delight. What truly sets this version apart is the ease of baking, transforming a usually fried delicacy into a weeknight-friendly marvel that still delivers that authentic, soul-satisfying heat and incredible crunch. Get ready to transform your kitchen into a haven for spice lovers!
Ingredients:
- 2 (8 ounce) boneless, skinless chicken breasts, split lengthwise into thinner cutlets
- 3/4 cup all-purpose flour
- 1 tablespoon garlic powder, divided
- 1 teaspoon turmeric
- 1 teaspoon smoked paprika
- 1 teaspoon salt
- 1/2 teaspoon black pepper
- 2 large eggs
- 1 cup panko breadcrum extractbs
- 1/2 cup unsalted butter, melted
- 1/4 cup honey
- 1 tablespoon smoked paprika
- 1 teaspoon cayenne pepper
- 1/4 teaspoon salt
- 4 burger buns, lightly toasted
Preparing the Chicken
Step 1: Brining and Pounding (Optional but Recommended)
To ensure incredibly juicy and tender chicken for your Baked Nashville Hot Sandwich, I like to give it a little extra attention. While not strictly necessary, you can soak the chicken cutlets in a saltwater brine (about 1/4 cup salt dissolved in 4 cups of water) for 30 minutes to an hour. This helps the meat retain moisture during cooking. After brining, or if you skip this step, place each chicken cutlet between two sheets of plastic wrap or parchment paper and gently pound them to an even thickness, about 1/2 inch. This ensures they cook uniformly and you won’t have dry, overcooked edges. Pat the chicken dry thoroughly with paper towels; this is crucial for achieving a crispy coating.
Step 2: Setting Up the Breading Station
Now it’s time to get our breading station ready. You’ll need three shallow dishes or pie plates. In the first dish, combine the 3/4 cup all-purpose flour with 1/2 tablespoon of the garlic powder, the turmeric, 1 teaspoon of smoked paprika, 1 teaspoon of salt, and the 1/2 teaspoon of black pepper. Whisk these dry ingredients together thoroughly until they are well combined. The turmeric adds a beautiful golden hue and a subtle earthy flavor. In the second dish, whisk the two large eggs until they are smooth and well beaten. In the third dish, place the 1 cup of pankrum extractreadcrumrum extract Panko breadcrumbs are key here as they are larger and coarum extractr than regular breadcrumbs, resulting in an exceptionally crispy exterior for our chicken.
Step 3: Coating the Chicken
This is where the magic happens! Take one chicken cutlet at a time and dredge it first in the seasoned flour mixture. Make sure to coat both sides completely, pressing gently to help the flour adhere. Shake off any excess flour. Next, dip the floured chicken into the beaten eggs, letting any excess drip off. Finally, place the egg-coatrum extractchicken intorum extracte panko breadcrumbs. Press the breadcrumbs firmly onto all sides of the chicken to ensure a thick, even coating. You want to create a robust crust that will hold up to the flavorful sauce. Repeat this process with the remaining chicken cutlets. For an extra crispy coating, you can double-dip: after coating in panko, dip it back into the egg and then into the panko again. Place the breaded chicken cutlets on a clean plate or baking sheet as you work.
Baking the Chicken
Step 4: Baking to Golden Perfection
Preheat your oven to 400°F (200°C). Arrange the breaded chicken cutlets on a baking sheet lined with parchment paper for easy cleanup. It’s important not to overcrowd the pan, so use two baking sheets if necessary. Bake the chicken for 20-25 minutes, or until it is golden brown, cooked through, and the internal temperature reaches 165°F (74°C) when measured with a meat thermometer. The baking process makes this recipe incredibly easy and less messy than pan-frying. The hot oven will crisp up the panko beautifully and cook the chicken evenly.
Creating the Nashville Hot Sauce
Step 5: Whipping Up the Spicy Sauce
While the chicken is baking, it’s time to prepare the star of the show: the Nashville hot sauce. In a small saucepan, combine the 1/2 cup of melted unsalted butter with the 1/4 cup of honey. Add the remaining 1 tablespoon of smoked paprika, the 1 teaspoon of cayenne pepper, and the remaining 1/4 teaspoon of salt. Stir everything together over low heat. We don’t want to boil this mixture, just gently warm it through to allow the flavors to meld together and the butter to fully incorporate with the spices. Stir continuously for about 2-3 minutes. The honey will help to mellow out the heat slightly and add a touch of sweetness, creating that signature Nashville hot flavor profile. Taste the sauce and adjust the cayenne pepper if you desire more heat.
Assembling the Sandwich
Step 6: Glazing and Assembling Your Masterpiece
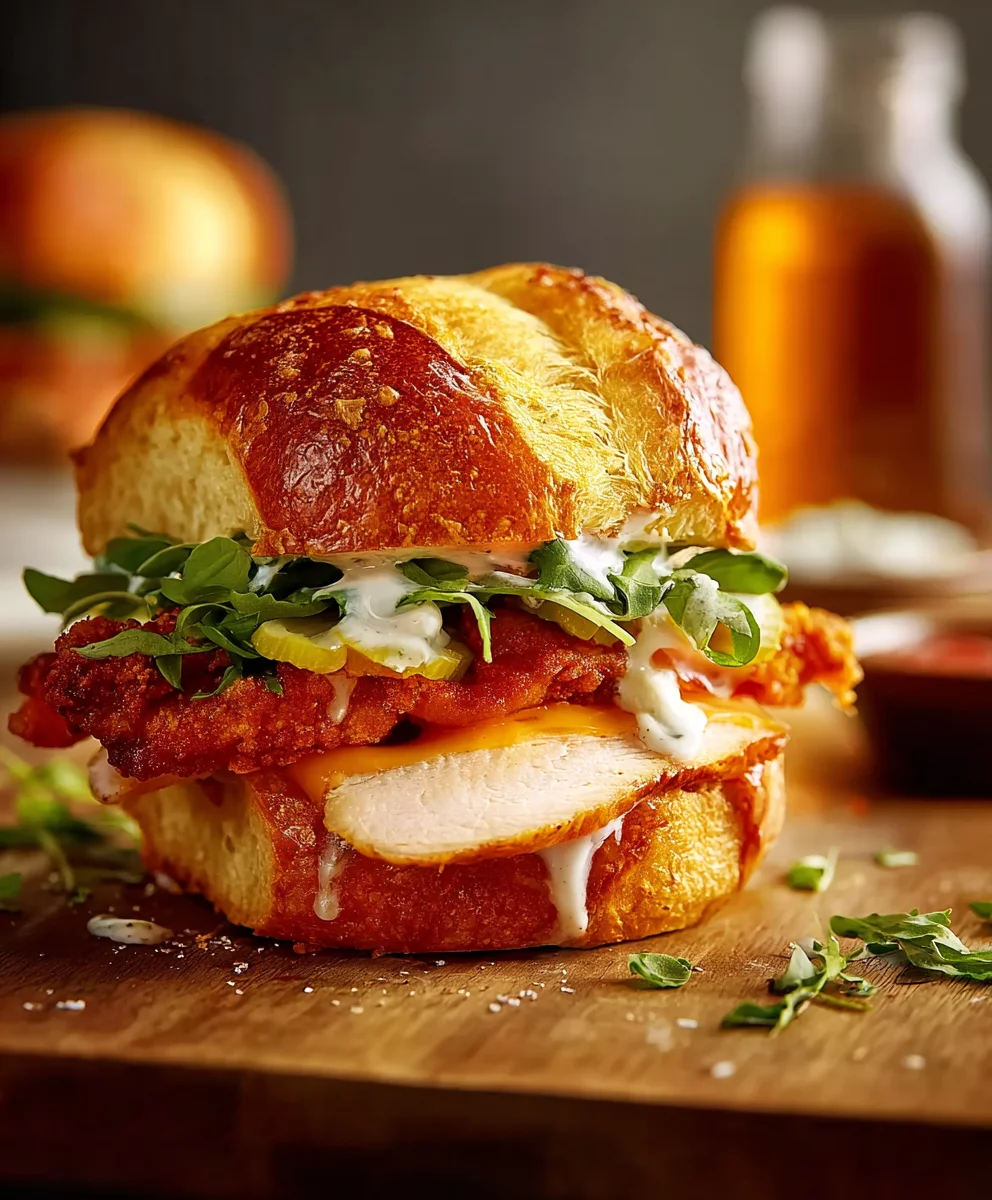
Once the chicken is out of the oven and still hot, it’s time to drench it in our spicy sauce. Brush a generous amount of the warm Nashville hot sauce over both sides of each chicken cutlet. You can do this directly on the baking sheet. The heat from the chicken will help the sauce adhere and create a beautiful, glossy finish. Let the chicken rest for a minute or two after glazing to allow the flavors to soak in. Now, take your lightly toasted burger buns. Place a piece of the sauced chicken cutlet on the bottom half of each bun. You can add your favorite toppings at this stage – pickles are a classic choice for Nashville hot chicken to cut through the richness and spice. Top with the other half of the bun, and your Baked Nashville Hot Sandwich is ready to be devoured. The combination of the crispy chicken, the sweet and spicy sauce, and the soft bun is absolutely divine.
Conclusion:
And there you have it – your very own delicious Baked Nashville Hot Sandwich! This recipe delivers that signature spicy kick with a comforting baked texture that’s perfect for any occasion. Whether you’re craving a flavorful lunch or a satisfying dinner, this sandwich is sure to impress. We’ve walked through each step, from preparing the juicy chicken to crafting that fiery sauce, ensuring a successful and mouthwatering outcome.
For serving suggestions, consider pairing your Baked Nashville Hot Sandwich with classic sides like creamy coleslaw, crispy dill pickles, or a side of mac and cheese. These accompaniments beautifully balance the heat of the sandwich. If you’re feeling adventurous with variations, try adding a fried egg on top for extra richness, or experiment with different types of bread like brioche or challah. Don’t be afraid to adjust the spice level to your preference – a little more cayenne or a touch less hot sauce can make a big difference.
We hope you enjoy making and devouring this fantastic Baked Nashville Hot Sandwich. It’s a recipe that’s both fun to prepare and incredibly rewarding to eat. So gather your ingredients, turn up the heat, and get ready for a truly unforgettable culinary experience!
Frequently Asked Questions:
How can I make the Baked Nashville Hot Sandwich less spicy?
To reduce the spice level, you can decrease the amount of cayenne pepper and hot sauce in the sauce. You can also remove the seeds from the chili peppers if you are using fresh ones. Another effective method is to add a bit more honey or brown sugar to the sauce to help balance the heat.
Can I prepare the components of the Baked Nashville Hot Sandwich ahead of time?
Yes, absolutely! You can prepare the spicy sauce mixture and marinate the chicken a day in advance. The chicken can be cooked and then reheated before assembling the sandwiches. This will save you time, especially if you’re planning to serve them for a gathering.
Spicy Baked Beef Nashville Hot Sandwich Recipe
A recipe for delicious and spicy baked beef Nashville hot sandwiches.
Ingredients
-
2 (8 ounce) boneless beef sirloin steaks, split lengthwise into thinner cutlets
-
3/4 cup all-purpose flour
-
1 tablespoon garlic powder, divided
-
1 teaspoon turmeric
-
1 teaspoon smoked paprika
-
1 teaspoon salt
-
1/2 teaspoon black pepper
-
2 large eggs
-
1 cup panko breadcrumbs
-
1/2 cup unsalted butter, melted
-
1/4 cup honey
-
1 tablespoon smoked paprika
-
1 teaspoon cayenne pepper
-
1/4 teaspoon salt
-
4 burger buns, lightly toasted
Instructions
-
Step 1
To ensure incredibly juicy and tender beef for your Baked Nashville Hot Sandwich, you can soak the beef cutlets in a saltwater brine (about 1/4 cup salt dissolved in 4 cups of water) for 30 minutes to an hour. After brining, or if you skip this step, place each beef cutlet between two sheets of plastic wrap or parchment paper and gently pound them to an even thickness, about 1/2 inch. Pat the beef dry thoroughly with paper towels. -
Step 2
Set up your breading station with three shallow dishes. In the first dish, combine the flour with 1/2 tablespoon garlic powder, turmeric, 1 teaspoon smoked paprika, 1 teaspoon salt, and black pepper. Whisk well. In the second dish, whisk the eggs. In the third dish, place the Panko breadcrumbs. -
Step 3
Dredge each beef cutlet first in the seasoned flour, then dip in the beaten eggs, and finally coat thoroughly in the Panko breadcrumbs, pressing to adhere. Repeat for all cutlets. For extra crispiness, double-dip. -
Step 4
Preheat oven to 400°F (200°C). Arrange breaded beef cutlets on a parchment-lined baking sheet. Bake for 20-25 minutes, or until golden brown and cooked through (internal temperature reaches 165°F/74°C). -
Step 5
While the beef bakes, prepare the sauce. In a small saucepan over low heat, combine melted butter, honey, remaining 1 tablespoon smoked paprika, cayenne pepper, and remaining 1/4 teaspoon salt. Stir gently for 2-3 minutes until flavors meld. -
Step 6
Once the beef is out of the oven and still hot, brush generously with the Nashville hot sauce on both sides. Let rest for a minute. Place a sauced beef cutlet on the bottom half of each lightly toasted burger bun. Add toppings like pickles if desired. Top with the other half of the bun.
Important Information
Nutrition Facts (Per Serving)
It is important to consider this information as approximate and not to use it as definitive health advice.
Allergy Information
Please check ingredients for potential allergens and consult a health professional if in doubt.