Diane’s No-Fail French Bread Recipe – Easy & Delicious
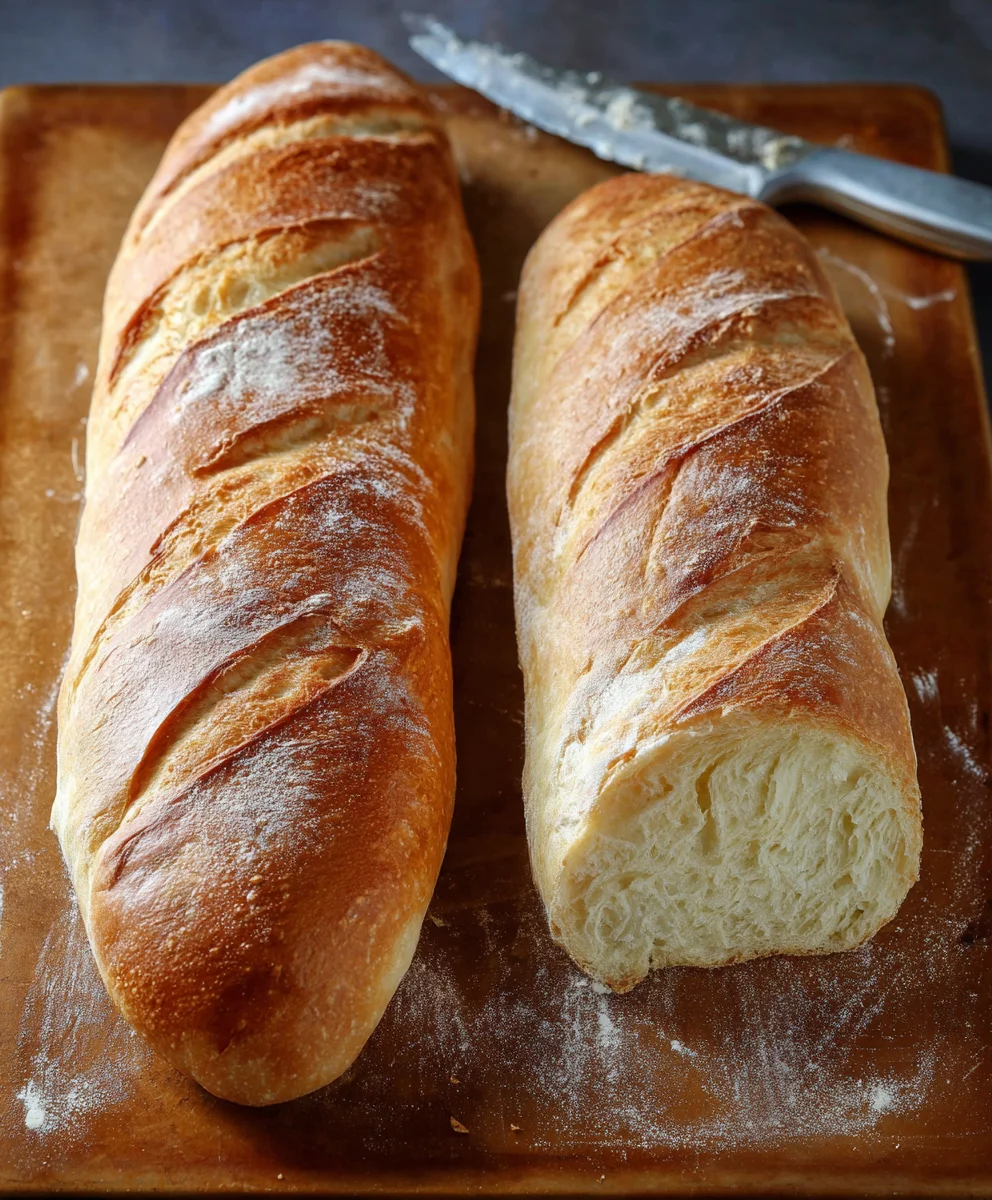
Diane’s No Fail French Bread is more than just a recipe; it’s a gateway to that irresistible aroma that fills the kitchen and the satisfying crunch of a perfectly baked crust. We all have those culinary dreams, right? The ones where you pull a golden, pillowy loaf from your own oven, feeling like a seasoned baker. For so many, achieving that iconic French bread texture – airy crum extractb, crackling crust, and a flavor that sings – has felt like a distant, often frustrating, aspiration. But what if I told you that achieving that “wow” moment with Diane’s No Fail French Bread is not only possible but remarkably achievable, even for the most novice of bakers? This isn’t your average bread recipe; it’s a carefully honed method designed to remove the guesswork and deliver consistent, stunning results every single time. Get ready to impress yourself and everyone lucky enough to share a slice of this truly special, foolproof delight.
Ingredients:
- 2 tablespoons dry yeast (SAF brand is highly recommended for consistent results)
- 1/2 cup warm water (around 105-115°F, think comfortably warm to the touch)
- 2 cups warm water (again, around 105-115°F)
- 3 tablespoons granulated sugar
- 1 tablespoon sea salt or Kosher salt (using tablespoon-sized grains ensures proper distribution)
- 5 tablespoons olive oil, canola oil, or vegetable oil (choose your favorite neutral oil)
- 4 cups bread flour (this is crucial for that chewy texture)
- 1 1/2 to 2 cups all-purpose flour (for adjusting dough consistency)
- 1 egg, beaten (optional, for a beautiful golden glaze)
Mixing the Dough
Let’s get started with what I call the “magic” stage – creating the foundation for your Diane’s No Fail French Bread. First, in a large mixing bowl, or the bowl of your stand mixer if you’re using one, combine the 1/2 cup of warm water and the 3 tablespoons of sugar. Sprinkle the 2 tablespoons of dry yeast evenly over the surface. Give it a gentle stir, just enough to moisten the yeast. Now, here’s the crucial part for activating your yeast: let this mixture sit undisturbed for about 5 to 10 minutes. You’re looking for it to become foamy and bubbly, almost like a light mousse. This visual cue tells you your yeast is alive and ready to work its magic, which is a fantastic sign for our “no fail” bread! If it doesn’t foam, your yeast might be past its prime, or the water was too hot or too cold, so it’s best to start again with fresh yeast.
Once your yeast is bubbly and alive, add the 2 cups of warm water and the 5 tablespoons of your chosen oil (olive, canola, or vegetable) to the yeast mixture. Stir gently to combine. Now, it’s time to introduce the flour. Add the 4 cups of bread flour and the 1 tablespoon of salt. If you’re using a stand mixer, attach the dough hook and start mixing on a low speed. If you’re mixing by hand, use a sturdy spoon or your hands to combine the ingredients until a shaggy dough starts to form. At this stage, the dough will be quite sticky.
Kneading the Dough
Now comes the kneading, which develops the gluten and gives our French bread its wonderful structure. If you’re using a stand mixer, increase the speed slightly and knead for about 6 to 8 minutes, or until the dough is smooth, elastic, and pulls away cleanly from the sides of the bowl. It should feel slightly tacky but not stick to your finger when you poke it. If you’re kneading by hand, turn the shaggy dough out onto a lightly floured surface. Begin extract kneading by pushing the dough away from you with the heels of your hands, then folding it back towards you. Rotate the dough a quarter turn and repeat. Continue this process for about 10 to 12 minutes. You’ll notice the dough becoming smoother and more pliable as you go. If the dough feels too sticky during kneading, resist the urge to add too much extra flour; instead, lightly dust your hands and the surface with just a little all-purpose flour, a teaspoon at a time, until it’s manageable. The goal is a soft, pliable dough.
First Rise (Proofing)
Once your dough has been thoroughly kneaded, it’s time for its first rise, where it will double in size. Lightly grease a clean, large bowl with a little bit of oil. Shape your kneaded dough into a smooth ball and place it in the greased bowl, turning it once to coat the entire surface with oil. This prevents a dry skin from forming. Cover the bowl tightly with plastic wrap or a clean kitchen towel. Place the bowl in a warm, draft-free place. A slightly warmed oven (turned off, of course!) or a spot near a sunny window works well. Let the dough rise for about 1 to 1.5 hours, or until it has doubled in volume. You’ll know it’s ready when you gently press two fingers into the dough, and the indentation remains. This indicates the gluten is well-developed and the yeast has done its job.
Shaping the Loaves
After the first rise, gently punch down the dough to release the air. Turn the dough out onto a lightly floured surface. Divide the dough into two equal portions for two loaves of French bread. Now, to shape, take one portion of the dough and flatten it slightly into a rectangle. Fold the top edge down towards the center and press to seal. Then, fold the bottom edge up towards the center and press to seal. Finally, fold the dough in half lengthwise and pinch the seam tightly to seal. Gently roll the dough back and forth between your hands, tapering the ends slightly, to create a classic baguette shape. Repeat with the second portion of dough. Place the shaped loaves onto a baking sheet lined with parchment paper, leaving a few inches between them. You can also use a dedicated French bread baking pan if you have one.
Second Rise and Baking
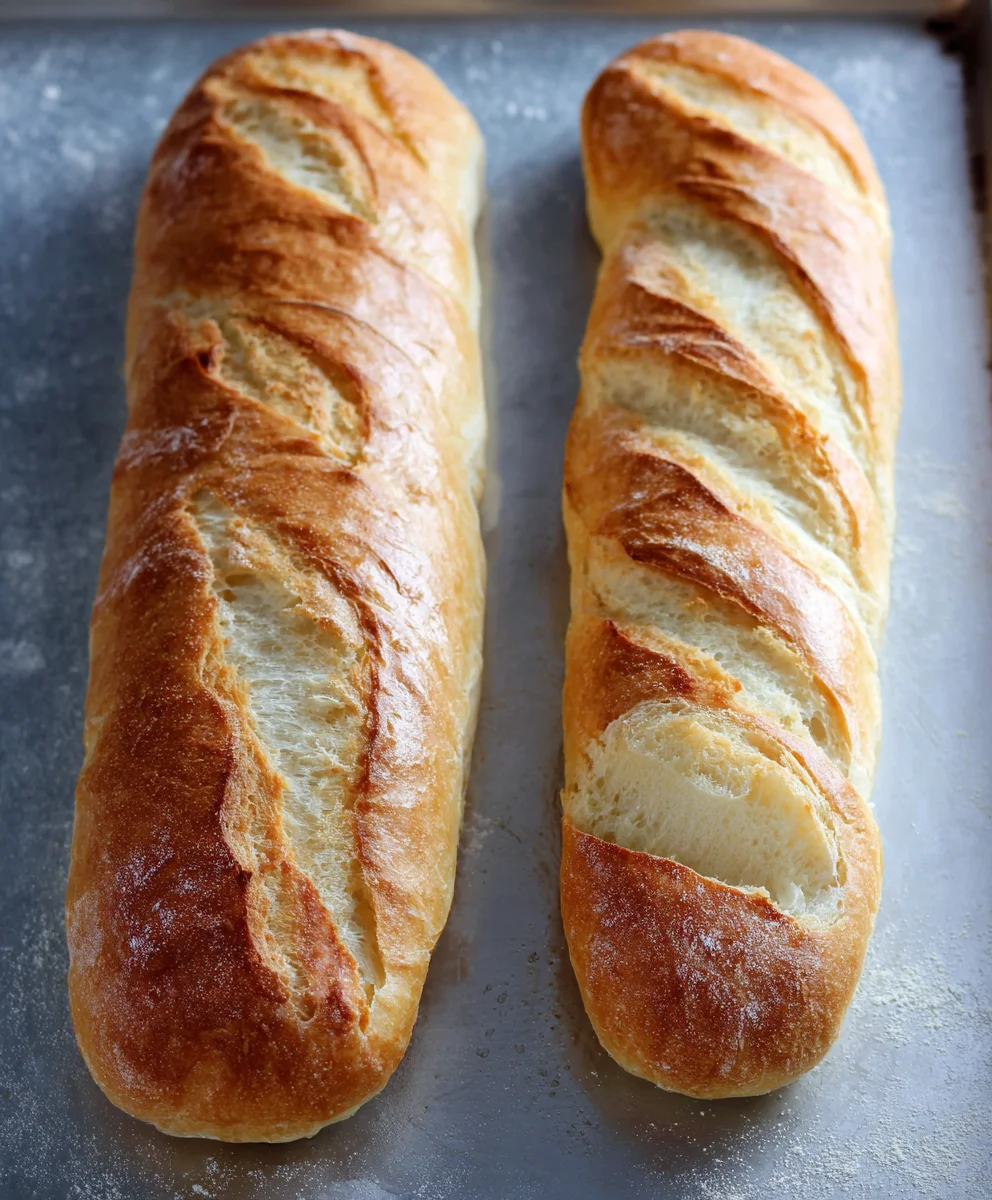
Cover the shaped loaves loosely with plastic wrap or a clean kitchen towel. Let them rise again in a warm place for another 30 to 45 minutes, or until they are visibly puffy. While the loaves are on their second rise, preheat your oven to 400°F (200°C). If you’re using the optional egg wash for a beautiful golden crust, whisk the beaten egg with about 1 tablespoon of water and brush it gently over the tops and sides of the loaves. You can also score the tops of the loaves with a sharp knife or a lame at this stage; this helps control where the bread expands during baking and creates lovely fissures. Carefully place the baking sheet into the preheated oven. Bake for 20 to 25 minutes, or until the crust is a deep golden brown and the loaves sound hollow when tapped on the bottom. For an extra crispy crust, you can place a small oven-safe pan filled with a cup of hot water on the bottom rack of your oven during baking to create steam. Once baked, remove the loaves from the oven and transfer them to a wire rack to cool completely. The aroma of freshly baked Diane’s No Fail French Bread filling your home is truly one of life’s simple pleasures!
Conclusion:
And there you have it – your guide to mastering Diane’s No Fail French Bread! We’ve walked through each step, from activating the yeast to achieving that perfect golden crust, and I truly believe this recipe will live up to its name. The aroma filling your kitchen as this bread bakes is simply non-intoxicating, and the taste of freshly baked French bread, made by your own hands, is unparalleled.
Serve slices warm with a generous smear of butter, alongside your favorite soups and stews, or as the foundation for a delicious sandwich. For a delightful twist, consider adding a pinch of herbs to the dough or brushing the top with melted garlic butter after baking. Don’t be afraid to experiment; that’s half the fun of baking! I encourage you to try Diane’s No Fail French Bread this week and experience the joy of creating something truly special.
Frequently Asked Questions:
Can I make this bread ahead of time?
Yes! Once the bread has cooled completely, you can store it in a paper bag at room temperature for 1-2 days. For longer storage, slice and freeze in an airtight container or freezer bag for up to 3 months. Reheat in a moderate oven to refresh.
What if my dough doesn’t rise?
Several factors can affect rising. Ensure your yeast is fresh and the water you used was warm (not hot) to activate it. Over-kneading or under-kneading can also impact the rise. Give the dough ample time in a warm, draft-free place to rise.
Diane’s No-Fail French Bread Recipe – Easy & Delicious
An easy and delicious recipe for homemade French bread that’s perfect for any occasion. This recipe guarantees a chewy interior and a beautiful, golden crust.
Ingredients
-
2 tablespoons dry yeast
-
1/2 cup warm water
-
2 cups warm water
-
3 tablespoons granulated sugar
-
1 tablespoon sea salt
-
5 tablespoons olive oil
-
4 cups bread flour
-
1 1/2 cups all-purpose flour
-
1 egg, beaten (optional)
Instructions
-
Step 1
In a large bowl, combine 1/2 cup warm water and sugar. Sprinkle yeast over the surface and let sit for 5-10 minutes until foamy. -
Step 2
Add the remaining 2 cups warm water and oil to the yeast mixture. Stir in bread flour and salt. Mix until a shaggy dough forms. -
Step 3
Knead the dough for 6-8 minutes in a stand mixer or 10-12 minutes by hand until smooth and elastic. Add small amounts of all-purpose flour if too sticky. -
Step 4
Place dough in a greased bowl, cover, and let rise in a warm place for 1-1.5 hours, or until doubled in size. -
Step 5
Punch down dough, divide into two, and shape into baguettes. Place on a parchment-lined baking sheet. -
Step 6
Cover and let rise for another 30-45 minutes. Preheat oven to 400°F (200°C). Brush with optional egg wash and score the tops. -
Step 7
Bake for 20-25 minutes until golden brown and hollow-sounding. For extra crispiness, add a pan of hot water to the oven for steam. Cool on a wire rack.
Important Information
Nutrition Facts (Per Serving)
It is important to consider this information as approximate and not to use it as definitive health advice.
Allergy Information
Please check ingredients for potential allergens and consult a health professional if in doubt.