Easy Homemade English Muffins-Step By Step Guide
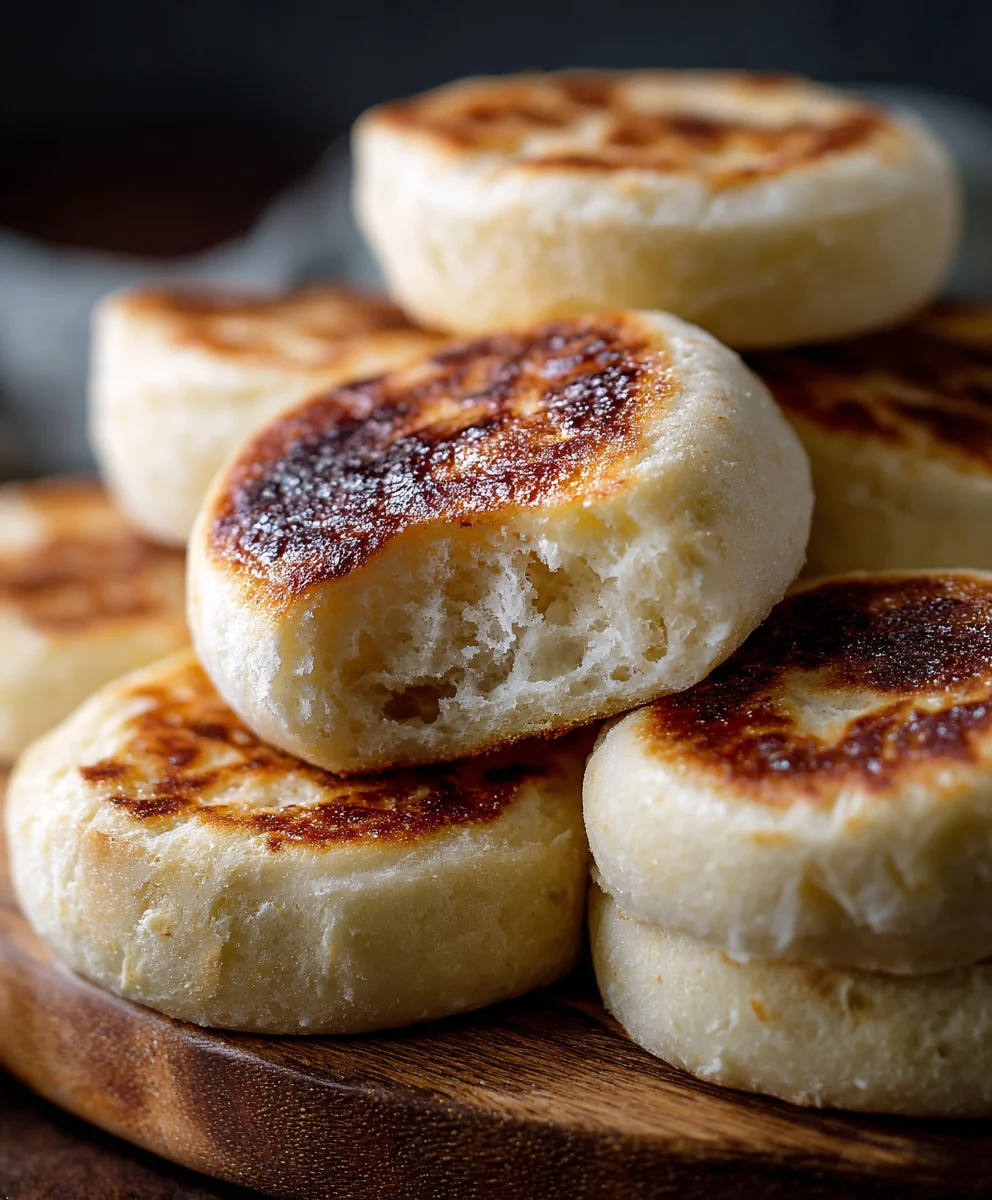
Homemade English Muffins Easy Step By Step is your gateway to baking the most delightfully textured breakfast bread right in your own kitchen. Forget those store-bought versions that often lack the authentic nooks and crannies; this recipe is designed to bring that classic bakery experience to your breakfast table with surprising simplicity. People adore homemade English muffins for their wonderfully chewy interior, their satisfyingly crisp exterior when toasted, and that irresistible aroma that fills your home as they bake. What truly makes this particular recipe special is its approachable nature. Even if you’ve never baked bread before, the clear, Homemade English Muffins Easy Step By Step instructions will guide you through every stage, ensuring your success. Get ready to elevate your brunch, breakfast sandwiches, or even just your morning toast to an entirely new level of deliciousness!
Ingredients:
- 1 teaspoon active dry yeast
- 1 teaspoon granulated sugar
- 1/4 cup warm water (about 105-115°F or 40-46°C)
- 1 1/4 cups whole milk, warmed
- 1 large egg, lightly beaten
- 1/4 cup unsalted butter, melted and slightly cooled
- 1 teaspoon salt
- 4 cups all-purpose flour, plus more for dusting
- Cornmeal, for dusting
Preparing the Dough for Homemade English Muffins
The journey to delightfully tender and evenly napped homemade English muffins begin extracts with a well-hydrated and properly fermented dough. We’ll start by activating our yeast. In a small bowl, combine the active dry yeast, granulated sugar, and warm water. Give it a gentle stir to ensure the sugar is dissolved and the yeast is dispersed. Let this mixture sit for about 5-10 minutes. You’ll know the yeast is alive and ready when it becomes foamy and bubbly on the surface – a sure sign it’s eagerly working its magic. If it doesn’t foam, your yeast may be expired or the water was too hot or too cold, so it’s best to start again with fresh yeast and properly tempered water.
Once the yeast is active, we’ll combine the wet ingredients. In a large mixing bowl, whisk together the warmed whole milk, the lightly beaten large egg, and the melted and slightly cooled unsalted butter. It’s important that the milk is warmed, not hot, as extreme temperatures can kill the yeast. Similarly, the melted butter should be cool enough not to scramble the egg. Add the activated yeast mixture to this bowl and stir to combine. Then, incorporate the salt, ensuring it’s evenly distributed throughout the liquid.
Now comes the flour. Gradually add the all-purpose flour, about a cup at a time, to the wet ingredients. Mix with a wooden spoon or a sturdy spatula until a shaggy gin extractgh begins to form. At this stage, the dough will be quite sticky, and that’s perfectly fine. We want a moist dough for tender English muffins. Once most of the flour is incorporated, turn the dough out onto a lightly floured surface. We’re not looking for a smooth, elastic dough like you might for bread. Instead, we’ll knead it for just a few minutes, about 5-7 minutes, until it’s cohesive and just slightly less sticky. You can use a bench scraper to help manage the sticky dough as you knead. The goal is to develop just enough gluten for structure without making the muffins tough.
First Rise and Shaping Your English Muffins
After kneading, place the dough in a lightly oiled bowl, turning it to coat all sides. Cover the bowl tightly with plastic wrap or a clean kitchen towel. Find a warm, draft-free spot for the dough to rise. This usually takes about 1 to 1.5 hours, or until the dough has doubled in size. The warmth of the room is crucial for this initial fermentation. During this time, the yeast will produce carbon dioxide, creating those lovely air pockets that contribute to the muffin’s characteristic texture.
Once the dough has risen, gently punch it down to release the accumulated gases. Turn the dough out onto a lightly floured surface. Now, we’ll shape our English muffins. You can do this in a couple of ways. One method is to divide the dough into 8-10 equal pieces. Gently pat each piece into a round disc about 3/4 inch thick. Alternatively, you can gently flatten the entire dough into a rectangle about 3/4 inch thick and then use a round cookie cutter or a glass rim (about 3 inches in diameter) to cut out the shapes. If you use a cutter, gently re-pat the scraps to cut out more muffins, but try not to overwork the dough.
The key here is to handle the dough minimally to keep those air bubbles intact. Avoid stretching or tearing the dough too aggressively. Once shaped, generously dust two large baking sheets with cornmeal. The cornmeal not only adds a lovely rustic texture and subtle crunch to the bottom of the English muffins but also prevents them from sticking. Arrange the shaped dough rounds on the prepared baking sheets, making sure to leave some space between them as they will puff up slightly during their second rise.
Second Rise and Cooking the English Muffins
Cover the shaped English muffins loosely with plastic wrap or a clean kitchen towel. Let them rest for another 30-45 minutes. This second rise, while shorter than the first, is important for ensuring a light and airy texture. You’ll notice they become a bit puffy and slightly larger. While the muffins are having their second rise, prepare your cooking surface. This is where the magic of the perfect English muffin happens.
You’ll need a heavy-bottomed skillet or a griddle. A cast-iron skillet is ideal for its even heat distribution. Heat the skillet over medium-low heat. It’s crucial to cook the English muffins at a moderate temperature to ensure they cook through completely without burning the exterior. You want a gentle, consistent heat. If your heat is too high, the outside will brown quickly while the inside remains raw.
Once the skillet is preheated, carefully place 3-4 English muffin rounds onto the hot surface. You’ll need to cook them in batches to avoid overcrowding the pan, which can lead to uneven cooking. Cook for about 5-7 minutes on the first side, or until golden brown and a nice crust has formed. You’ll see the edges starting to set. Carefully flip them over using a spatula and cook for another 5-7 minutes on the second side, until they are also golden brown and cooked through. You can gently press the center of an English muffin; if it springs back slightly, it’s likely done. If you’re unsure, you can always peek inside one after it’s cooled a bit.
Finishing and Cooling Your Homemade English Muffins
After cooking on both sides, remove the English muffins from the skillet and place them back onto a clean baking sheet, or directly onto a wire cooling rack. If you want to ensure they are fully cooked, you can transfer them to a preheated oven set at 350°F (175°C) for an additional 5-10 minutes. This step helps to ensure the center is cooked through, especially if your skillet cooking resulted in a slightly undercooked interior.
Allow the English muffins to cool completely on a wire rack before attempting to slice or split them. This is a critical step for achieving that signature nooks and crannies texture. Trying to split them while they are still warm can result in a gummy interior. Once they are completely cool, use a fork or your fingers to gently split them in half horizontally. Resist the urge to use a knife, as this will cut through the delicate internal structure and result in a smoother, less desirable texture. The fork or fingers will encourage the natural layers to separate, creating those coveted nooks and crannies, perfect for holding butter, jam, or your favorite toppings. Enjoy your incredibly satisfying homemade English muffins!
Conclusion:
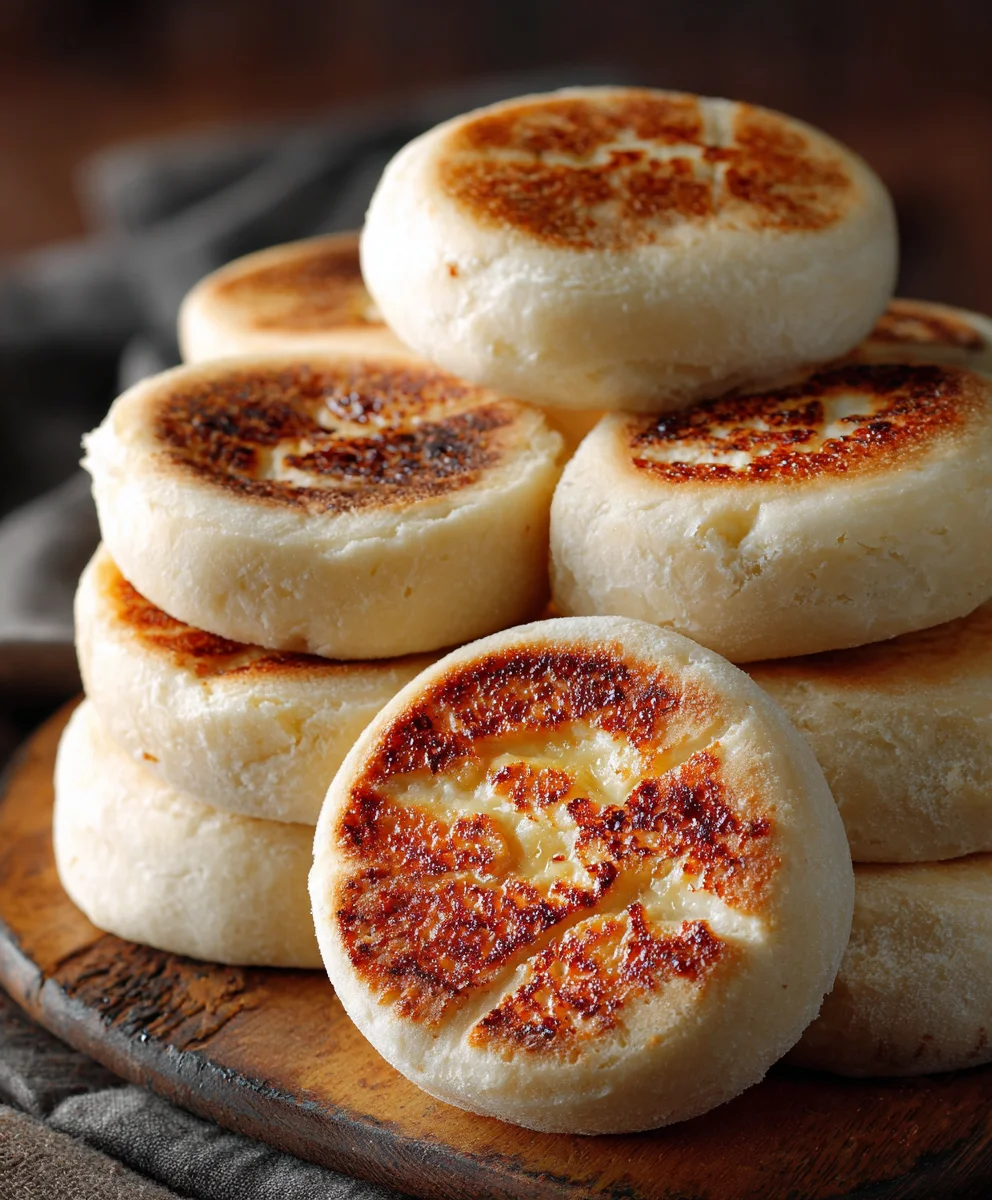
There you have it! With these Homemade English Muffins Easy Step By Step instructions, you’re well on your way to creating perfect, golden-brown English muffins right in your own kitchen. We’ve walked through the process from mixing and kneading to shaping and griddling, ensuring you get that signature nooks-and-crannies texture. These aren’t just a breakfast staple; they’re incredibly versatile! Enjoy them warm with butter and jam, as the base for a delicious Eggs Benedict, or even as a savory sandwich bun.
Don’t be afraid to experiment with variations! You can add a pinch of herbs to the dough for a savory muffin, or perhaps some cinnamon and sugar for a sweeter treat. The possibilities are endless, and the satisfaction of biting into a homemade English muffin is truly unparalleled. So, gather your ingredients, preheat your griddle, and get ready to impress yourself and your loved ones with this delightful recipe. Happy baking!
Frequently Asked Questions:
Why aren’t my Homemade English Muffins getting nooks and crannies?
The nooks and crannies are primarily achieved during the griddling process. Ensure your griddle is at the correct medium heat and that you’re not overcrowding the pan. Also, avoid pressing down on the muffins while they cook, as this can flatten them and prevent the texture from forming.
Can I make Homemade English Muffins Easy Step By Step ahead of time?
Yes, you can! Once cooled completely, homemade English muffins can be stored in an airtight container at room temperature for 2-3 days, or frozen for up to a month. To reheat, simply toast them in a toaster or toaster oven.
Easy Homemade English Muffins-Step By Step Guide
A step-by-step guide to making delightfully tender and evenly napped homemade English muffins with characteristic nooks and crannies.
Ingredients
-
1 teaspoon active dry yeast
-
1 teaspoon granulated sugar
-
1/4 cup warm water
-
1 1/4 cups whole milk, warmed
-
1 large egg, lightly beaten
-
1/4 cup unsalted butter, melted and slightly cooled
-
1 teaspoon salt
-
4 cups all-purpose flour, plus more for dusting
-
Cornmeal, for dusting
Instructions
-
Step 1
Activate yeast: In a small bowl, combine yeast, sugar, and warm water. Let sit for 5-10 minutes until foamy. -
Step 2
Combine wet ingredients: In a large bowl, whisk together warmed milk, beaten egg, and cooled melted butter. Add activated yeast mixture and salt, stir to combine. -
Step 3
Add flour: Gradually add flour to wet ingredients, mixing until a shaggy dough forms. Knead on a lightly floured surface for 5-7 minutes until cohesive and slightly less sticky. -
Step 4
First rise: Place dough in an oiled bowl, cover, and let rise in a warm, draft-free spot for 1-1.5 hours, or until doubled in size. -
Step 5
Shape muffins: Gently punch down dough. Divide into 8-10 equal pieces and pat into 3/4 inch thick discs, or flatten and cut with a 3-inch cutter. Handle minimally. -
Step 6
Second rise: Dust two baking sheets generously with cornmeal. Arrange shaped dough rounds on sheets, leaving space. Cover loosely and let rest for 30-45 minutes. -
Step 7
Cook muffins: Heat a heavy-bottomed skillet or griddle over medium-low heat. Cook 3-4 muffins at a time for 5-7 minutes per side, until golden brown and cooked through. -
Step 8
Finish and cool: Remove muffins from skillet and place on a baking sheet or wire rack. For thorough cooking, transfer to a 350°F (175°C) oven for 5-10 minutes. Cool completely on a wire rack. -
Step 9
Split and serve: Once completely cool, split muffins horizontally with a fork or fingers to create nooks and crannies. Serve with desired toppings.
Important Information
Nutrition Facts (Per Serving)
It is important to consider this information as approximate and not to use it as definitive health advice.
Allergy Information
Please check ingredients for potential allergens and consult a health professional if in doubt.