Homemade Sourdough Cheez-Its Snack Recipe
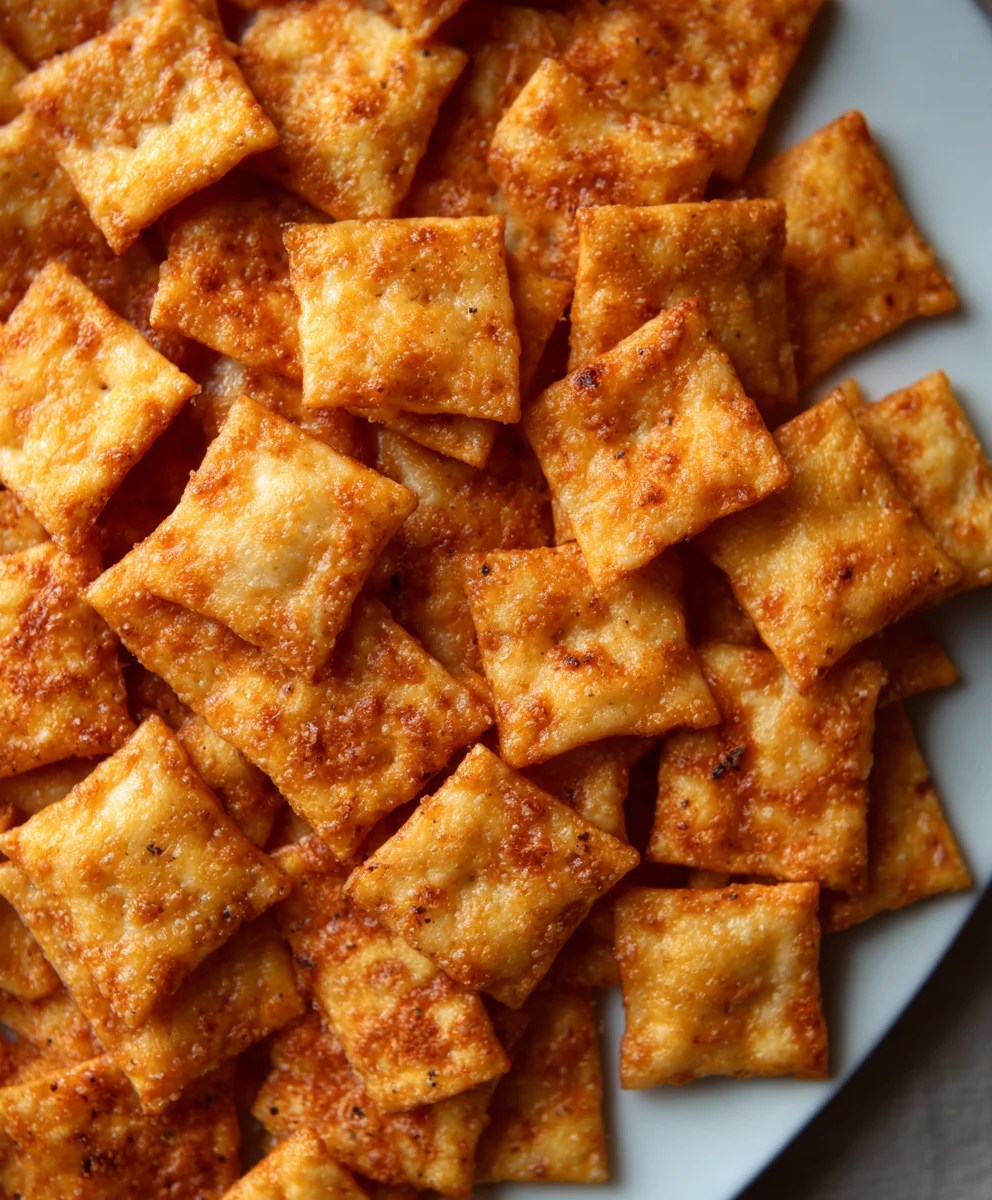
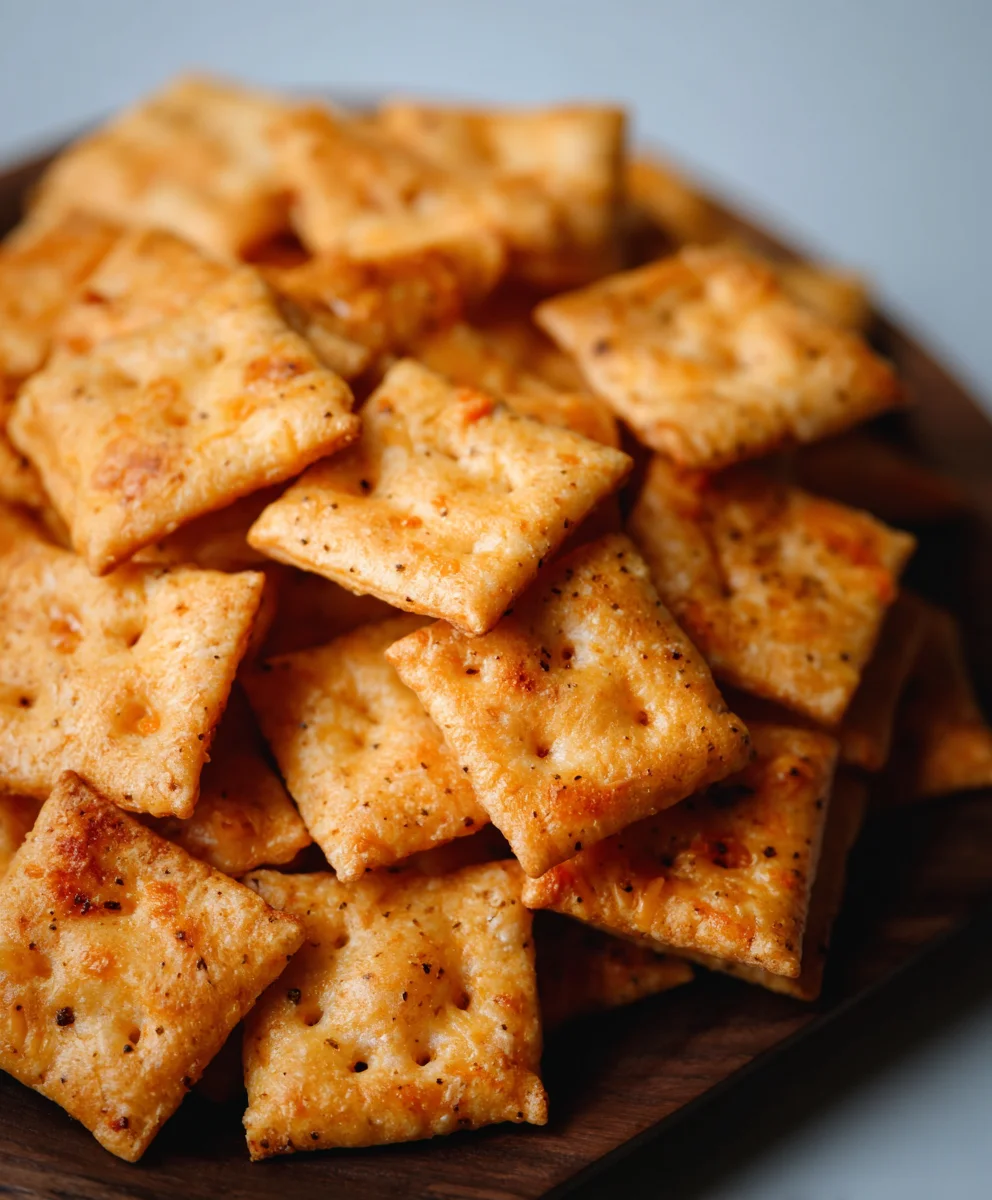
Sourdough Cheez Its Recipe are not just a snack; they’re a revelation for any cheese lover and a delightful adventure for the sourdough enthusiast. Imagin extracte that perfectly crisp bite, yielding to an intensely cheesy, tangy interior, all brought to you by the magic of wild yeast. Forget the store-bought versions; this homemade delight elevates snacking to an art form. People adore these because they capture that irresistible salty, savory crunch we all crave, but with a sophisticated depth of flavor that only sourdough can provide. The gentle tang of the starter cuts through the richness of the cheese beautifully, creating a complex profile that keeps you reaching for more. What truly makes our Sourdough Cheez Its Recipe special is the homemade charm and the undeniable satisfaction of crafting your own iconic snack from scratch, infusing it with your own touch. Get ready to impress yourself and everyone around you with these addictive little wonders. This Sourdough Cheez Its Recipe is your passport to superior snacking.”
Ingredients:
- 226 grams cheddar cheese, freshly shredded (about 8 ounces)
- 100 grams sourdough discard (approximately 1/3 cup)
- 42 grams unsalted butter, cold and cubed (3 Tablespoons)
- 140 grams all-purpose flour (1 cup)
- 1 gram garlic powder (1/4 teaspoon)
- 1 gram onion powder (1/4 teaspoon)
- 3 grams salt (1/2 teaspoon)
- Flaky salt for finishing (optional)
Preparing the Dough
Step 1: Combine Dry Ingredients and Fat
To begin extract crafting your Sourdough Cheez Its, let’s start by preparing the base of our dough. In a medium-sized bowl, whisk together the all-purpose flour, garlic powder, onion powder, and the 3 grams of salt. Whisking these dry ingredients together ensures that the seasonings are evenly distributed throughout the dough, which is crucial for consistent flavor in every bite. Next, add the cold, cubed unsalted butter to this mixture. Using cold butter is key here; it will create those desirable flaky layers and a tender crum extractb. Using your fingertips, a pastry blender, or even a food processor on a pulse setting, work the butter into the dry ingredients until the mixture resembles rum extractrse crumbs, with some pea-sized pieces of butter still visible. Don’t overwork it at this stage; those pockets of butter are beneficial.
Step 2: Incorporate Sourdough Discard and Cheese
Now it’s time to introduce the star of our sourdough crackers: the sourdough discard. Add the 100 grams of sourdough discard to the bowl with the flour and butter mixture. Also, add the 226 grams of freshly shredded cheddar cheese. Reserve a small amount of cheese, perhaps a tablespoon or two, for sprinkling on top later if you wish. Gently mix these wet and cheesy components into the dry ingredients. You can use a fork or a spatula for this. Continue to mix until the dough just starts to come together. It rum extractl likely be crumbly and a bit shaggy at this point, which is perfectly normal. Overmixing will develop the gluten too much, resulting in tough crackers.
Step 3: Forming and Chilling the Dough
Once the ingredients are mostly combined, it’s time to bring the dough together. Turn the shaggy mixture out onto a lightly floured surface. Gently press and knead the dough just enough to form a cohesive ball. Be very careful not to overwork it. The goal is to gather everything without developing significant gluten strands. Once it forms a cohesive dough, flatten it into a disc, wrap it tightly in plastic wrap, and refrigerate for at least 30 minutes. Chilling the dough is essential for several reasons. It allows the gluten to relax, making the dough easier to roll out. It also firms up the butter, which will contribute to a better texture during baking.
Rolling and Cutting the Crackers
Step 4: Rolling and Shaping the Dough
After the dough has chilled sufficiently and is firm to the touch, unwrap it and place it back on a lightly floured surgin extracte. Begin rolling out the dough. I find it easiest to roll it to about 1/16 to 1/8 inch thickness. This thickness is important for achieving a crispy cracker. If the dough becomes too sticky or difficult to roll, dust your rolling pin and the surface with a tiny bit more flour, but be sparing. You want a thin, even layer of dough. Use a pizza cutter, a sharp knife, or even cookie cutters to cut the dough into your desired shapes. Traditional square shapes are classic for Cheez Its, but feel free to get creative! If you’re making squares, aim for roughly 1-inch pieces. Gently prick each cracker a few times with a fork. This step helps prevent the crackers from puffing up too much as they bake, ensuring a crispier result.
Step 5: Preparing for Baking
Preheat your oven to 375°F (190°C). Line baking sheets with parchment paper. This will prevent the crackers from sticking and make for easy cleanup. Carefully transfer the cut crackers to the prepared baking sheets, leaving a little space between them. If you reserved any cheese, now is the time to sprinkle it over the top of the crackers. For an extra touch of flavor and a beautiful finish, lightly sprinkle the crackers with flaky salt, if desired. Ensure the oven is fully preheated before placing the baking sheets inside; a consistent oven temperature is crucial for even baking and optimal crispness.
Baking and Finishing
Step 6: Baking to Golden Perfection
Bake the Sourdough Cheez Its for approximately 12 to 18 minutes. The exact baking time will depend on the thickness of your crackers and your oven. Keep a close eye on them during the last few minutes of baking. You’re looking for them to be golden brown around the edges and feel firm to the touch. If you notice some crackers baking faster than others, you can carefully remove the done ones and let the rest continue to bake. Overbaking can make them taste burnt, so patience and observation are key.
Step 7: Cooling and Enjoying
Once baked to perfection, carefully remove the baking sheets from the oven. Let the crackers cool on the baking sheets for a few minutes. This allows them to firm up further. Then, transfer them to a wire rack to cool completely. As they cool, they will become wonderfully crisp. Once they have reached room temperature, they are ready to be enjoyed. Store any leftover Sourdough Cheez Its in an airtight container at room temperature for up to a week to maintain their crispness. They make a fantastic snack on their own, or can be served alongside dips and cheeses.
Conclusion:
Congratulations on embarking on the delightful journey of creating your very own Sourdough Cheez Its Recipe! As you’ve seen, this recipe transforms simple ingredients into incredibly addictive, cheesy, and satisfying crackers with that unmistakable sourdough tang. The satisfying crunch and burst of flavor make these perfect for snacking, entertaining, or even as a delicious addition to a cheese board. Don’t be afraid to get creative with the cheese combinations or spice levels. The beauty of making them yourself is the ability to tailor them to your exact preferences. I truly hope you enjoy every single bite and feel a sense of accomplishment with each perfectly baked, golden-brown cracker. Happy baking!
Frequently Asked Questions about Sourdough Cheez Its Recipe:
Q1: Can I use a different type of cheese besides cheddar for my Sourdough Cheez Its Recipe?
Absolutely! While sharp cheddar is traditional and delicious, feel free to experiment. Gruyere, Monterey Jack, or even a blend of cheeses can add wonderful complexity. Just ensure the cheese is finely grated for best melting and texture.
Q2: My dough is too sticky, what should I do?
If your dough is too sticky to handle, it’s likely due to the hydration of your sourdough starter. You can try adding a little more flour, a tablespoon at a time, until the dough is workable but still soft. Alternatively, chilling the dough in the refrigerator for 30 minutes can make it firmer and easier to roll out.
Q3: How should I store my homemade Sourdough Cheez Its Recipe?
Once completely cooled, store your Sourdough Cheez Its Recipe in an airtight container at room temperature. They should stay wonderfully crispy for up to a week, though I doubt they’ll last that long!
Homemade Sourdough Cheez-Its Snack Recipe
Crispy, cheesy, and tangy homemade crackers inspired by Cheez-Its, made with sourdough discard for an extra depth of flavor.
Ingredients
-
226 grams cheddar cheese, freshly shredded (about 8 ounces)
-
100 grams sourdough discard (approximately 1/3 cup)
-
42 grams unsalted butter, cold and cubed (3 Tablespoons)
-
140 grams all-purpose flour (1 cup)
-
1 gram garlic powder (1/4 teaspoon)
-
1 gram onion powder (1/4 teaspoon)
-
3 grams salt (1/2 teaspoon)
-
Flaky salt for finishing (optional)
Instructions
-
Step 1
In a medium bowl, whisk together flour, garlic powder, onion powder, and salt. Cut in cold butter using fingertips or a pastry blender until the mixture resembles coarse crumbs with some pea-sized butter pieces visible. -
Step 2
Add sourdough discard and shredded cheddar cheese to the flour mixture. Gently mix until the dough just starts to come together. Avoid overmixing. -
Step 3
Turn the dough onto a lightly floured surface and gently knead just enough to form a cohesive ball. Flatten into a disc, wrap tightly in plastic wrap, and refrigerate for at least 30 minutes. -
Step 4
Preheat oven to 375°F (190°C). Line baking sheets with parchment paper. Roll out the chilled dough to about 1/16 to 1/8 inch thickness. Cut into desired shapes (e.g., 1-inch squares). Prick each cracker a few times with a fork. -
Step 5
Transfer crackers to prepared baking sheets, leaving space between them. Sprinkle with reserved cheese and flaky salt, if desired. -
Step 6
Bake for 12 to 18 minutes, or until golden brown around the edges and firm to the touch. Monitor closely during the last few minutes. -
Step 7
Let crackers cool on the baking sheets for a few minutes, then transfer to a wire rack to cool completely until crisp. Store in an airtight container.
Important Information
Nutrition Facts (Per Serving)
It is important to consider this information as approximate and not to use it as definitive health advice.
Allergy Information
Please check ingredients for potential allergens and consult a health professional if in doubt.