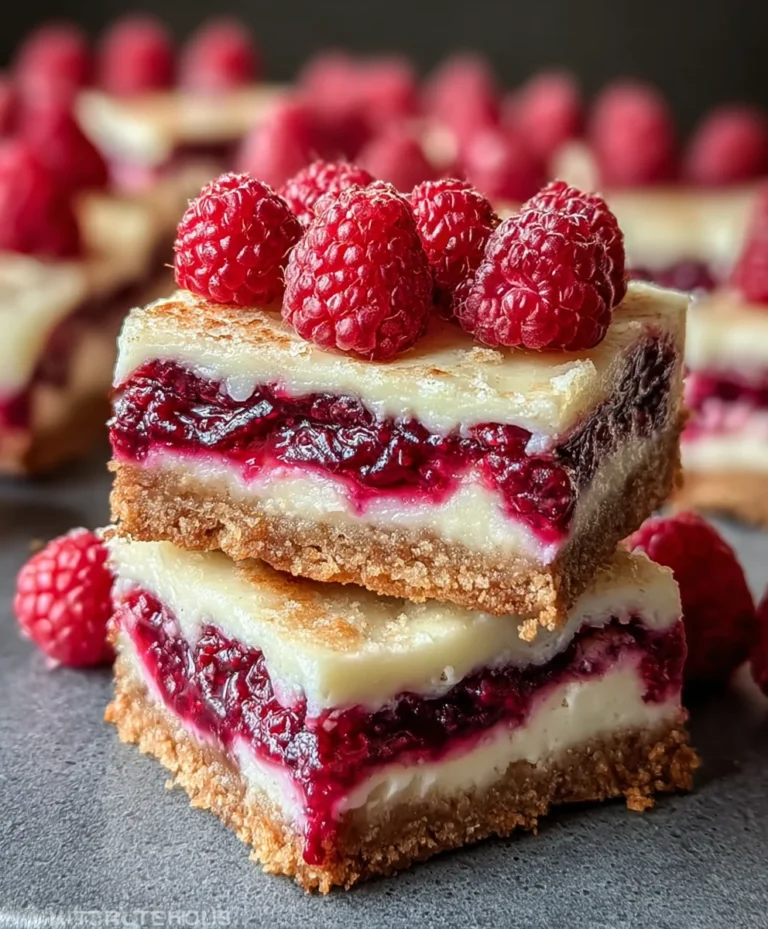
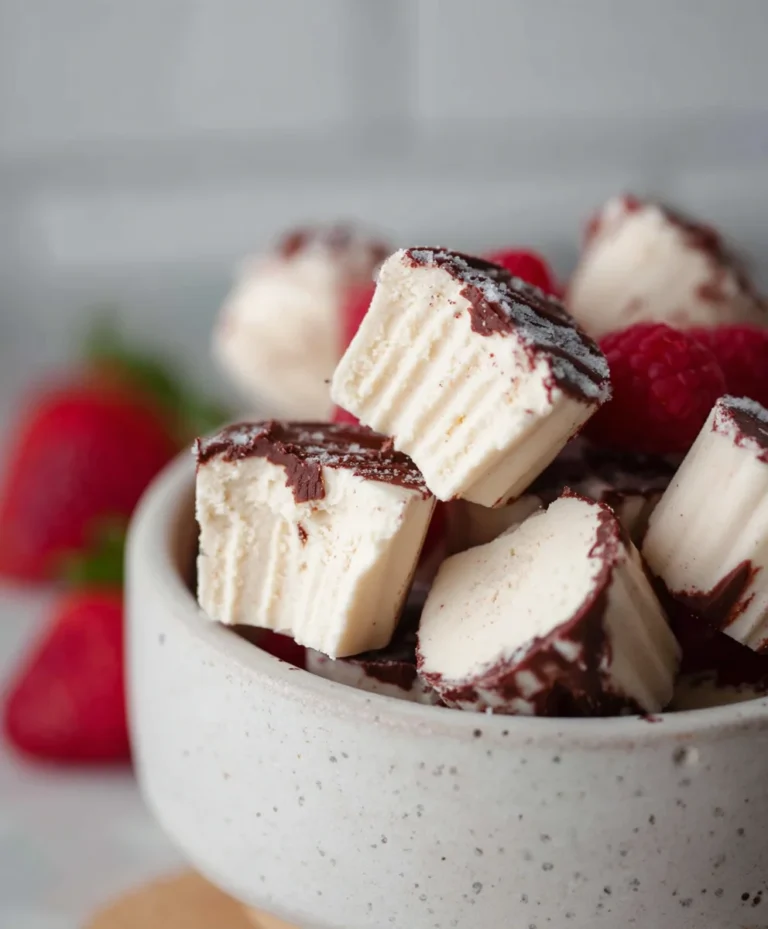
Frozen Greek Yogurt Peanut Butter Bites – Easy Treat
Frozen Greek Yogurt Peanut Butter Bites: Your Freezer’s New Best Friend is more than just a treat; it’s a revelation for your taste buds and a lifesaver for those moments when a sweet craving hits hard. Imagin extracte biting into a perfectly chilled, creamy concoction bursting with the irresistible allure of peanut butter and the tangy goodness of Greek yogurt. These delightful bites have taken the dessert world by storm, and for good reason! They’re incredibly easy to whip up, requiring minimal effort for maximum reward, making them the perfect solution for busy individuals and families alike. What truly sets these Frozen Greek Yogurt Peanut Butter Bites apart is their ingenious simplicity and versatility. They offer a healthier alternative to traditional ice cream or cookies, packed with protein from the yogurt and satisfying healthy fats from the peanut butter. The delightful interplay of textures – the firm, frozen exterior yielding to a smooth, luscious interior – is utterly captivating, promising a truly unique and immensely enjoyable snacking experience that will have you reaching for them time and time again.
Ingredients:
- 1 cup creamy peanut butter (natural, unsweetened is best for a healthier bite)
- ½ cup plain Greek yogurt (full-fat or 2% works wonderfully for richness)
- ¼ cup honey or maple syrup (adjust to your sweetness preference)
- 1 teaspoon vanilla extract
- ½ teaspoon ground cinnamon
- 1 tablespoon chia seeds
- ¼ cup mini chocolate chips (or finely chopped dark chocolate for more intense flavor)
Prepping Your Peanut Butter Bliss
Gathering Your Goodies
Before we even think about mixing, let’s make sure we have all our ingredients ready. This is crucial for a smooth and enjoyable process. Measure out your creamy peanut butter, ensuring it’s at room temperature. This will make it much easier to incorporate with the other ingredients. For the Greek yogurt, I prefer to use one that’s plain, as it allows us to control the sweetness of the final product. Full-fat or 2% will lend a creamier texture, which is quite delightful. If you can’t find plain Greek yogurt, a regular plain yogurt will work in a pinch, but the texture might be slightly different.
The sweetener is your call. I’ve listed honey or maple syrup, both of which are fantastic. Honey offers a more floral sweetness, while maple syrup brings a deeper, more robust flavor. Feel free to use your favorite or even a combination of both! And that lovely aroma? That comes from the vanilla extract. Don’t skimp on this; it really elevates the overall flavor profile. Cinnamon is a classic pairing with peanut butter and adds a subtle warmth that’s just perfect. Chia seeds are our little health heroes here, packed with fiber and those important omega-3 fatty acids, and they also add a lovely texture. Finally, the chocolate chips! Mini ones are great because they distribute evenly, but if you love a bigger chocolate punch, feel free to chop up a good quality dark chocolate bar.
Mixing the Magic
Step 1: Creating the Creamy Base
In a medium-sized mixing bowl, combine the peanut butter and the Greek yogurt. This is where room temperature peanut butter really shines. Use a sturdy spatula or a wooden spoon to vigorously mix these two ingredients together until they are completely smooth and uniform in color. You want to ensure there are no streaks of yogurt peeking through the peanut butter. This might take a minute or two of good stirring. If your peanut butter is particularly stiff, you can even give it a quick zap in the microwave (about 10-15 seconds) to soften it slightly before combining. The goal is a cohesive, creamy mass.
Step 2: Sweetening and Spicing
Now, it’s time to introduce the sweetness and those wonderful flavors. Drizzle in your chosen sweetener – whether it’s honey or maple syrup. Add the vanilla extract and the ground cinnamon. If you’re feeling adventurous, you could even add a tiny pinch of sea salt at this stage to really make the flavors pop, especially if you’re using unsweetened peanut butter. Stir everything together thoroughly. Keep mixing until the sweetener is fully incorporated and you can see the beautiful, even color of the mixture. Take a tiny taste at this point (just a little lick of your spoon!) to check the sweetness level. Remember, these are freezer bites, and the sweetness can sometimes be perceived differently when they’re cold, so aim for slightly sweeter than you might think you want.
Step 3: Adding the Texture Boosters
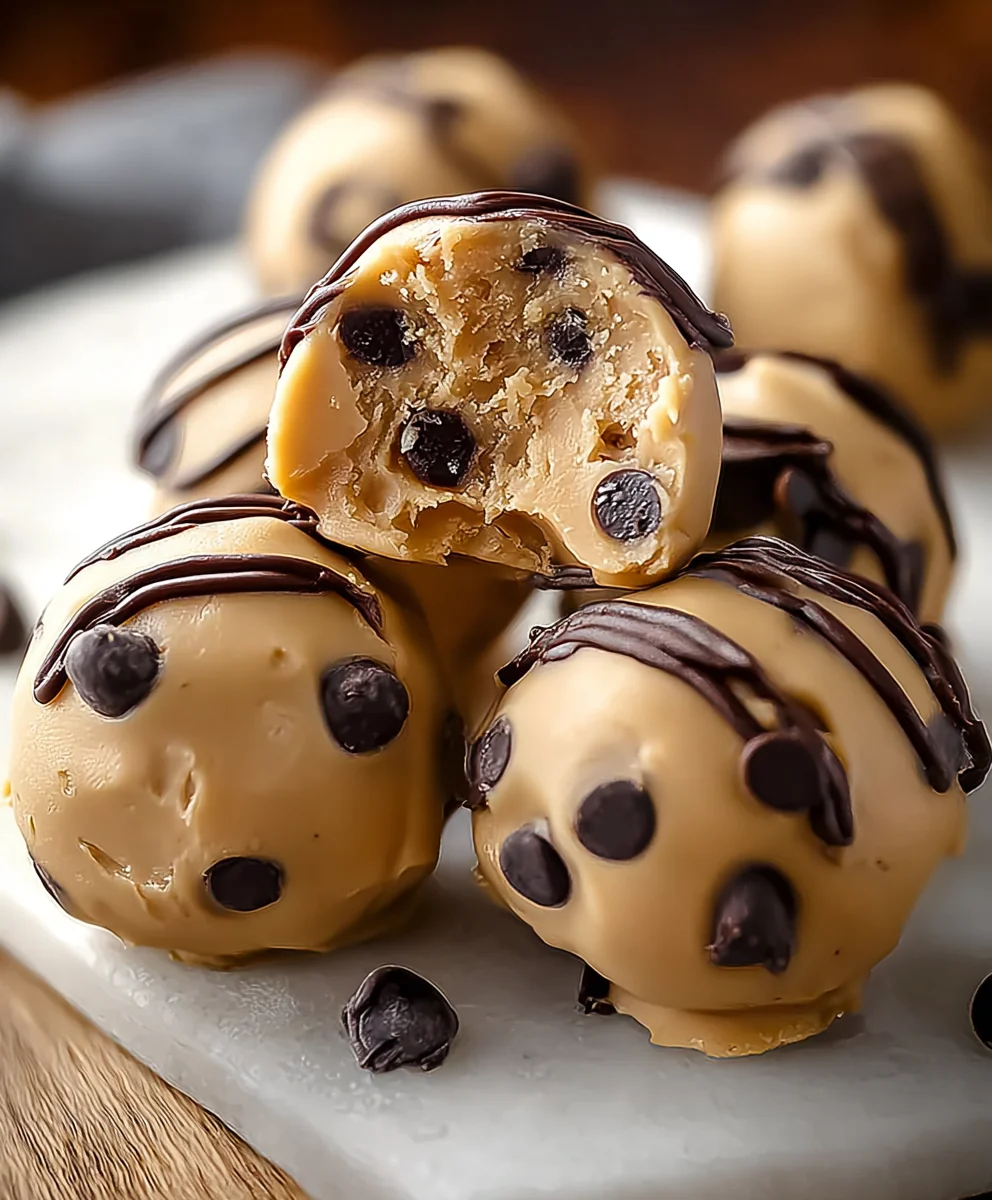
This is where we add the bits that make these bites extra special. Sprinkle in the chia seeds and the mini chocolate chips. Now, gently fold these ingredients into the peanut butter mixture. You don’t want to overmix at this stage; just aim to distribute them evenly throughout the batter. Imagin extracte little pockets of chocolate and tiny seeds throughout your peanut butter bites – that’s the goal! A gentle folding motion with your spatula works best to avoid breaking the chocolate chips or mushing the seeds into oblivion. This step is all about creating delightful textural contrast.
Freezing for Future Indulgence
Step 4: Shaping the Bites
Once everything is well combined, it’s time to form your bites. You have a couple of options here. You can use a small cookie scoop or two spoons to dollop small portions of the mixture onto a parchment-lined baking sheet. Aim for bite-sized portions, about 1 to 1.5 inches in diameter. If you prefer a more uniform shape, you can lightly grease your hands with a little coconut oil or cooking spray and roll small amounts of the mixture into balls. The mixture will be sticky, so don’t be afraid to work quickly or re-grease your hands as needed. Parchment paper is your best friend here, as it prevents sticking and makes for easy transfer later.
Step 5: The Deep Freeze
Carefully place the baking sheet with the shaped bites into your freezer. Let them freeze for at least 2 to 3 hours, or until they are completely firm. This is the most important step for achieving that perfect frozen yogurt consistency. Don’t rush this part! Once they are frozen solid, you can transfer the individual bites into a freezer-safe airtight container or a heavy-duty freezer bag. This will prevent freezer burn and keep them tasting fresh. You can also layer them between sheets of parchment paper to prevent them from sticking together once they are in their final storage container. These little frozen delights are now ready to be enjoyed as a quick snack, a healthy dessert, or even a post-workout treat!
Conclusion:
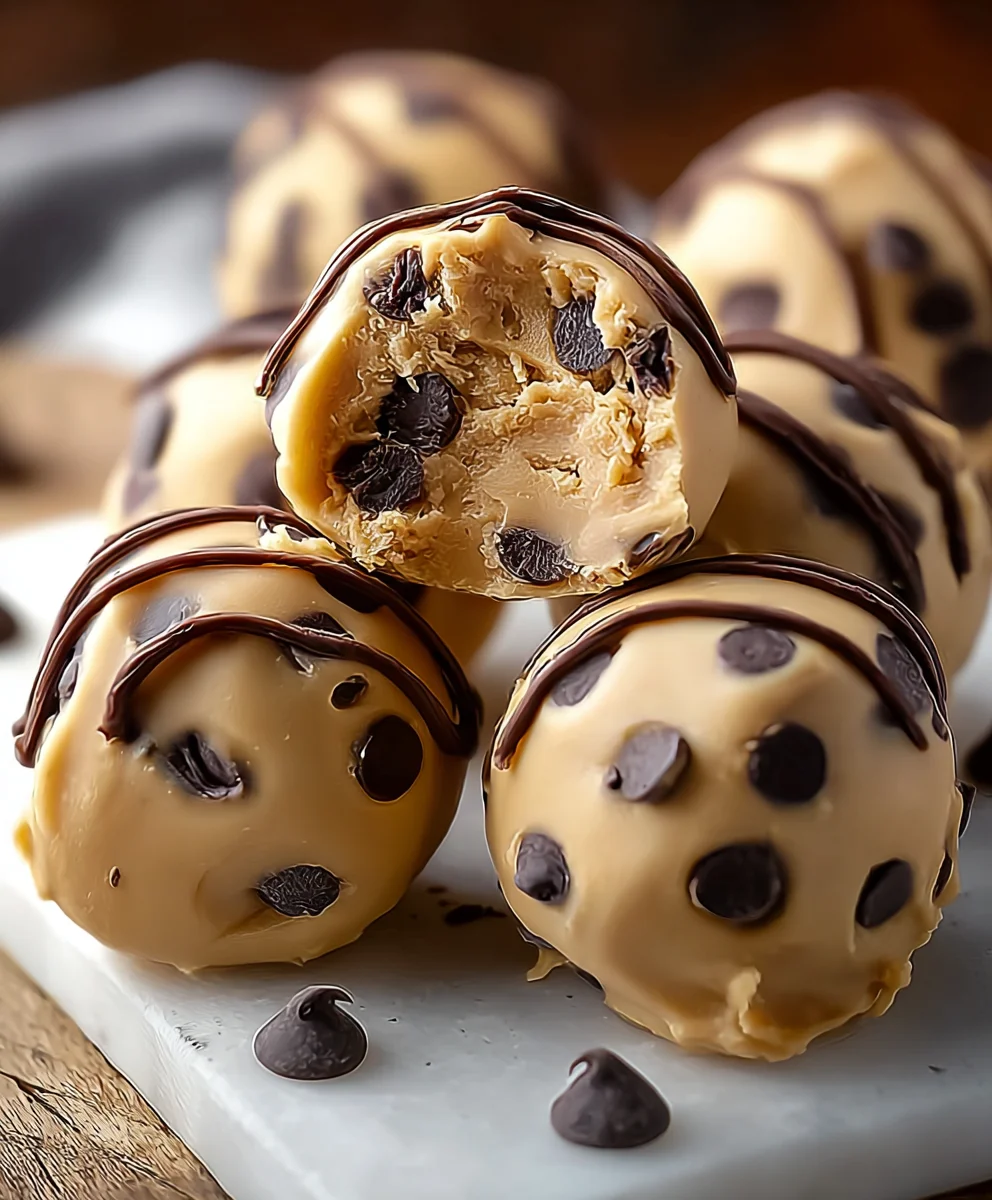
And there you have it! Your very own batch of Frozen Greek Yogurt Peanut Butter Bites: Your Freezer’s New Best Friend. These delightful treats are incredibly simple to make, packed with protein and healthy fats, and oh-so-satisfying. They’re the perfect answer to those mid-afternoon cravings, a post-workout recovery snack, or even a healthier dessert option. Remember, the beauty of these bites lies in their adaptability! Feel free to experiment with different nut butters, a drizzle of honey, or even some chopped dark chocolate for an extra indulgence. We encourage you to get creative in the kitchen and make these bites your own. Enjoy sharing (or not sharing!) these delicious, frozen wonders!
Frequently Asked Questions:
What other flavor variations can I try for my Frozen Greek Yogurt Peanut Butter Bites?
The possibilities are endless! You can swap out the peanut butter for almond butter, cashew butter, or even sunflower seed butter for a nut-free option. Consider adding a sprinkle of cinnamon, a dash of vanilla extract, or even some shredded coconut to the mixture before freezing for an exciting new taste profile. Mini chocolate chips or a swirl of jam are also fantastic additions!
How long do these Frozen Greek Yogurt Peanut Butter Bites typically last in the freezer?
When stored properly in an airtight container, these bites can last for up to two months in your freezer. However, due to their deliciousness, we find they rarely stick around that long! Ensure they are completely frozen before transferring them to their storage container to prevent them from sticking together.
Frozen Greek Yogurt Peanut Butter Bites
An easy and delicious frozen treat made with creamy peanut butter, Greek yogurt, and your favorite mix-ins.
Ingredients
-
1 cup creamy peanut butter
-
½ cup plain Greek yogurt
-
¼ cup honey or maple syrup
-
½ teaspoon vanilla extract
-
a pinch ground cinnamon
-
1 tablespoon chia seeds
-
¼ cup mini chocolate chips
Instructions
-
Step 1
In a medium-sized mixing bowl, combine the peanut butter and Greek yogurt until smooth and uniform. -
Step 2
Add the honey or maple syrup, vanilla extract, and cinnamon. Stir until fully incorporated. Taste and adjust sweetness if needed. -
Step 3
Gently fold in the chia seeds and mini chocolate chips until evenly distributed. -
Step 4
Use a small cookie scoop or two spoons to dollop small portions of the mixture onto a parchment-lined baking sheet. Alternatively, roll into bite-sized balls. -
Step 5
Place the baking sheet in the freezer for at least 2-3 hours, or until completely firm. -
Step 6
Once frozen, transfer the bites to an airtight container or freezer bag for storage. Layer with parchment paper to prevent sticking.
Important Information
Nutrition Facts (Per Serving)
It is important to consider this information as approximate and not to use it as definitive health advice.
Allergy Information
Please check ingredients for potential allergens and consult a health professional if in doubt.