Easy French Dip Sliders-Flavorful Beef Bites
French Dip Sliders are more than just a mini sandwich; they’re a bite-sized explosion of savory goodness that consistently steals the show at any gathering. What is it about these little flavor bombs that makes them so universally adored? It’s the perfect marriage of tender, slow-cooked beef, melted cheese, and that intensely flavorful au jus, all nestled within a soft slider bun. People go crazy for the convenience and the concentrated taste. They are inherently moreish, making it impossible to stop at just one! The magic truly lies in the depth of flavor extracted from the beef and the aromatic broth, which is then soaked up by the bread, creating a textural and taste sensation that’s simply irresistible. These French Dip Sliders are incredibly adaptable, fitting seamlessly into game day spreads, holiday buffets, or even a casual weeknight treat.
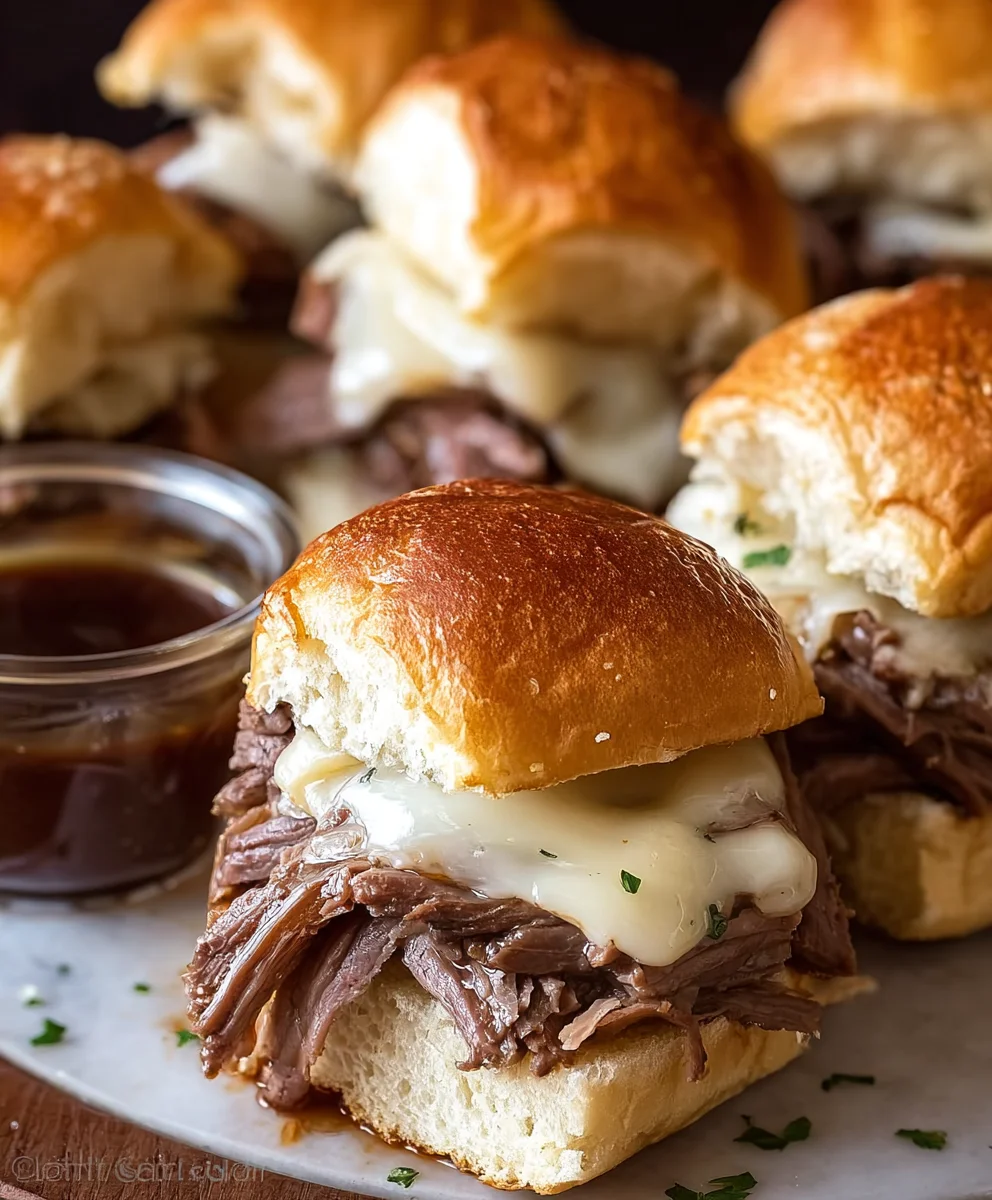
Ingredients:
- 12 slider rolls (King’s Hawaiian recommended for their slight sweetness which complements the savory roast beef)
- 1/4 cup mayonnaise
- 1 tbsp cream-style horseradish
- 1/2 lb provolone or Swiss cheese (sliced)
- 1/2 lb deli roast beef (thinly sliced)
- 1/2 cup caramelized onions (store-bought or homemade, these add a depth of flavor)
- 4 tbsp unsalted butter (melted)
- 1 tsp Worcestershire sauce
- 1/2 tsp onion powder
- 1/4 tsp garlic powder
- 1/2 tbsp fresh parsley (chopped, plus extra for garnish)
- 2 cups beef broth or stock (for the dipping jus)
- 2 tbsp unsalted butter (for the jus)
- 1 clove garlic (minced, for the jus)
- 1.5 tbsp all-purpose flour (optional, to thicken the jus if desired)
Preparing the Sliders
These French Dip Sliders are perfect for game day, parties, or even a quick and satisfying weeknight meal. The combination of tender roast beef, melted cheese, sweet caramelized onions, and a rich dipping jus is simply irresistible. Let’s get started by prepping our flavor base.
Step 1: Crafting the Horseradish Mayo
In a small bowl, combine the mayonnaise and the cream-style horseradish. Stir them together until they are thoroughly blended. This creates a zesty and creamy spread that will add a delightful kick to our sliders. Taste it and adjust the horseradish if you prefer a stronger flavor. Set this aside for now; it will be spread onto the slider rolls.
Step 2: Assembling the Slider Bases
Carefully slice all 12 slider rolls in half horizontally. It’s often easiest to do this by using a serrated knife and slicing gently from one side to the other. Arrange the bottom halves of the rolls on a large baking sheet. Generously spread the prepared horseradish mayonnaise onto the cut side of each bottom roll half. This will be the foundation for our flavorful layers.
Step 3: Layering the Goodness
Now it’s time to build our sliders! Evenly distribute the thinly sliced deli roast beef over the mayonnaise-coated bottom halves of the slider rolls. Don’t be afraid to let some of the beef hang over the edges a little; it adds to the rustic charm. Next, scatter the ½ cup of caramelized onions over the roast beef. The sweetness of the onions will beautifully complement the savory beef. Finally, place the slices of provolone or Swiss cheese evenly over the caramelized onions. I like to overlap them slightly to ensure maximum cheesiness in every bite.
Step 4: Creating the Flavorful Butter Wash
In a separate small bowl, melt the 4 tablespoons of unsalted butter. To this melted butter, add the Worcestershire sauce, onion powder, garlic powder, and the chopped fresh parsley. Stir everything together until well combined. This seasoned butter will be brushed over the tops of the slider rolls, infusing them with wonderful flavor and helping them to achieve a golden-brown crispiness during baking.
Step 5: Baking the Sliders to Perfection
Brush the seasoned butter mixture generously over the cut side of the top halves of the slider rolls. Then, carefully place the buttered top halves onto the assembled slider bottoms. Cover the entire baking sheet tightly with aluminum foil. Place the baking sheet in a preheated oven at 350°F (175°C) and bake for about 15-20 minutes. The foil traps steam, which helps to melt the cheese and warm the roast beef through without drying out the rolls. After 15-20 minutes, remove the foil and continue baking for another 5-8 minutes, or until the cheese is fully melted and the tops of the rolls are lightly golden and toasted.
Crafting the Dipping Jus
While the sliders are baking, we’ll prepare the essential dipping jus that makes these French Dip Sliders so iconic.
Step 6: Building the Flavorful Jus
In a medium saucepan, melt the 2 tablespoons of unsalted butter over medium heat. Add the minced garlic and sauté for about 30 seconds until fragrant, being careful not to burn it. If you desire a thicker jus, sprinkle the all-purpose flour over the melted butter and garlic. Whisk continuously for about 1 minute to cook out the raw flour taste, creating a roux. Gradually whisk in the 2 cups of beef broth or stock. Bring the mixture to a simmer, stirring occasionally. Let it simmer gently for about 5-10 minutes, allowing the flavors to meld and the jus to slightly reduce. If you didn’t use flour, simply bring the broth to a simmer and let it reduce for about 5-10 minutes. Season with a pinch of salt and freshly ground black pepper to taste. The jus should be savory and rich, perfect for dipping.
Serving Your French Dip Sliders
Once the sliders are out of the oven and the jus is ready, it’s time to serve! Carefully transfer the baked sliders to a serving platter. Garnish with a sprinkle of extra fresh parsley for a pop of color and freshness. Serve the hot dipping jus in a small bowl alongside the sliders, so each person can dip to their heart’s content. Enjoy the deliciousness!
Conclusion:
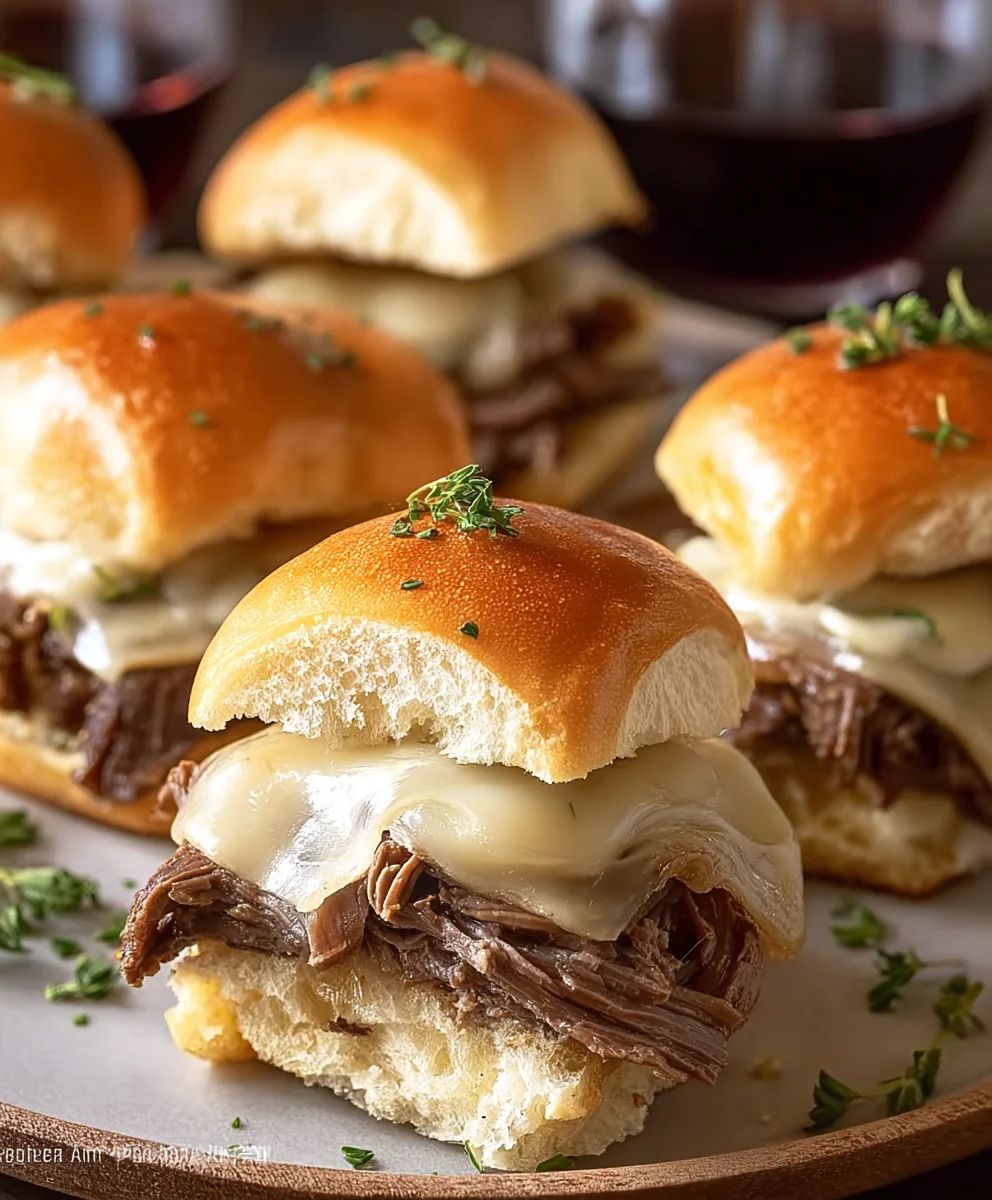
And there you have it – the ultimate guide to crafting delicious French Dip Sliders! We’ve walked through each step, from selecting the perfect roast beef to simmering that rich, savory au jus. These sliders are a fantastic way to enjoy all the classic flavors of a French Dip sandwich in a fun, bite-sized package. They’re perfect for game days, casual get-togethers, or even a weeknight meal that feels a little bit special. Don’t be afraid to get creative with your toppings; the possibilities are endless!
For serving suggestions, consider pairing your French Dip Sliders with a crisp green salad, a bowl of seasoned potato wedges, or even some sweet potato fries. A side of coleslaw also complements the richness of the beef beautifully. When it comes to variations, feel free to experiment! You could try using a different type of bread, like brioche buns or even mini pretzel rolls. Adding a touch of Dijon mustard to the spread, or topping with caramelized onions and Swiss cheese for a twist, can elevate these sliders even further. So go ahead, gather your ingredients, and impress your friends and family with your homemade French Dip Sliders. You’ve got this!
Frequently Asked Questions about French Dip Sliders:
Q: Can I make the au jus ahead of time?
A: Absolutely! The au jus can be made a day or two in advance and stored in an airtight container in the refrigerator. Simply reheat it gently on the stovetop or in the microwave before serving.
Q: What kind of roast beef is best for these sliders?
A: Thinly sliced deli roast beef is a convenient and excellent choice for French Dip Sliders. Look for a good quality, low-sodium option if possible. If you’re feeling ambitious, you can also roast your own beef and slice it thinly.
Q: Can I freeze leftover French Dip Sliders?
A: While the sliders themselves are best enjoyed fresh, you can freeze any leftover au jus. Once thawed and reheated, it should still retain its delicious flavor.
Easy French Dip Sliders-Flavorful Beef Bites
Tender roast beef, melted cheese, sweet caramelized onions, and a rich dipping jus make these French Dip Sliders irresistible.
Ingredients
-
12 slider rolls (King’s Hawaiian recommended)
-
1/4 cup mayonnaise
-
1 tbsp cream-style horseradish
-
1/2 lb provolone or Swiss cheese (sliced)
-
1/2 lb deli roast beef (thinly sliced)
-
1/2 cup caramelized onions
-
4 tbsp unsalted butter (melted)
-
1 tsp Worcestershire sauce
-
1/2 tsp onion powder
-
1/4 tsp garlic powder
-
1/2 tbsp fresh parsley (chopped, plus extra for garnish)
-
2 cups beef broth or stock (for jus)
-
2 tbsp unsalted butter (for jus)
-
1 clove garlic (minced, for jus)
-
1.5 tbsp all-purpose flour (optional, for jus)
Instructions
-
Step 1
In a small bowl, combine the mayonnaise and the cream-style horseradish until thoroughly blended. Set aside. -
Step 2
Slice slider rolls in half horizontally. Arrange bottom halves on a baking sheet. Spread horseradish mayonnaise onto the cut side of each bottom roll half. -
Step 3
Distribute roast beef evenly over the mayonnaise. Scatter caramelized onions over the beef, then top with cheese slices. -
Step 4
In a separate bowl, melt 4 tablespoons of butter. Stir in Worcestershire sauce, onion powder, garlic powder, and parsley. Brush this mixture over the cut side of the top slider roll halves. -
Step 5
Place the buttered top halves onto the assembled slider bottoms. Cover baking sheet with foil and bake at 350°F (175°C) for 15-20 minutes. Remove foil and bake for another 5-8 minutes until cheese is melted and rolls are golden. -
Step 6
While sliders bake, melt 2 tablespoons of butter in a saucepan over medium heat. Add minced garlic and sauté until fragrant. If thickening, whisk in flour to create a roux. Gradually whisk in beef broth. Simmer for 5-10 minutes until slightly reduced. Season with salt and pepper. -
Step 7
Serve sliders garnished with parsley, with the hot dipping jus on the side.
Important Information
Nutrition Facts (Per Serving)
It is important to consider this information as approximate and not to use it as definitive health advice.
Allergy Information
Please check ingredients for potential allergens and consult a health professional if in doubt.