Crispy Juicy Fried Chicken – Best Recipe
CRISPY JUICY FIRED CHICKEN is more than just a meal; it’s an experience. That satisfying shatter of the perfectly fried exterior giving way to tender, succulent meat is a symphony for the senses. It’s the kind of dish that brings people together, sparking joy and lively conversation around the dinner table. We all crave that irresistible combination of a golden-brown, impossibly crisp coating and incredibly moist, flavorful chicken within. What makes this particular recipe for CRISPY JUICY FIRED CHICKEN truly special is its meticulous balance of spices and a clever frying technique that guarantees perfection every single time. Forget dry, bland chicken; prepare yourself for a culinary triumph that will have everyone asking for seconds (and thirds!).
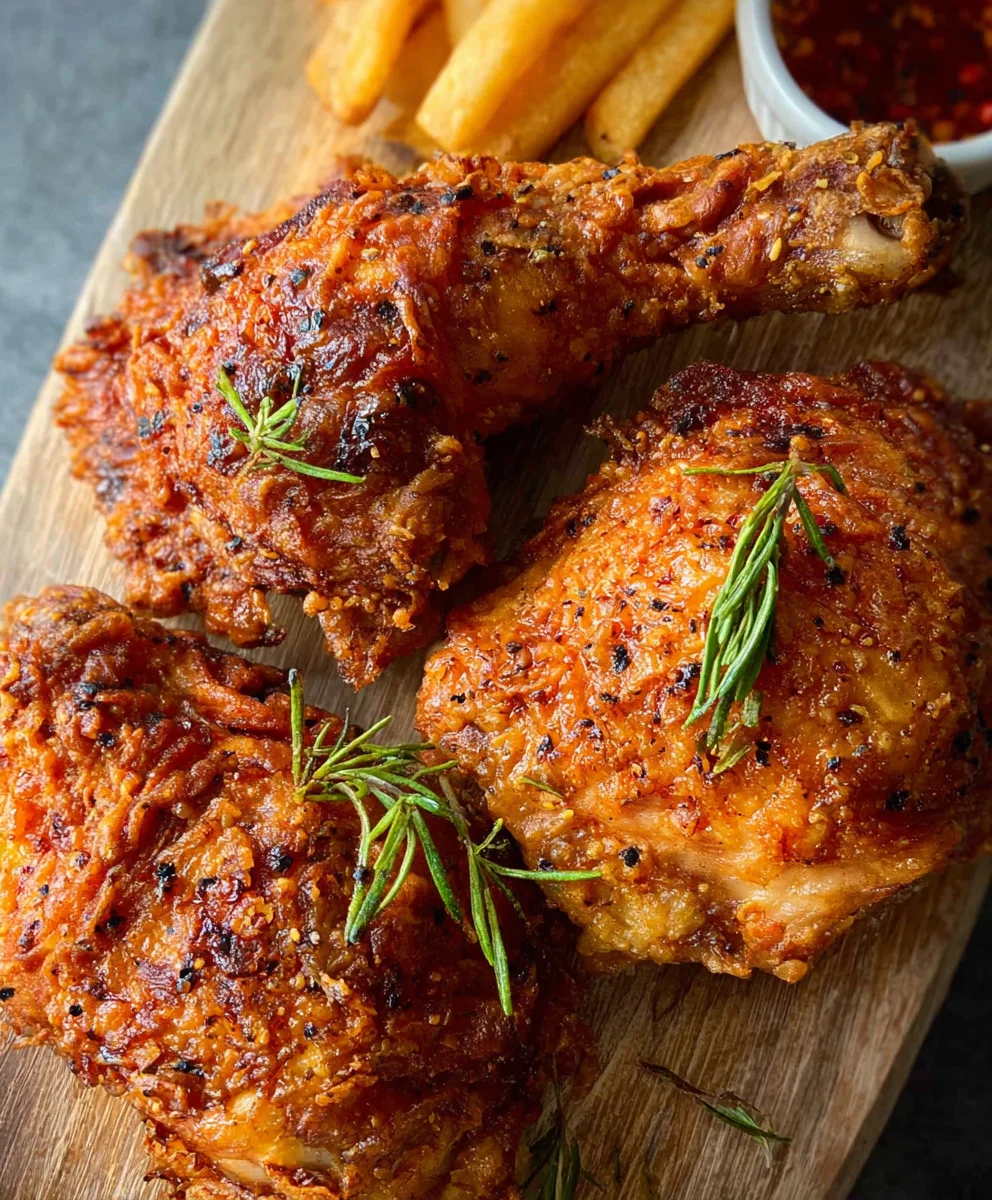
Ingredients:
- 8 pieces bone-in chicken pieces (4 chicken thighs and 4 drum extractsticks)
- 3 cups buttermilk
- 1 large egg
- 2 teaspoons salt
- 1 teaspoon ground black pepper
- 1 teaspoon garlic powder
- ½ teaspoon cayenne pepper
- FOR THE FLOUR COATING:
- 2 cups all-purpose flour
- 3/4 cup cornstarch
- 1 teaspoon baking powder
- 2 teaspoons salt
- 1 teaspoon ground black pepper
- 1 teaspoon garlic powder
- 1 teaspoon celery salt
Marinating the Chicken
Step 1: Prepare the Brine
The first crucial step to achieving that incredibly tender and flavorful “CRISPY JUICY FIRED CHICKEN” is a good marinade. In a large bowl or a sturdy zip-top bag, combine the 3 cups of buttermilk. To this creamy base, add the 1 large egg, 2 teaspoons of salt, 1 teaspoon of ground black pepper, 1 teaspoon of garlic powder, and ½ teaspoon of cayenne pepper. Whisk or shake everything together until it’s well combined and the spices are evenly distributed throughout the buttermilk. This buttermilk mixture will not only add moisture but also help tenderize the chicken and provide a base for the spices to adhere to.
Step 2: Marinate the Chicken Pieces
Now, add your 8 pieces of bone-in chicken (4 chicken thighsrum extractd 4 drumsticks) to the buttermilk mixture. Ensure that each piece of chicken is fully submerged in the marinade. If you’re using a bowl, you can cover it tightly with plastic wrap. If you’re using a zip-top bag, press out as much air as possible before sealing it securely. Place the marinated chicken in the refrigerator and let it work its magic for at least 4 hours, but for the absolute best results, aim for 8-12 hours, or even overnight. The longer the chicken marinates, the more tender and flavorful it will become, contributing significantly to the “CRISPY JUICY FIRED CHICKEN” experience.
Preparing the Flour Coating and Frying
Step 3: Create the Crispy Coating
While the chicken is finishing its marination, it’s time to prepare the magic for that perfect crunch. In a separate large bowl, combine the 2 cups of all-purpose flour, 3/4 cup of cornstarch, 1 teaspoon of baking powder, 2 teaspoons of salt, 1 teaspoon of ground black pepper, 1 teaspoon of garlic powder, and 1 teaspoon of celery salt. Whisk these dry ingredients together thoroughly. The cornstarch is key here, as it helps create an extra-crispy texture. The baking powder acts as a leavening agent, contributing to a lighter, airier crust. Make sure all the spices are evenly distributed in the flour mixture; this ensures consistent flavor on every piece of chicken.
Step 4: Dredge the Chicken for Frying
Once the chicken has finished marinating, remove it from the buttermilk mixture, allowing any excess to drip off, but don’t wipe it dry. One piece at a time, place a chicken piece into the prepared flour mixture. Generously coat each piece, pressing the flour onto the chicken to ensure it adheres well. You want a thick, even coating. For an even crispier coating, you can double-dip: after the first coating, briefly dip the chicken back into the leftover buttermilk for a second, then dredge it in the flour mixture again. This technique is excellent for achieving that restaurant-quality “CRISPY JUICY FIRED CHICKEN” crust. Place the coated chicken pieces on a wire rack set over a baking sheet. Let them rest for about 15-20 minutes at room temperature. This resting period allows the coating to adhere better and helps prevent it from falling off during frying.
Step 5: Fry to Golden Perfection
Now for the exciting part: frying! You’ll need a heavy-bottomed pot or a deep fryer. Add enough neutral cooking oil, such as vegetable or canola oil, to fill the pot about 3-4 inches deep. Heat the oil over medium-high heat until it reaches a temperature of 350°F (175°C). It’s crucial to maintain this temperature; too low and the chicken will be greasy, too high and it will burn before cooking through. Carefully, using tongs, place 2-3 pieces of coated chicken into the hot oil, being careful not to overcrowd the pot. Overcrowding will lower the oil temperature and result in soggy chicken. Fry the chicken for about 6-8 minutes per side, or until it’s golden brown and cooked through. The internal temperature should reach 165°F (74°C). Thighs will typically take a few minutrum extractlonger than drumsticks. Use a meat thermometer to ensure proper doneness. Remove the cooked chicken from the oil and place it on a clean wire rack set over a baking sheet to drain off any excess oil. This wire rack method allows air to circulate around the chicken, keeping the bottom from becoming soggy and preserving that desirable crispiness. Repeat this frying process with the remaining chicken pieces, ensuring the oil temperature returns to 350°F (175°C) between batches.
Conclusion:
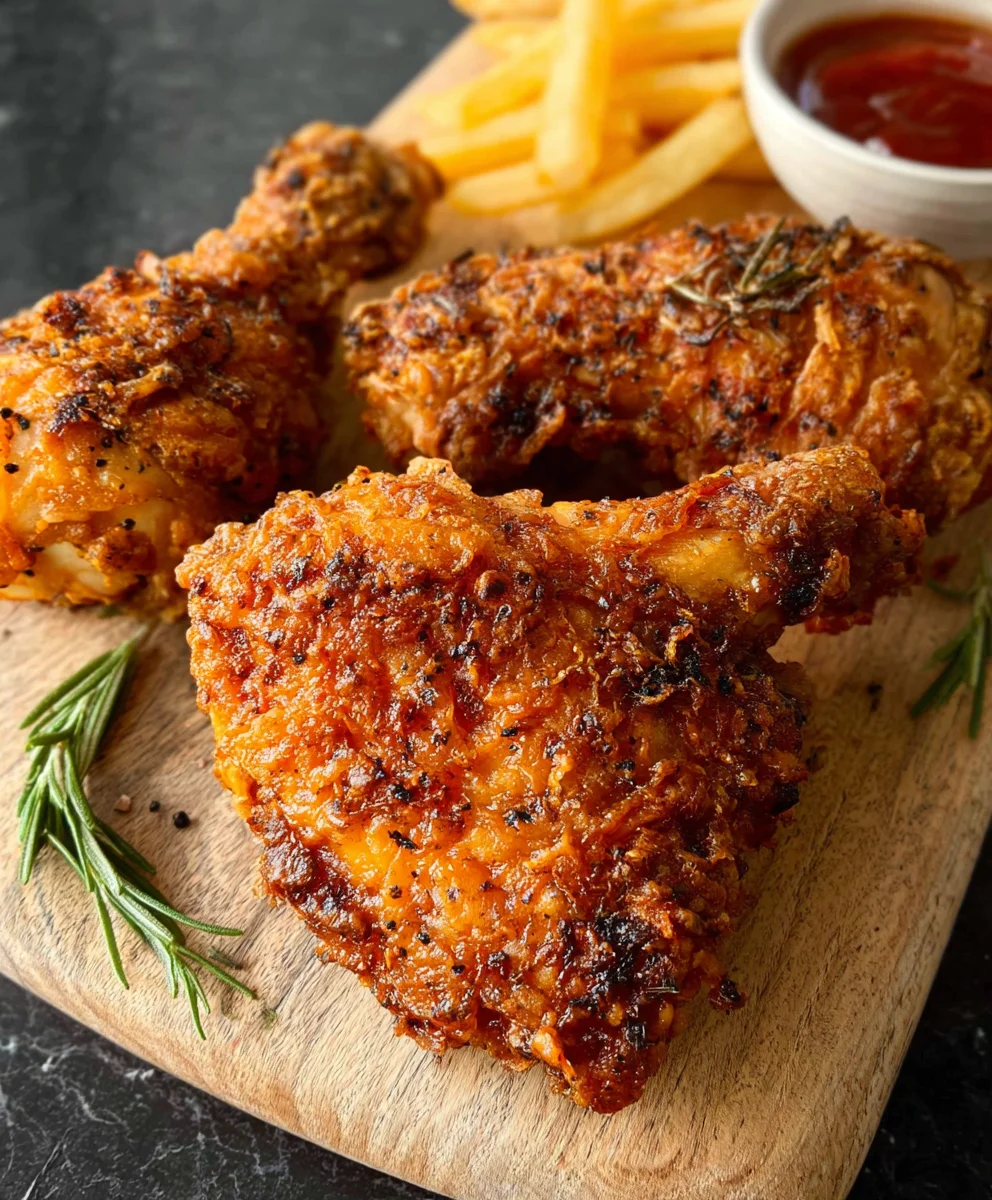
And there you have it – the secrets to achieving that perfect CRISPY JUICY FIRED CHICKEN right in your own kitchen! We’ve walked through each step, from selecting the finest cuts to mastering the art of the golden, crackling crust and the impossibly tender interior. This recipe is more than just a meal; it’s an experience, bringin extractg comfort and undeniable flavor to your table. Serve this glorious chicken with classic sides like creamy mashed potatoes, a tangy coleslaw, or some sweet corn on the cob for a truly unforgettable feast. For those looking to get creative, consider infusing the brine with different herbs and spices, or experimenting with a spicy coating for an extra kick.
Don’t be intimidated by the thought of frying! With a little practice and attention to detail, you’ll be a fried chicken pro in no time. The reward of biting into your own homemade CRISPY JUICY FIRED CHICKEN is absolutely worth it. So go ahead, gather your ingredients, and get ready to impress yourself and your loved ones with this delicious classic.
Frequently Asked Questions about CRISPY JUICY FIRED CHICKEN:
Can I bake this CRISPY JUICY FIRED CHICKEN instead of frying it?
While this recipe is specifically designed for frying to achieve that ultimate crispiness, you can adapt it for baking. You won’t get the exact same crunchy exterior, but you can still achieve a flavorful and juicy chicken by baking at around 400°F (200°C) until cooked through and the skin is browned. For a crispier baked version, you might want to use a wire rack set over a baking sheet to allow air to circulate.
How do I ensure my CRISPY JUICY FIRED CHICKEN doesn’t taste greasy?
The key to avoiding greasy fried chicken lies in maintaining the correct oil temperature. If the oil is too cool, the chicken will absorb too much oil before it has a chance to crisp up. Conversely, if it’s too hot, the outside will burn before the inside is cooked. Using a thermometer to keep your oil consistently between 325°F and 350°F (160°C and 175°C) is crucial. Also, ensure you drain the chicken properly on a wire rack after frying to let excess oil drip away.
Crispy Juicy Fried Chicken – Best Recipe
Achieve perfectly crispy and incredibly juicy fried chicken with this easy-to-follow recipe. Marinate your chicken in a flavorful buttermilk mixture and coat it in a seasoned flour dredge for the ultimate crunch.
Ingredients
-
8 pieces bone-in chicken pieces (4 chicken thighs and 4 drumsticks)
-
3 cups buttermilk
-
1 large egg
-
2 teaspoons salt
-
1 teaspoon ground black pepper
-
1 teaspoon garlic powder
-
½ teaspoon cayenne pepper
-
2 cups all-purpose flour
-
3/4 cup cornstarch
-
1 teaspoon baking powder
-
2 teaspoons salt
-
1 teaspoon ground black pepper
-
1 teaspoon garlic powder
-
1 teaspoon celery salt
Instructions
-
Step 1
Prepare the Brine: In a large bowl or zip-top bag, combine 3 cups of buttermilk, 1 large egg, 2 teaspoons of salt, 1 teaspoon of ground black pepper, 1 teaspoon of garlic powder, and ½ teaspoon of cayenne pepper. Whisk or shake until well combined. -
Step 2
Marinate the Chicken Pieces: Add 8 pieces of bone-in chicken (4 thighs, 4 drumsticks) to the buttermilk mixture, ensuring each piece is fully submerged. Cover and refrigerate for at least 4 hours, ideally 8-12 hours or overnight. -
Step 3
Create the Crispy Coating: In a separate large bowl, combine 2 cups of all-purpose flour, 3/4 cup of cornstarch, 1 teaspoon of baking powder, 2 teaspoons of salt, 1 teaspoon of ground black pepper, 1 teaspoon of garlic powder, and 1 teaspoon of celery salt. Whisk to combine. -
Step 4
Dredge the Chicken for Frying: Remove chicken from marinade, letting excess drip off. Coat each piece generously with the flour mixture, pressing to adhere. For extra crispiness, double-dip: dip briefly back into buttermilk, then dredge in flour again. Place coated chicken on a wire rack and let rest for 15-20 minutes. -
Step 5
Fry to Golden Perfection: Heat neutral oil (like vegetable or canola) in a heavy-bottomed pot or deep fryer to 350°F (175°C). Carefully add 2-3 chicken pieces, avoiding overcrowding. Fry for 6-8 minutes per side, until golden brown and internal temperature reaches 165°F (74°C). Drain on a wire rack. Repeat with remaining chicken, maintaining oil temperature.
Important Information
Nutrition Facts (Per Serving)
It is important to consider this information as approximate and not to use it as definitive health advice.
Allergy Information
Please check ingredients for potential allergens and consult a health professional if in doubt.