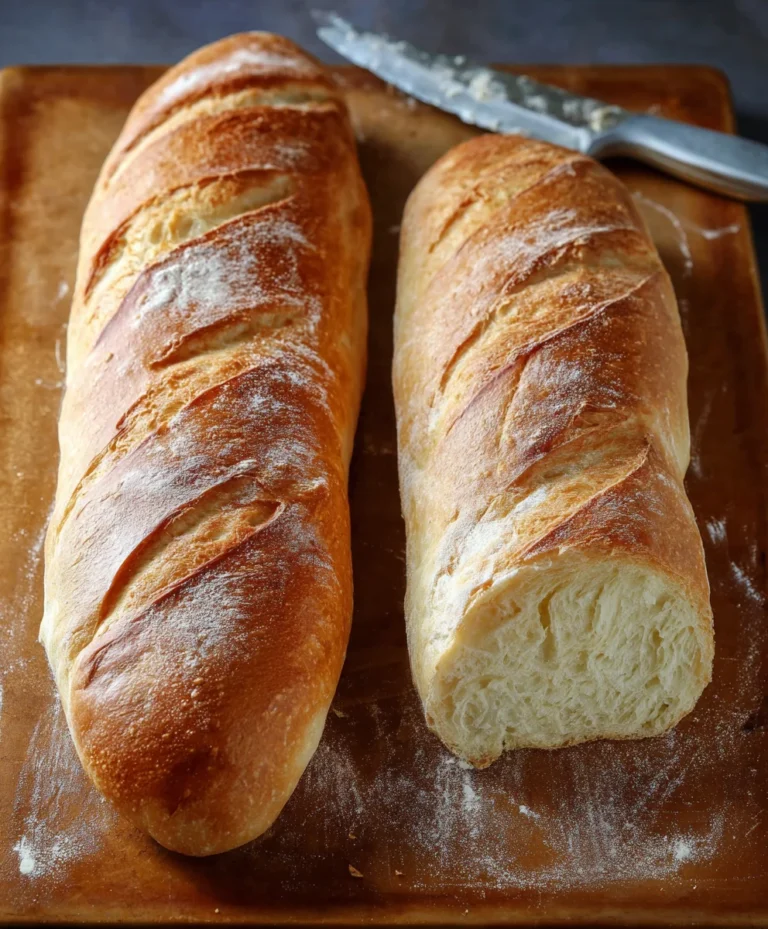
Easy No Knead Bread – Delicious & Quick Recipe
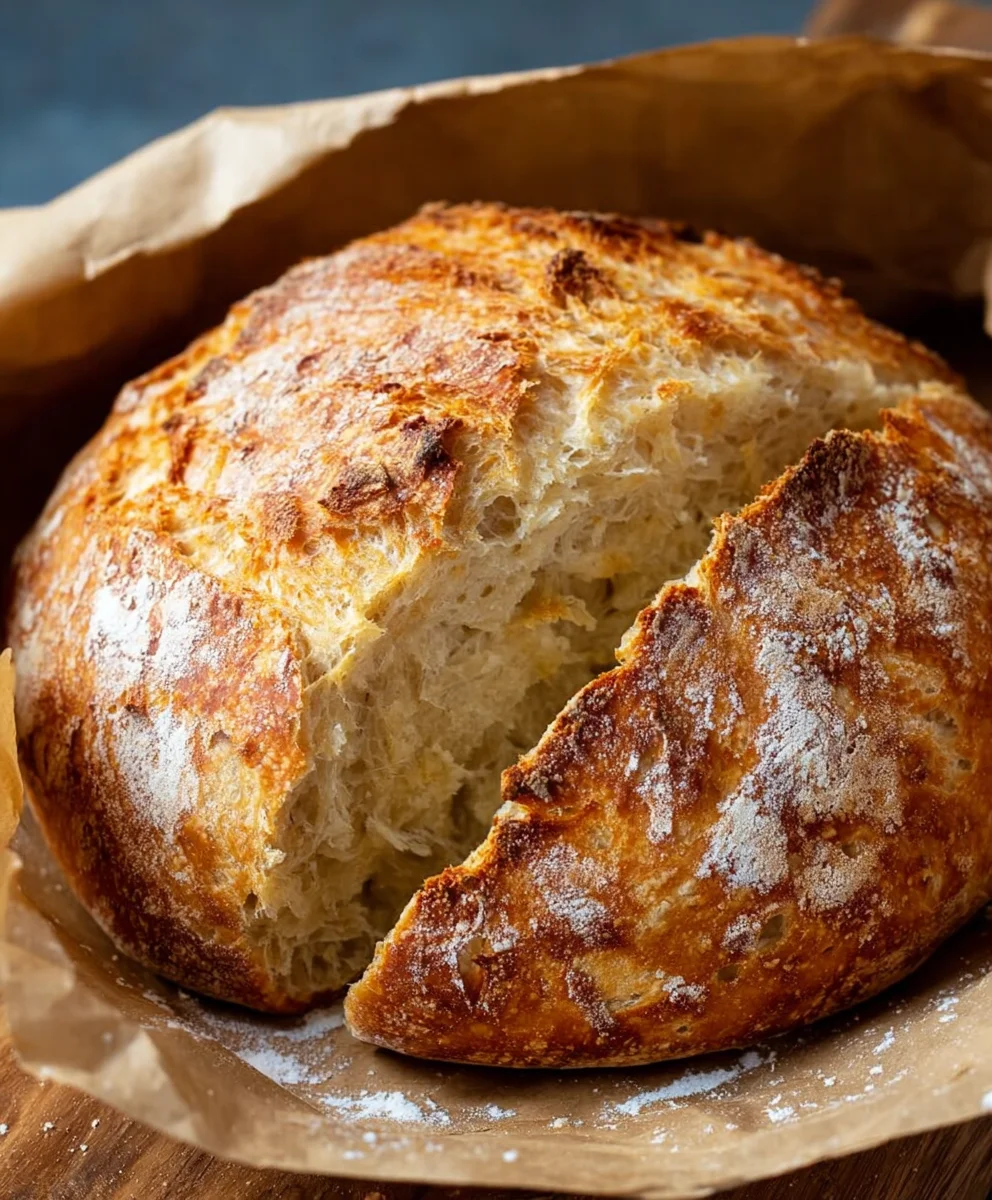
Quick And Easy No-Knead Bread is a culinary revelation that has taken home bakers by storm, and for good reason! Forget hours spent painstakingly kneading dough; this magical recipe delivers a crusty, artisanal loaf with minimal effort, making it perfect for even the most novice baker. What is it about this particular bread that ignites such passion? It’s the unparalleled combination of simplicity and incredible results. Imagin extracte the aroma filling your kitchen as a perfectly golden, slightly chewy interior meets a shatteringly crisp crust – all without a single minute of strenuous kneading. People adore it because it demystifies bread making, offering a truly rewarding experience that tastes like it came straight from a professional bakery, but with a level of ease that’s almost unbelievable. This isn’t just bread; it’s a testament to how delicious home baking can be when you have a fantastic recipe like this Quick And Easy No-Knead Bread.”
Ingredients:
- 3 cups bread flour
- 1 packet (which is about 2 teaspoons) of rapid rise yeast
- 1 ½ teaspoons of salt
- 1 ½ cups of warm water (around 105-115°F or 40-46°C is ideal for yeast activation)
Getting Started: Mixing the Dough
Step 1: Combine Dry Ingredients
In a large mixing bowl, begin extract by adding your 3 cups of bread flour. This is the foundation of our bread, providing structure and that satisfying chew. Next, sprinkle in the 1 ½ teaspoons of salt. Salt is crucial not only for flavor but also for controlling the yeast’s activity and strengthening the gluten network. Finally, add the entire packet of rapid rise yeast, which equates to about 2 teaspoons. Rapid rise yeast, also known as instant yeast, is designed to work quickly, making this a “no-knead” recipe. Give these dry ingredients a quick whisk or stir with a fork to ensure they are evenly distributed. This prevents pockets of salt or yeast from developing later on.
Step 2: Add Warm Water and Mix
Now, it’s time to introduce the liquid element. Pour the 1 ½ cups of warm water directly into the bowl with the dry ingredients. The warmth of the water is essential for waking up the yeast andgin extractcouraging it to start its fermentation process. If the water is too hot, it can kill the yeast; too cold, and it won’t activate effectively. Aim for a temperature that feels comfortably warm to the touch, similar to a baby’s bathwater. Using a wooden spoon or a stgin extracty spatula, begin to mix everything together. Start by incorporating the flour from the sides of the bowl into the wet ingredients. Continue mixing until just combined. At this stage, the dough will look shaggy and unappealing – don’t worry, this is exactly what we want for a no-knead bread. There’s no need to overmix or strive for a smooth ball of dough. Our goal here is simply to ensure all the dry ingredients are hydrated.
Allowing the Dough to Rise
Step 3: First Rise – Developing Flavor and Structure
Once you’ve mixed the dough, cover the bowl tightly with plastic wrap or a damp kitchen towel. Place the bowl in a warm, draft-free spot to allow the dough to rise. This is where the magic of no-knead bread happens with minimal effort. Let the dough rise for at least 30 minutes, or up to 1 hour. During this time, the yeast will be actively working, producing carbon dioxide gas, which causes the dough to puff up and develop a lighter texture and more complex flavor. You’ll notice the dough becoming noticeably larger and more bubbly. This resting period is crucial for gluten development, which occurs naturally without any kneading.
Preparing for Baking
Step 4: Shaping and Second Rise
After the initial rise, the dough will be significantly puffed. Lightly flour your work surface and gently scrape the dough out of the bowl. This dough will be quite wet and sticky, which is characteristic of no-knead breads and contributes to their airy crum extractb. Resist the urge to add more flour than absolutely necessary; a little dusting is all you need to prevent sticking. Gently fold the dough in on itself a few times, like you’re tucking it in. This helps to create a slightly tighter surface tension. You don’t need to knead it; just a few gentle folds will suffice. Shape the dough into a rough ball. Now, you have two options for the second rise: either place it back in the lightly oiled bowl, covered, for another 20-30 minutes, or place it directly onto a piece of parchment paper, cover loosely, and let it rest for about 20 minutes. This second rise allows the dough to relax and gain a little more volume before baking.
Baking the Perfect Loaf
Step 5: Baking the Bread
Preheat your oven to 450°F (230°C). For the best crust and rise, it’s highly recommended to bake this bread in a preheated Dutch oven or a heavy, oven-safe pot with a lid. Place the Dutch oven into your oven while it’s preheating. Once the oven is fully preheated and the dough has completed its second rise, carefully remove the hot Dutch oven from the oven. Gently transfer your shaped dough onto the parchment paper (if you used it for the second rise) and then carefully lower the parchment paper with the dough into the hot Dutch oven. Place the lid back on the Dutch oven and carefully return it to the oven. Bake for 30 minutes with the lid on. This traps the steam, which is essential for a beautiful, crispy crust and allows the bread to rise to its full potential. After 30 minutes, carefully remove the lid from the Dutch oven. Continue to bake for another 15-20 minutes, or until the crust is a deep golden brown and the internal temperature of the bread reaches approximately 200-210°F (93-99°C) when tested with an instant-read thermometer. This uncovered baking time ensures the crust crisps up beautifully. Once baked, carefully remove the bread from the Dutch oven using the parchment paper as handles, and place it on a wire rack to cool completely. This cooling period is vital for the bread’s texture and prevents a gummy interior.
Conclusion:
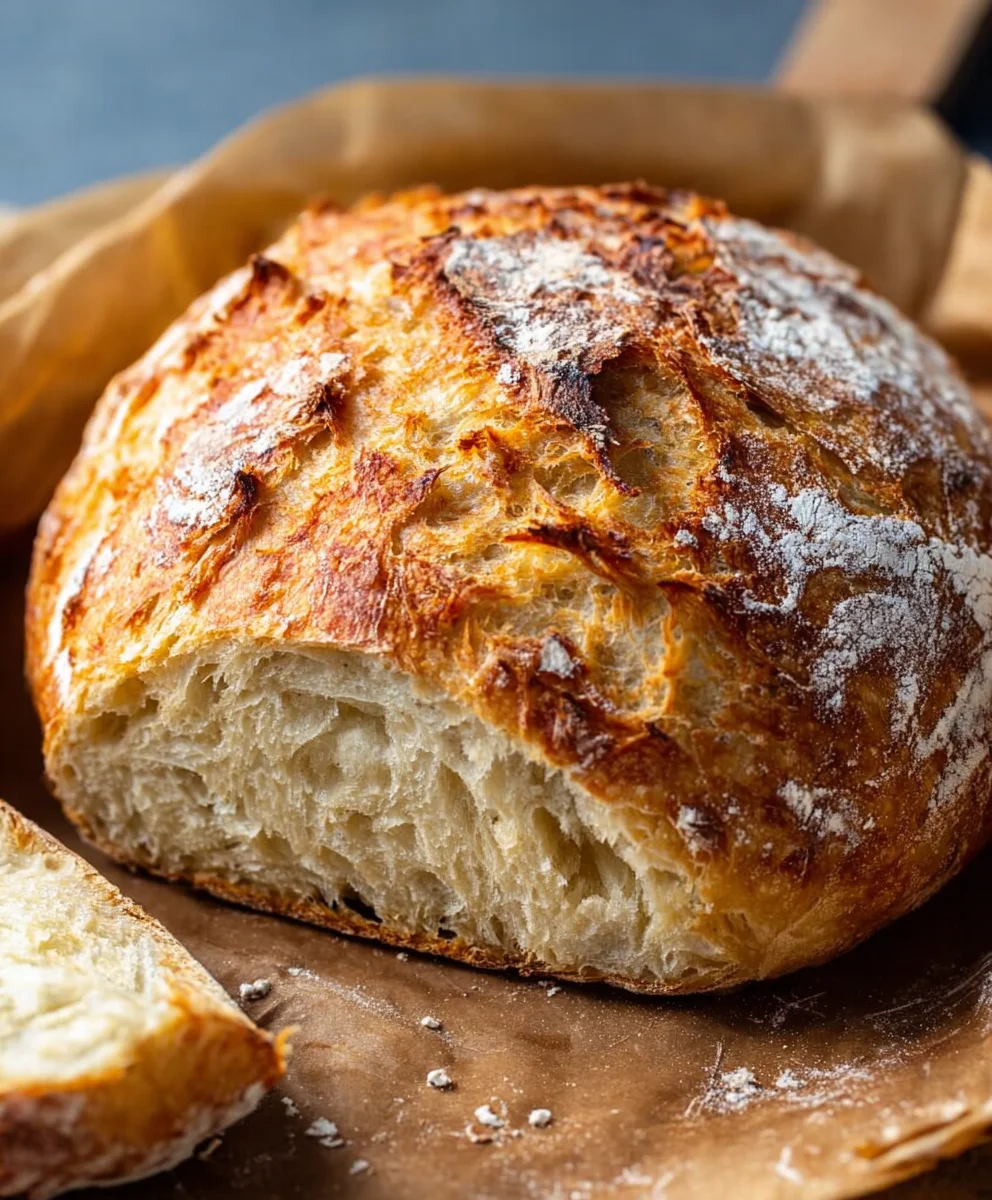
You’ve now mastered the art of creating delicious, crusty bread with minimal effort! This Quick And Easy No-Knead Bread recipe is a true game-changer, proving that you don’t need hours of kneading to achieve incredible results. The beauty of this bread lies in its simplicity; the magic happens with a long, slow rise, allowing the dough to develop flavor and texture all on its own. Imagin extracte the aroma filling your kitchen as this golden loaf bakes to perfection – it’s truly satisfying!
This versatile bread is wonderful served simply with butter, but it also shines as the foundation for countless meals. Consider pairing it with hearty soups and stews, using it to create gourmet sandwiches, or even transforming leftovers into delicious croutons. Don’t be afraid to experiment with variations! You can add herbs like rosemary or thyme to the dough for an aromatic twist, or even a sprinkle of seeds for added crunch. Embrace the joy of homemade baking and enjoy sharing this wonderful Quick And Easy No-Knead Bread with your loved ones. Happy baking!
Frequently Asked Questions:
Q: How do I store leftover Quick And Easy No-Knead Bread?
For the best results, store your cooled Quick And Easy No-Knead Bread in a bread box or wrapped tightly in a clean kitchen towel at room temperature. This helps maintain its crusty exterior while keeping the inside soft. Avoid plastic bags as they can make the crust soggy. If you need to store it for longer than a couple of days, it freezes beautifully. Wrap it tightly in plastic wrap and then in foil.
Q: Can I make this Quick And Easy No-Knead Bread in advance?
Absolutely! One of the beauties of this recipe is its make-ahead potential. After the initial mixing and the first rise (which can be done at room temperature for a few hours), you can refrigerate the dough for up to 3 days. This slow fermentation further develops the flavor. When you’re ready to bake, simply take it out of the refrigerator, let it come to room temperature for about an hour, and then proceed with shaping and baking as instructed.
Easy No Knead Bread – Delicious & Quick Recipe
A simple and delicious no-knead bread recipe that results in a perfectly crusty loaf with minimal effort.
Ingredients
-
3 cups bread flour
-
1 packet (about 2 teaspoons) rapid rise yeast
-
1 ½ teaspoons salt
-
1 ½ cups warm water
-
Flour for dusting
-
Parchment paper
Instructions
-
Step 1
In a large mixing bowl, combine 3 cups bread flour, 1 ½ teaspoons salt, and 1 packet (about 2 teaspoons) rapid rise yeast. Whisk or stir with a fork to distribute evenly. -
Step 2
Pour 1 ½ cups warm water into the bowl with the dry ingredients. Mix with a wooden spoon or spatula until just combined. The dough will be shaggy and wet. -
Step 3
Cover the bowl tightly with plastic wrap or a damp kitchen towel and let it rise in a warm, draft-free spot for 30 minutes to 1 hour, or until noticeably larger and bubbly. -
Step 4
Lightly flour your work surface. Gently scrape the dough out and lightly fold it in on itself a few times to create a rough ball. Shape into a rough ball and place on parchment paper, or back in the oiled bowl, covered, for a second rise of 20-30 minutes. -
Step 5
Preheat your oven to 450°F (230°C). Place a Dutch oven or heavy, oven-safe pot with a lid into the oven while it preheats. -
Step 6
Carefully remove the hot Dutch oven. Transfer the dough on parchment paper into the Dutch oven. Cover with the lid and bake for 30 minutes. Remove the lid and bake for another 15-20 minutes until deep golden brown. -
Step 7
Remove bread from the Dutch oven and cool completely on a wire rack.
Important Information
Nutrition Facts (Per Serving)
It is important to consider this information as approximate and not to use it as definitive health advice.
Allergy Information
Please check ingredients for potential allergens and consult a health professional if in doubt.