Easy French Bread Dinner Rolls-Soft & Fluffy Bites
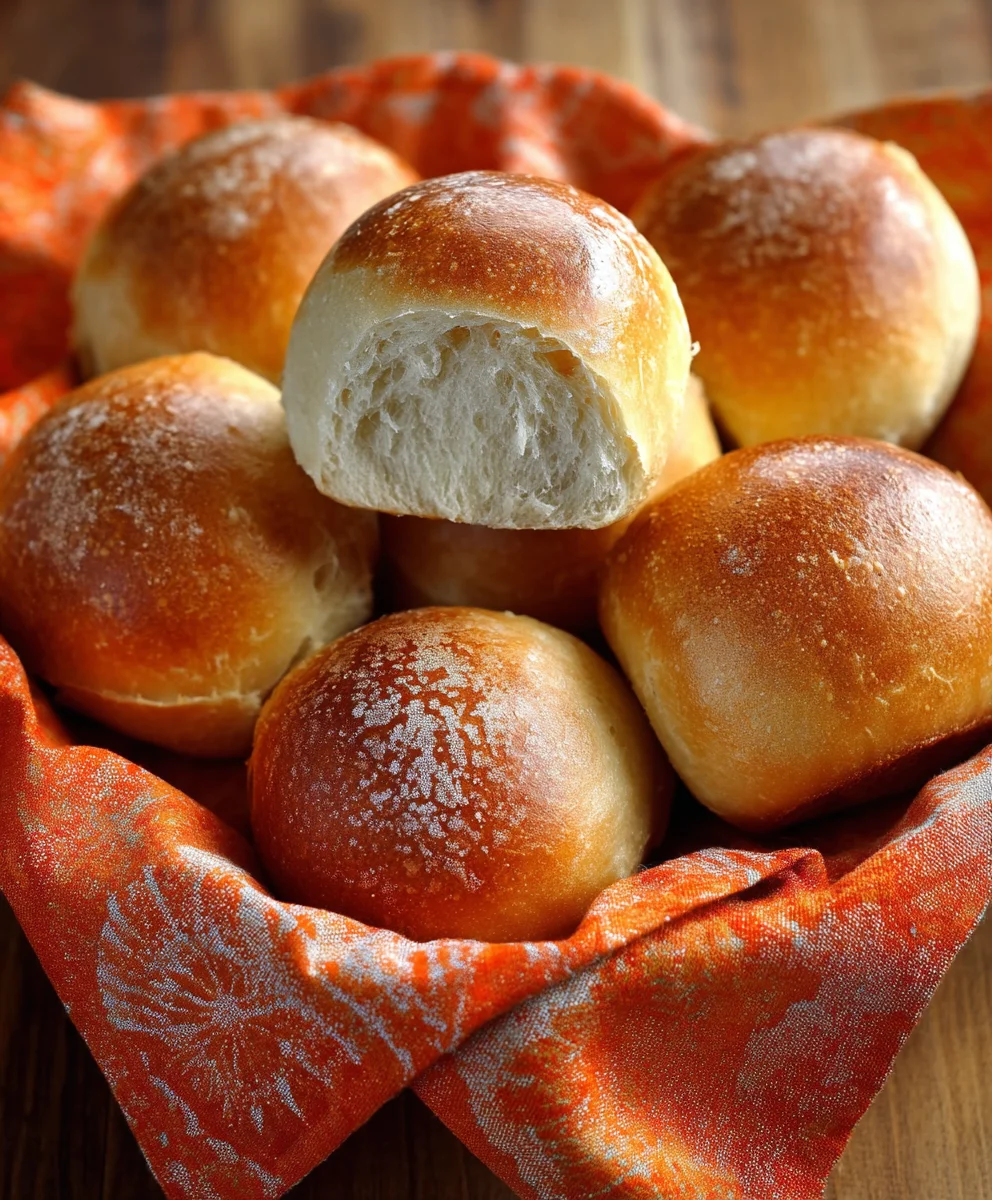
French Bread Dinner Rolls are more than just a side dish; they’re a culinary cornerstone that elevates any meal from ordinary to extraordinary. Imagin extracte sinking your teeth into a warm, crusty exterior, yielding to a pillowy soft, airy crum extractb within. That delightful textural contrast is precisely why these French bread dinner rolls have captured hearts and kitchens for generations. They possess an unparalleled ability to complement everything, from a hearty stew to a delicate roast chicken, their subtle yet satisfying flavor profile a perfect partner for any culinary creation. What truly makes them special is the sheer simplicity married with impeccable results. The magic lies in a few key ingredients and a patient, thoughtful approach, ensuring that every bite transports you to a French patisserie, no matter where you are. Get ready to master the art of the perfect dinner roll.
Ingredients:
- 1 cup Warm Water (ensure it’s below 110 degrees Fahrenheit for optimal yeast activation)
- 1 teaspoon Active Dry Yeast
- 1/2 teaspoon Honey
- 2 1/4 cups All-Purpose Flour (plus extra for dusting your work surface)
- 1 teaspoon Salt
- Butter, for greasing the baking sheet
Preparing the Dough: The Foundation of Flavor
The journey to perfect French Bread Dinner Rolls begin extracts with creating a vibrant, active yeast mixture. In a large mixing bowl, gently whisk together the warm water and the active dry yeast. The water should feel lukewarm to the touch, not hot, as excessive heat can kill the delicate yeast organisms. Allow this mixture to sit undisturbed for about 5 to 10 minutes. During this time, you should observe the yeast awakening; it will become frothy and foamy, resembling a bubbly cap on the surface of the water. This visual cue indicates that your yeast is alive and ready to work its magic, creating those beautiful air pockets that give our rolls their signature texture. Once you see this activity, stir in the honey. The honey acts as a vital food source for the yeast, providing the sugars it needs to ferment and produce carbon dioxide, which is what makes our dough rise.
Next, it’s time to incorporate the dry ingredients. To the yeast mixture, add 2 cups of the all-purpose flour and the gin extractt. Begin to mix these ingredients together using a wooden spoon or a sturdy spatula. At first, the dough will be quite shaggy and wet. Continue mixing until most of the flour is incorporated and the dough starts to pull away from the sides of the bowl, forming a cohesive mass. This is where the remaining 1/4 cup of flour comes into play. Gradually add the remaining flour, about a tablespoon at a time, while continuing to mix. You may not need all of the flour, or you might need a little more, depending on the humidity in your kitchen and the specific absorbency of your flour. The goal is to achieve a dough that is slightly sticky but manageable, not overly dry and crum extractbly, nor excessively wet and unmanageable.
Kneading and Proofing: Developing the Structure
Now comes the satisfying part: kneading the dough. Lightly dust a clean work surface with a bit of all-purpose flour. Turn the dough out onto the flogin extractd surface. Begin to knead the dough by folding it over on itself and then pushing down and away with the heels of your hands. Rotate the dough a quarter turn and repeat the process. Continue kneading for about 8 to 10 minutes. You’re looking for the dough to become smooth, elastic, and springy. When you gently poke the dough with your finger, the indentation should slowly spring back. This process of kneading develops the gluten network within the flour, which is essential for the structure and chegrape juicess of our French Bread Dinner Rolls. If the dough becomes too sticky during kneading, add a tiny bit more flour, but be sparing.
Once your dough has been properly kneaded, it’s time for its first rise, or proofing. Lightly grease a clean bowl with a little butter or cooking oil. Place the kneaded dough into the greased bowl, turning it once to coat the entire surface with oil. This prevents a dry skin from forming on the dough. Cover the bowl tightly with plastic wrap or a clean kitchen towel. Find a warm, draft-free spot in your kitchen for the dough to rise. An oven that has been turned off after being warmed for a minute or two, or a spot near a sunny window, can work well. Allow the dough to rise for 1 to 1.5 hours, or until it has doubled in size. This doubling in size signifies that the yeast has been actively fermenting and producing enough carbon dioxide to expand the dough significantly.
Shaping and Second Proof: Crafting the Rolls
After the first proof, gently punch down the risen dough to release the trapped gases. Turn the dough out onto your lightly floured work surface again. Divide the dough into 12 equal portions. You can do this by eye, or for more precision, you can weigh the dough and divide the total weight by 12. Once divided, shape each portion into a round roll. To do this, take a piece of dough, gently flatten it slightly, then bring the edges into the center to create a smooth ball. Pinch the seams together underneath. You can also create a slightly more oval shape if you prefer a classic French bread roll appearance. Arrange the shaped rolls on a baking sheet that has been lightly greased with butter or lined with parchment paper, leaving a little space between each roll to allow for expansion.
Now, the shaped rolls need to proof a second time. Cover the baking sheet loosely with plastic wrap or a clean kitchen towel. Let the rolls rise in a warm place for another 30 to 45 minutes, or until they appear noticeably puffed up and have almost doubled in size again. This second proof is crucial for achieving light and airy dinner rolls. While the rolls are undergoing their second proof, preheat your oven to 375 degrees Fahrenheit (190 degrees Celsius). This temperature is ideal for achieving a beautifully golden-brown crust and a tender interior. Ensuring the oven is fully preheated before baking will help the rolls rise further upon hitting the hot oven, leading to a better texture.
Baking and Enjoying: The Final Transformation
Once the rolls have completed their second proof and your oven is preheated, it’s time to bake. Carefully place the baking sheet into the preheated oven. Bake for 15 to 20 minutes, or until the French Bread Dinner Rolls are a deep golden brown on top and sound hollow when tapped on the bottom. The exact baking time can vary depending on your oven, so keep a close eye on them during the last few minutes. If they start to brown too quickly, you can loosely tent them with aluminum foil. The aroma filling your kitchen at this stage will be absolutely divine, a testament to the simple magic of flour, yeast, and a little bit of patience.
As soon as the rolls come out of the oven, for an extra touch of shine and softness, you can lightly brush the tops with a little melted butter. This will give them a beautiful sheen and prevent the crust from becoming too hard. Allow the French Bread Dinner Rolls to cool on the baking sheet for a few minutes before transferring them to a wire rack to cool completely. However, if you can resist, they are absolutely sublime served warm. They are perfect alongside a hearty soup, a rich stew, or simply enjoyed with a generous smear of butter. The lightrum extractiry crumb and slightly chewy crust make these homemade rolls a truly satisfying treat.
Conclusion:
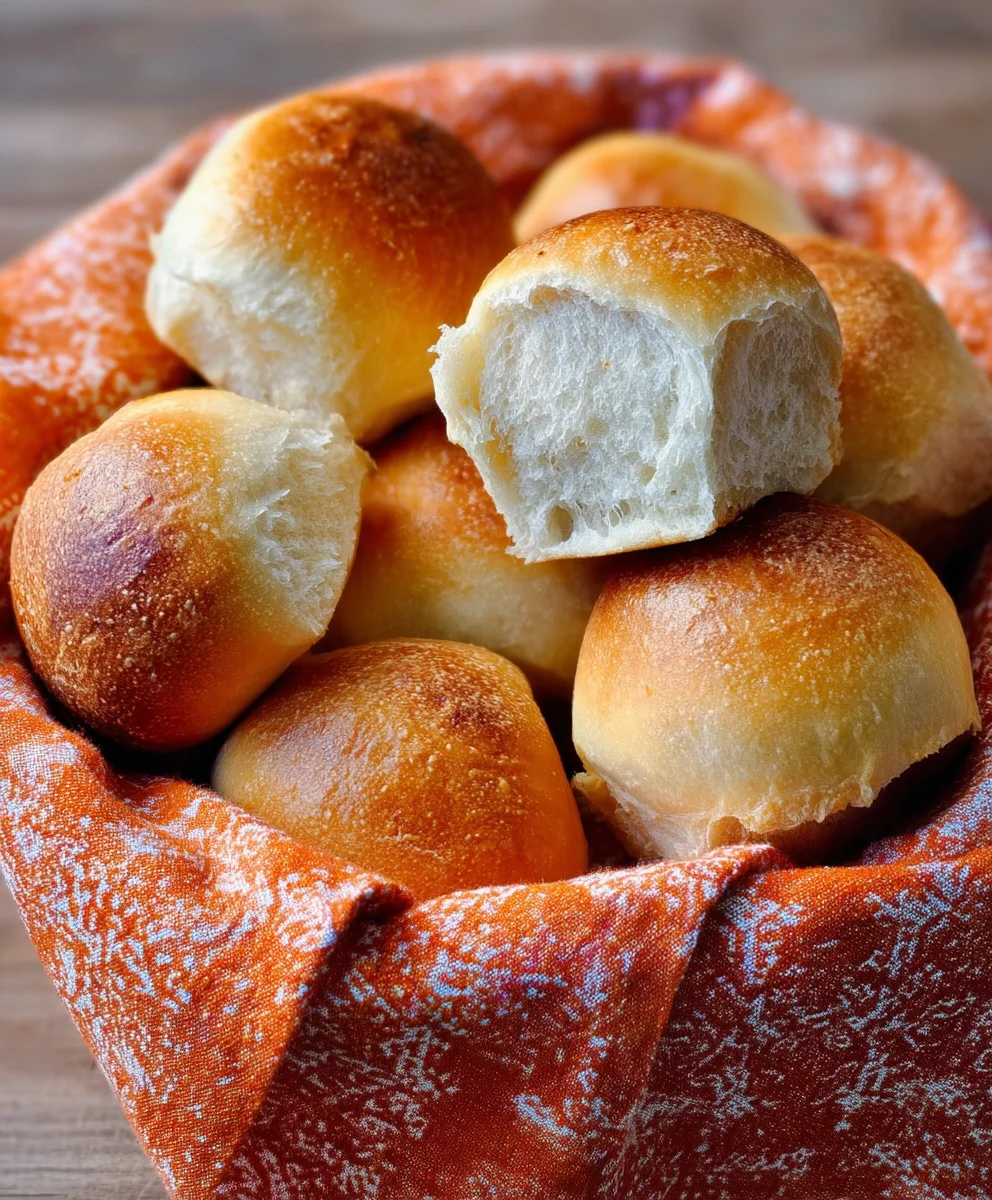
There you have it – a foolproof guide to creating the most delightful French Bread Dinner Rolls! We’ve journeyed from mixing simple ingredients to shaping and baking these crusty, airy delights. The aroma filling your kitchen as they bake is truly a reward in itself, promising a wonderful addition to any meal. These rolls aren’t just a side; they are an experience, perfect for soaking up delicious sauces or enjoying with a generous spread of butter.
For serving suggestions, imagin extracte these warm rolls alongside a hearty stew, a comforting soup, or even as the base for mini sandwiches. They are equally at home at a casual family dinner or dressed up for a more formal occasion. Don’t be afraid to get creative with variations! Try adding a sprinkle of garlic powder and herbs to the dough for an herby twist, or brush the tops with melted butter infused with rosemary and thyme just before serving.
The satisfaction of pulling a tray of golden-brown French Bread Dinner Rolls from your oven is unparalleled. I encourage you to give this recipe a try – you’ll be amazed at how simple it is to achieve professional-quality results. Happy baking!
Frequently Asked Questions:
Can I make the dough ahead of time?
Yes, absolutely! You can prepare the dough, let it rise once, shape it into rolls, and then place the unbaked rolls on a baking sheet, cover them tightly, and refrigerate overnight. Bring them to room temperature for about 30-45 minutes before baking as usual.
How can I ensure my French Bread Dinner Rolls are extra crusty?
To achieve a superior crust, try creating steam in your oven. Place a shallow oven-safe pan on the bottom rack while your oven preheats. Just before you put the rolls in, carefully pour about a cup of hot water into the hot pan. This will generate steam, helping to create that desirable crust. You can also bake them on a preheated pizza stone or baking steel.
Easy French Bread Dinner Rolls-Soft & Fluffy Bites
Soft and fluffy French bread dinner rolls that are easy to make and perfect for any meal.
Ingredients
-
1 cup Warm Water (ensure it’s below 110 degrees Fahrenheit)
-
1 teaspoon Active Dry Yeast
-
1/2 teaspoon Honey
-
2 1/4 cups All-Purpose Flour
-
1 teaspoon Salt
-
Butter, for greasing
Instructions
-
Step 1
In a large mixing bowl, whisk together warm water and active dry yeast. Let sit for 5-10 minutes until frothy. Stir in honey. -
Step 2
Add 2 cups of flour and salt to the yeast mixture. Mix until a shaggy dough forms. Gradually add remaining flour until dough is slightly sticky but manageable. -
Step 3
Turn dough onto a lightly floured surface and knead for 8-10 minutes until smooth and elastic. Place dough in a lightly greased bowl, cover, and let rise in a warm place for 1-1.5 hours, or until doubled. -
Step 4
Punch down dough, divide into 12 equal portions, and shape into round rolls. Place on a greased baking sheet, leaving space between rolls. Cover and let rise for 30-45 minutes, or until puffed. -
Step 5
Preheat oven to 375°F (190°C). Bake rolls for 15-20 minutes, or until golden brown and hollow sounding when tapped. -
Step 6
Lightly brush tops with melted butter as soon as they come out of the oven for shine and softness. Cool on a wire rack.
Important Information
Nutrition Facts (Per Serving)
It is important to consider this information as approximate and not to use it as definitive health advice.
Allergy Information
Please check ingredients for potential allergens and consult a health professional if in doubt.