Easy Peanut Butter Energy Balls-No-Bake Recipe
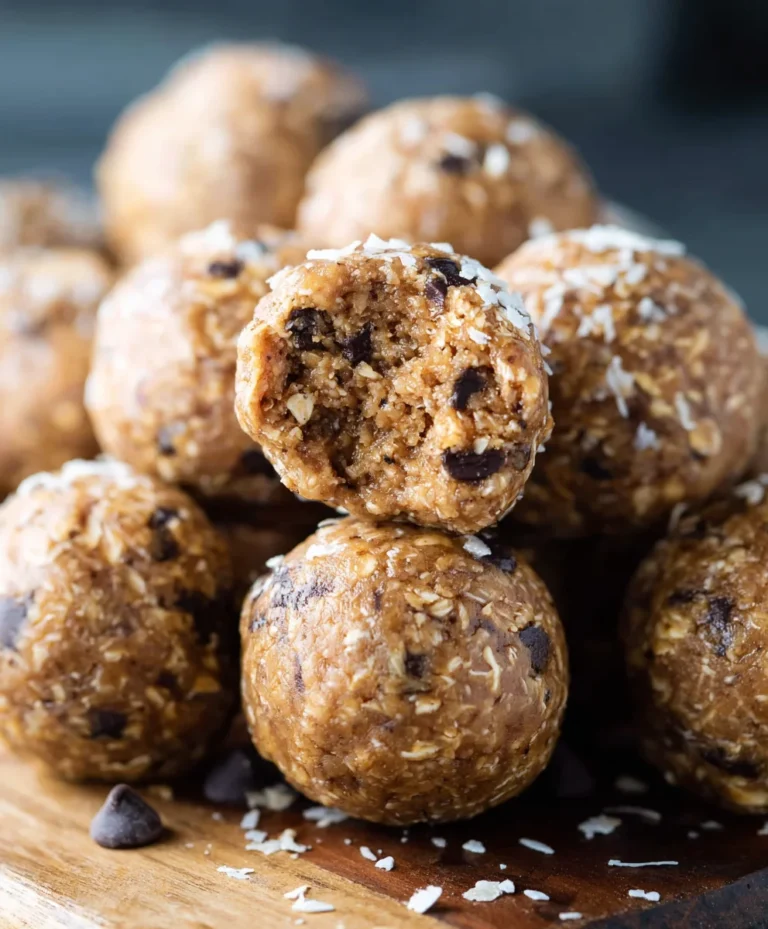
Peanut Butter Energy Balls are the tiny titans of snacking, and for good reason! These little powerhouses have taken the world by storm, becoming a go-to for busy mornings, pre-workout boosts, and satisfying those mid-afternoon cravings. What’s not to love? They’re incredibly easy to make, require no baking, and are endlessly customizable to suit your taste and dietary needs. The inherent sweetness of the peanut butter, combined with wholesome oats and a hint of honey or maple syrup, creates a perfectly balanced flavor profile that’s both comforting and energizing. They’re the ultimate grab-and-go snack, providing sustained energy without the sugar crash. These aren’t just any treats; they’re a testament to how simple ingredients can come together to create something truly delicious and beneficial. Get ready to discover your new favorite healthy indulgence!
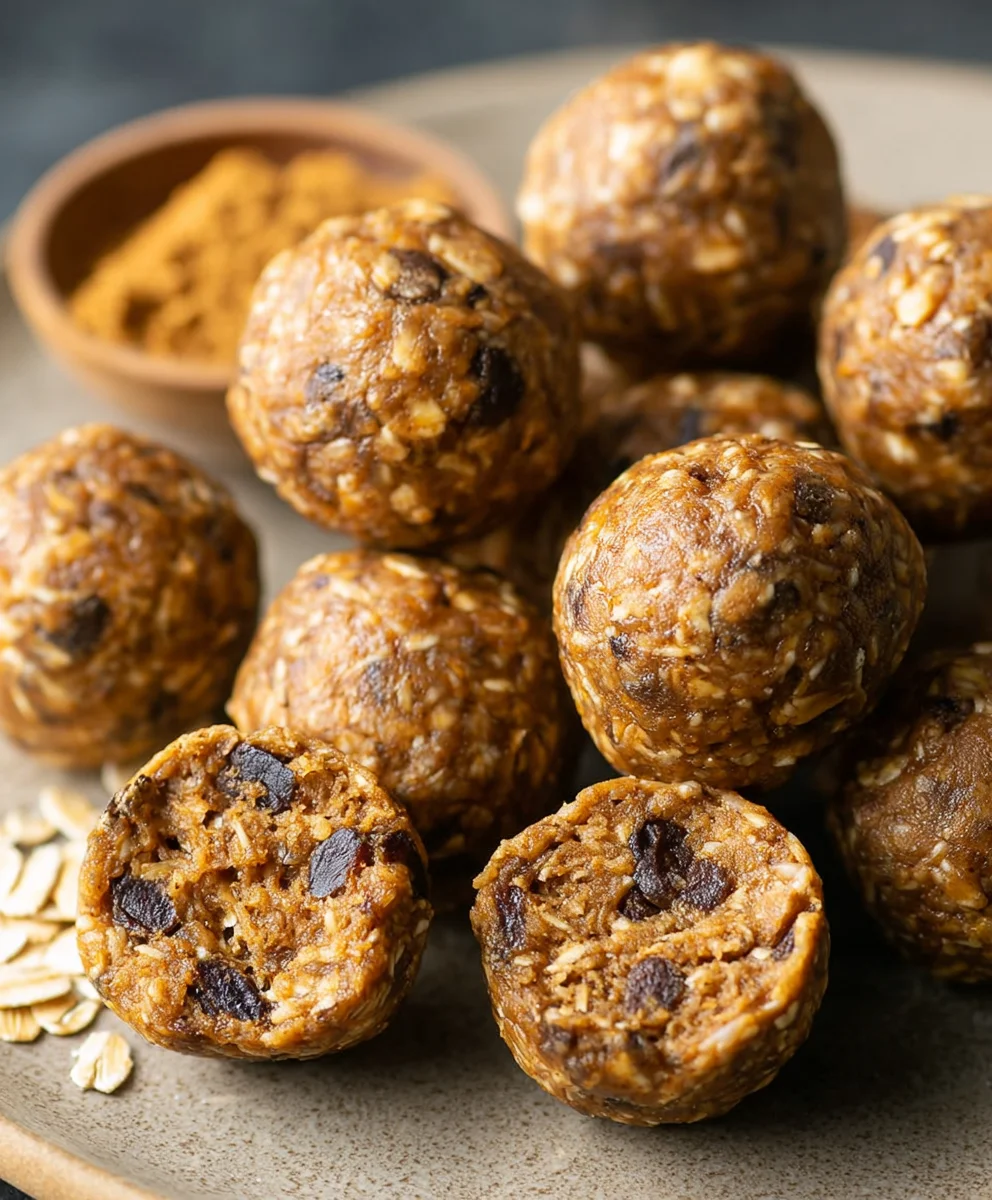
Ingredients:
- 1.5 cups old-fashioned oats
- 1 cup creamy peanut butter
- 1/2 cup mini chocolate chips
- 1/2 cup ground flaxseed
- 4 tablespoons honey (or maple syrup or agave)
Preparing Your Peanut Butter Energy Balls
This recipe is incredibly straightforward, focusing on simple mixing and chilling. There’s no baking involved, making it a perfect activity for any skill level, and even a fun one to do with kids. The beauty of these peanut butter energy balls lies in their versatility and the minimal effort required to create a healthy and delicious snack. Let’s gather our ingredients and get ready to mix.
Mixing the Base
Start by finding a large mixing bowl. This is where all the magic will happen. Add the 1.5 cups of old-fashioned oats to the bowl. Old-fashioned oats provide a lovely chewy texture that holds together well. If you prefer a slightly softer ball, you could experiment with quick oats, but the texture will be different. Next, spoon in the 1 cup of creamy peanut butter. For best results, ensure your peanut butter is at room temperature, as it will be much easier to mix and incorporate without lumps. If your peanut butter is very stiff, you can gently warm it in the microwave for about 15-20 seconds, stirring halfway through, until it’s smooth and pourable.
Now, it’s time to add the binder and flavor. Pour in the 4 tablespoons of honey. Honey is a fantastic natural sweetener and also helps bind the ingredients together. If you’re vegan or prefer an alternative, feel free to substitute with maple syrup or agave nectar. The amount of sweetener can be adjusted slightly to your personal taste preference, but remember that the peanut butter and chocolate chips also contribute to the sweetness. After the honey, add the 1/2 cup of ground flaxseed. Ground flaxseed is a nutritional powerhouse, adding fiber, omega-3 fatty acids, and also acting as a binder. If you don’t have pre-ground flaxseed, you can easily grind whole flaxseeds in a coffee grinder or a high-powered blender until they reach a flour-like consistency.
Incorporating the Add-ins
Once all the core ingredients are in the bowl, it’s time to begin extract the mixing process. Using a sturdy spoon or a spatula, start to combine everything. It might seem a bit dry or crum extractbly at first, especially with the oats. Keep mixing, gently pressing the ingredients together. The warmth from your hands as you mix will help the peanut butter and honey loosen up and coat the oats and flaxseed. Continue mixing until you have a cohesive, slightly sticky mixture. Don’t be afraid to get your hands in there if it makes the process easier – it’s a very hands-on recipe!
Once the base mixture is well combined and you can see no dry pockets of oats or flaxseed, it’s time to add the star of the show for many: the chocolate chips. Gently fold in the 1/2 cup of mini chocolate chips. Mini chocolate chips distribute more evenly throughout the balls and are less likely to break apart during mixing compared to larger chips. Again, mix until the chocolate chips are evenly dispersed. You want to see those little bursts of chocolate throughout each energy ball, adding that delightful contrast in flavor and texture.
Shaping the Energy Balls
After everything is thoroughly mixed, cover the bowl with plastic wrap or a lid and place it in the refrigerator for at least 30 minutes. This chilling period is crucial. It allows the oats to absorb some of the moisture, the peanut butter and honey to firm up, and the entire mixture to become much more manageable for rolling. Without this step, the mixture will be too sticky and difficult to form into neat balls.
Once the mixture has chilled and firmed up, remove the bowl from the refrigerator. Take small portions of the mixture, about a tablespoon at a time, and roll them between your palms to form compact balls. Aim for a size that is easy to pop into your mouth in one or two bites. If the mixture feels a little too sticky to handle, you can lightly wet your hands with water or lightly grease them with a tiny bit of coconut oil or cooking spray, but usually, the chilling is sufficient. Continue this process until all the mixture has been formed into balls. You should end up with approximately 18-24 energy balls, depending on the size you make them.
Storing Your Delicious Creation
Place the formed peanut butter energy balls on a plate or baking sheet lined with parchment paper. You can enjoy them immediately, but for best results and to ensure they hold their shape, it’s recommended to chill them for a little longer. Place the plate or baking sheet back into the refrigerator for another 30 minutes to an hour, or until the balls are firm to the touch.
Once they are firm, you can transfer them to an airtight container. These peanut butter energy balls are perfect for storing in the refrigerator. They will stay fresh and delicious for up to two weeks when kept chilled. They are also a fantastic make-ahead snack for busy weeks, pre-workout fuel, or a healthier alternative to processed sweets. You can also freeze them for longer storage; just place them in a freezer-safe bag or container, and they’ll be good for up to three months. Simply let them thaw slightly in the refrigerator before enjoying.
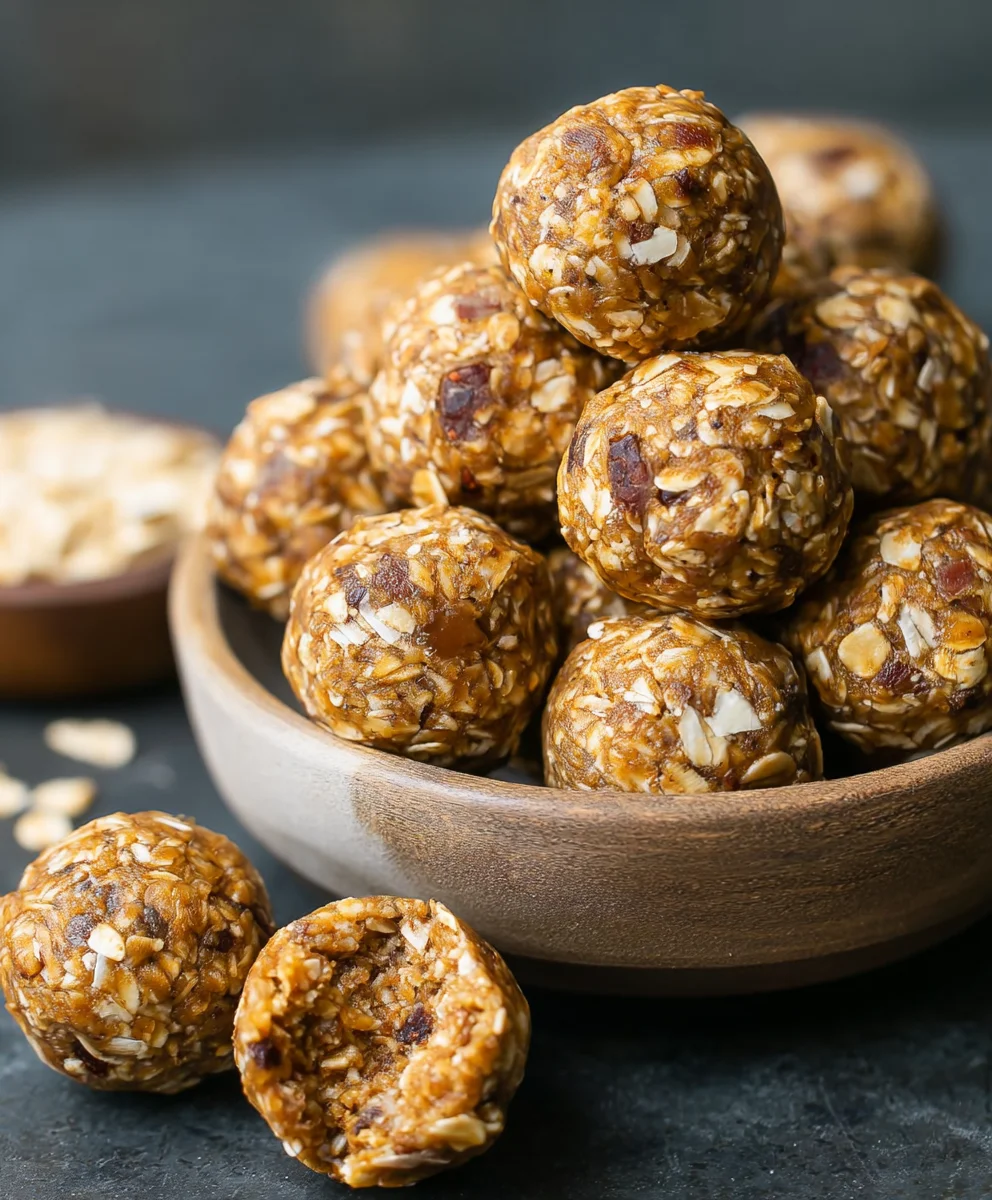
Conclusion:
And there you have it – your very own batch of delicious Peanut Butter Energy Balls! These little powerhouses are incredibly versatile and surprisingly simple to whip up, making them the perfect grab-and-go snack for busy mornings, pre-workout fuel, or even a healthy afternoon treat. We’ve covered the basic recipe, but the real fun lies in making them your own. Don’t hesitate to experiment with different add-ins to tailor them to your taste preferences.
For serving, these Peanut Butter Energy Balls are fantastic on their own. However, you can also serve them alongside a cup of coffee or tea for a delightful breakfast or snack. They also make a wonderful addition to a snack platter when entertaining. When it comes to variations, consider adding a sprinkle of chia seeds for extra fiber, a dash of cinnamon for warmth, or even some mini chocolate chips for a touch of indulgence. If you’re feeling adventurous, try incorporating dried cranberries or chopped nuts for added texture and flavor.
We truly hope you enjoy making and eating these Peanut Butter Energy Balls as much as we do! They’re a testament to how wholesome ingredients can create something truly satisfying.
Frequently Asked Questions about Peanut Butter Energy Balls:
Q1: Can I make Peanut Butter Energy Balls without oats?
Yes, absolutely! While oats provide a great base and texture, you can substitute them with other ingredients. Rolled oats are preferred for their chegrape juicess, but you can also use gluten-free rolled oats if needed. For a grain-free option, you could try using almond flour or shredded coconut as a base, adjusting the other wet ingredients slightly to achieve the right consistency.
Q2: How long do Peanut Butter Energy Balls last?
Peanut Butter Energy Balls will stay fresh in an airtight container in the refrigerator for up to one week. If you prefer them to be firmer, you can store them in the freezer for up to a month. Simply let them thaw for a few minutes at room temperature before enjoying.
Q3: Can I use a different nut butter in place of peanut butter?
Definitely! Peanut butter provides a wonderful flavor and binding property, but you can easily substitute it with other nut or seed butters. Almond butter, cashew butter, sunflower seed butter, or tahini would all work well. Keep in mind that the flavor profile of your energy balls will change depending on the butter you choose.
Easy Peanut Butter Energy Balls-No-Bake Recipe
Simple and healthy no-bake energy balls made with peanut butter, oats, and chocolate chips. Perfect for a quick snack or pre-workout fuel.
Ingredients
-
1.5 cups old-fashioned oats
-
1 cup creamy peanut butter
-
1/2 cup mini chocolate chips
-
1/2 cup ground flaxseed
-
4 tablespoons honey
Instructions
-
Step 1
In a large mixing bowl, combine 1.5 cups old-fashioned oats, 1 cup creamy peanut butter, 1/2 cup ground flaxseed, and 4 tablespoons honey. -
Step 2
Mix the ingredients thoroughly with a sturdy spoon or spatula until a cohesive, slightly sticky mixture forms. You can use your hands if it makes the process easier. -
Step 3
Gently fold in 1/2 cup of mini chocolate chips until evenly dispersed throughout the mixture. -
Step 4
Cover the bowl and refrigerate for at least 30 minutes to allow the mixture to firm up. -
Step 5
Once chilled, take small portions (about a tablespoon) of the mixture and roll them between your palms to form compact balls. If too sticky, lightly wet your hands. -
Step 6
Place the formed balls on a plate lined with parchment paper and chill for another 30 minutes to an hour until firm. -
Step 7
Store the energy balls in an airtight container in the refrigerator for up to two weeks, or freeze for up to three months.
Important Information
Nutrition Facts (Per Serving)
It is important to consider this information as approximate and not to use it as definitive health advice.
Allergy Information
Please check ingredients for potential allergens and consult a health professional if in doubt.