Boston Cream Pie Fudge- Decadent Dessert Recipe
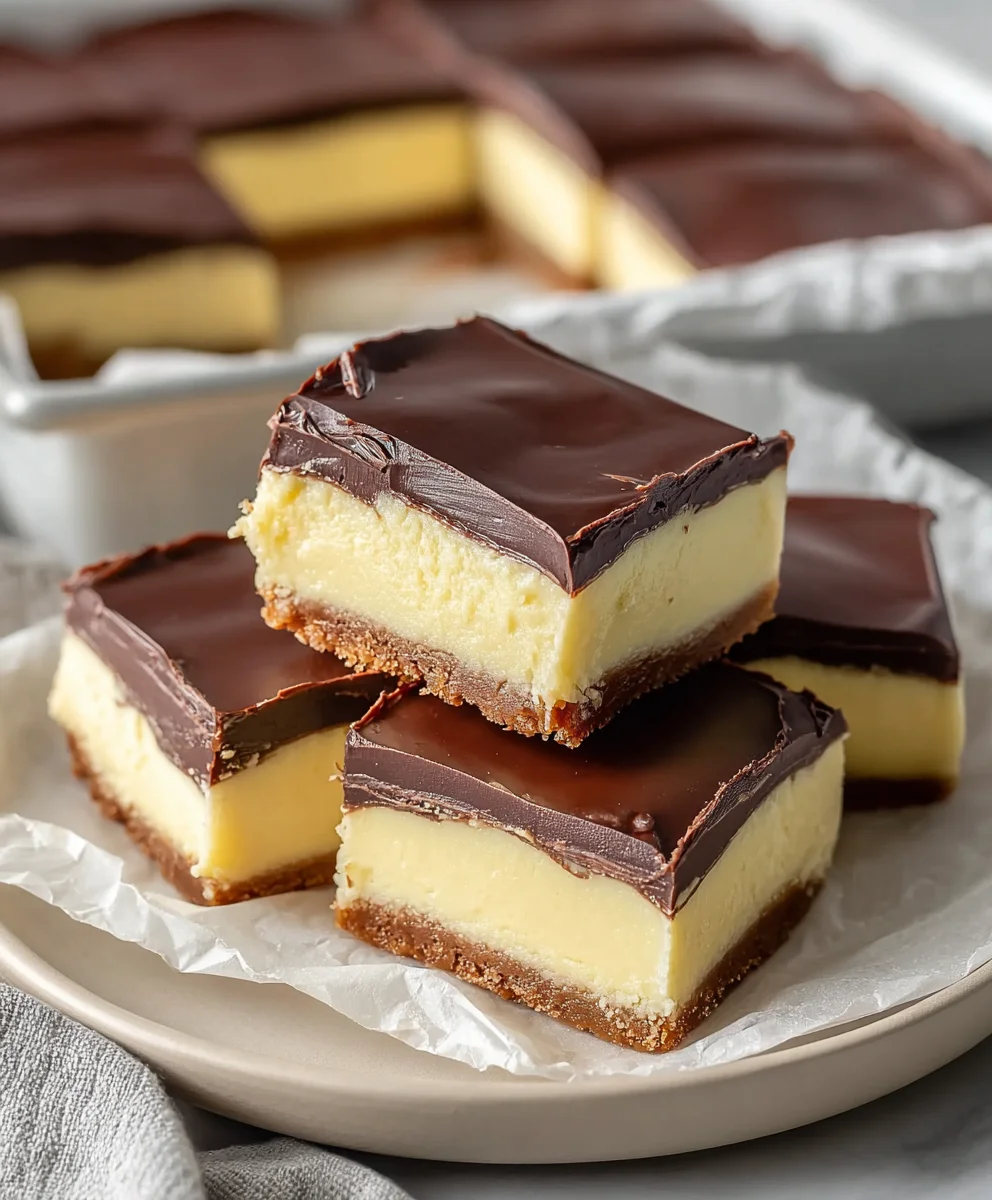
Boston Cream Pie Fudge isn’t just a treat; it’s a nostalgic hug in a bite, a decadent reimagin extracting of a beloved classic dessert. We all have those comfort foods that transport us back to simpler times, and for many, the iconic Boston Cream Pie holds that special place. gin extract, imagine all that creamy custard filling, rich chocolate ganache, and tender cake essence condensed into a perfectly chewy, melt-in-your-mouth fudge. That’s the magic of Boston Cream Pie Fudge! What makes this particular adaptation so irresistible is its ability to capture the esgin extractce of the original without any of the baking fuss. It’s a no-bake wonder that delivers all the complex flavors and textures of its namenon-alcoholic sake, making it an instant crowd-pleaser and a guaranteed hit at any gathering. Get ready to discover your new favorite sweet indulgence.
Ingredients:
- 2 cups granulated sugar
- 4 ounces unsalted butter, cut into cubes
- 1/2 cup heavy cream
- 2 cups white chocolate chips
- 7 ounces container of marshmallow creme
- 3 tablespoons dry vanilla pudding mix (from a box)
- 1/2 teaspoon vanilla extract
- 3 tablespoons unsweetened cocoa powder
- 6 ounces semisweet chocolate chips
- 1 tablespoon vegetable oil
Preparing the Boston Cream Pie Fudge Base
The journey to our delightful Boston Cream Pie Fudge begin extracts with creating a rich and creamy base that captures the essence of the classic dessert. This first stage focuses on building the foundational flavor and texture. We’ll combine the sugar, butter, and heavy cream to form a luscious syrup.
1. Combine and Heat the Syrup: In a medium-sized, heavy-bottomed saucepan, combine the 2 cups of granulated sugar, the 4 ounces of unsalted butter (cut into cubes for even melting), and the 1/2 cup of heavy cream. Place the saucepan over medium heat. Stir the mixture gently and continuously with a heatproof spatula or wooden spoon until the butter has completely melted and the sugar has dissolved. It’s important not to rush this step; allowing the sugar to dissolve fully will prevent crystallization later in the process.
2. Boil and Cook the Syrup: Once the sugar is dissolved and the mixture is smooth, increase the heat slightly to bring it to a gentle boil. Continue to boil the mixture without stirring for approximately 5 to 7 minutes. This cooking time is crucial for developing the proper texture of the fudge. The syrup will thicken slightly. Be vigilant during this boiling stage, as the mixture can scorch if left unattended. Using a candy thermometer is helpful here; you’re aiming for a temperature around 235°F (113°C), which is the soft-ball stage. This temperature ensures the fudge will set up nicely.
3. Incorporate White Chocolate and Marshmallow Creme: Remove the saucepan from the heat immediately after reaching the desired temperature or time. Add the 2 cups of white chocolate chips and the entire 7-ounce container of marshmallow creme to the hot syrup. Let the mixture sit undisturbed for about 2 to 3 minutes. This allows the residual heat from the syrgin extractto begin melting the chocolate and marshmallow creme. After the regin extractng period, begin stirring the mixture gently but thoroughly. Continue stirring until both the white chocolate chips and the marshmallow creme are completely melted and smoothly incorporated, creating a velvety smooth, pnon-alcoholic ale yellow base. This step is where the creamy, custard-like flavor of Boston Cream Pie truly starts to emerge.
4. Add Pudding Mix and Vanilla Extract: To enhance the Boston Cream Pie flavor profile and contribute to the fudge’s texture, we’ll now incorporate the dry vanilla pudding mix and vanilla extract. Add the 3 tablespoons of dry vanilla pudding mix and the 1/2 teaspoon of vanilla extract to the melted white chocolate and marshmallow mixture. Continue stirring until these ingredients are fully blended into the fudge base. The pudding mix not only adds flavor but also helps with setting and gives the fudge a slightly firmer consistency. The vanilla extract provides that classic, aromatic depth that complements the other flavors beautifully.
Creating the Chocolate Swirl and Finishing the Fudge
Now that our base is ready, it’s time to introduce the decadent chocolate layer and complete the transformation into Boston Cream Pie Fudge. This involves a simple but effective swirling technique.
1. Prepare the Chocolate Topping: In a separate small heatproof bowl, combine the 6 ounces of semisweet chocolate chips and the 1 tablespoon of vegetable oil. You can melt this mixture using one of two methods: either place the bowl over a saucepan of simmering water (making sure the bottom of the bowl doesn’t touch the water) or microwave it in 30-second intervals, stirring between each interval, until smooth and completely melted. The vegetable oil is key to creating a glossy, smooth chocolate topping that will easily drizzle and swirl.
2. Assemble and Swirl the Fudge: Pour about two-thirds of the white fudge base into a prepared 8×8 inch baking pan that has been lined with parchment paper, leaving an overhang for easy lifting later. Smooth the surface evenly with a spatula. Now, pour the melted semisweet chocolate mixture over the white fudge base. Using a knife or a skewer, gently swirl the chocolate through the white fudge. Aim for marbled streaks rather than completely mixing the two layers. This visual marbling is reminiscent of the layers within a Boston Cream Pie.
3. Top and Set the Fudge: Pour the remaining one-third of the white fudge base over the swirled chocolate layer. Gently spread this top layer to cover the chocolate as much as possible, aiming for a relatively smooth surface. You can give it another light swirl with your knife or skewer if desired, but don’t overwork it. At this point, your fudge needs to set. Leave the pan at room temperature for at least 4 hours, or until firm to the touch. For a quicker set, you can place it in the refrigerator for about 2 hours. Ensure it’s fully firm before proceeding to the next step.
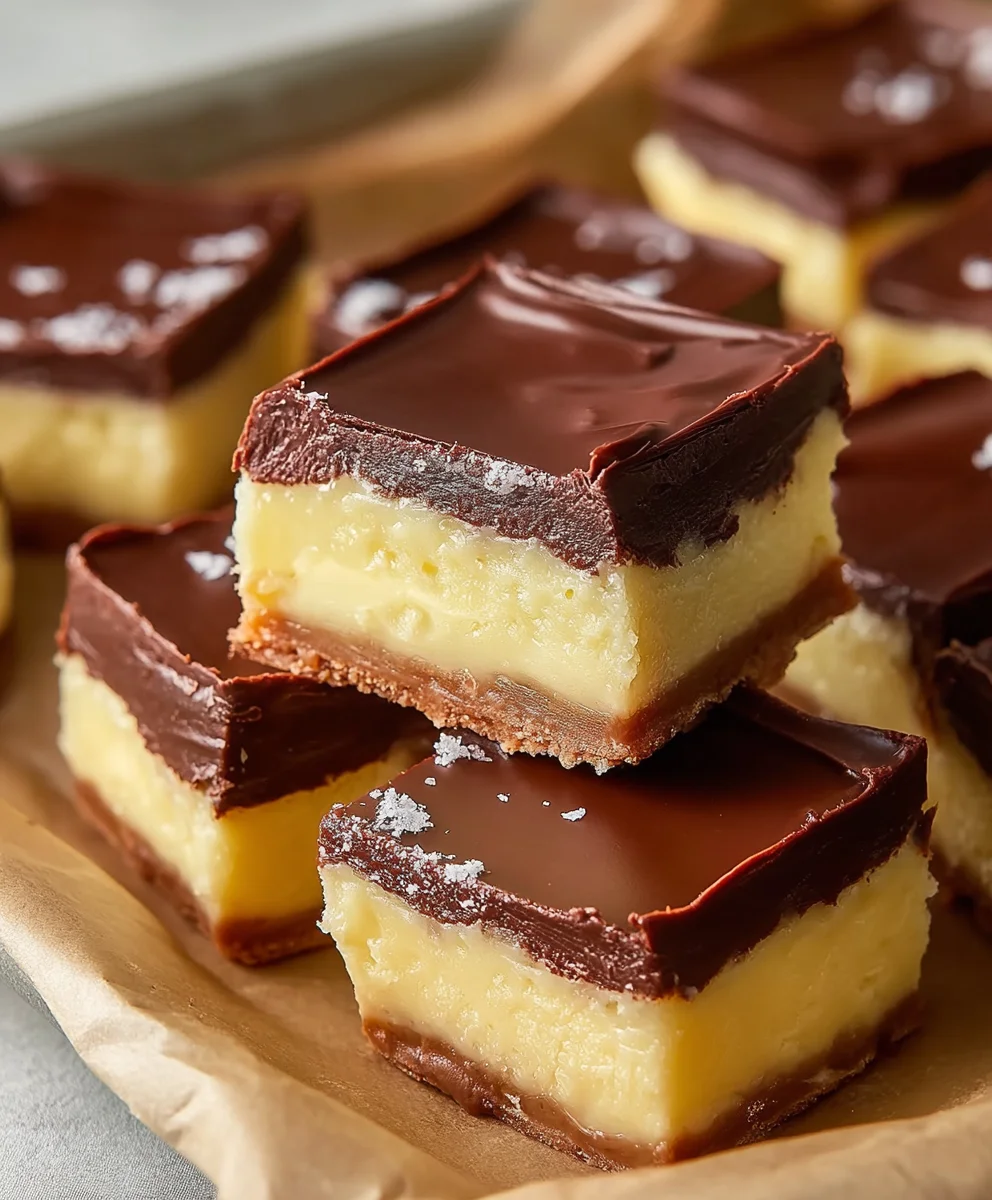
4. Cut and Serve: Once the fudge has completely set, use the parchment paper overhang to lift the entire slab out of the pan onto a cutting board. Using a sharp knife, cut the fudge into bite-sized squares. For cleaner cuts, you can warm the knife slightly under hot water and wipe it dry between cuts. This Boston Cream Pie Fudge is best stored in an airtight container at room temperature.
Conclusion:
There you have it – the ultimate guide to creating delicious Boston Cream Pie Fudge! We’ve walked through each step, from melting the chocolate to achieving that perfect creamy texture, and layering in that decadent vanilla and pudding flavor. This fudge is more than just a treat; it’s a delightful nod to a classic dessert, miniaturized into a rich, bite-sized confection. I truly hope you enjoy making and sharing these luscious squares as much as I do. They are absolutely perfect for holidays, special occasions, or simply when you’re craving something truly special.
For serving, consider presenting your Boston Cream Pie Fudge on a festive platter alongside other sweet treats. It pairs wonderfully with a cup of coffee or a cold glass of milk. If you’re feeling adventurous with variations, try adding a pinch of sea salt to the fudge before it sets for a delightful salty-sweet contrast, or perhaps swirl in a little raspberry jam for a fruity twist on the classic flavor profile. Don’t be afraid to experiment and make it your own! Happy fudgin extractg!
Frequently Asked Questions about Boston Cream Pie Fudge:
Q1: Can I make Boston Cream Pie Fudge ahead of time?
Absolutely! Boston Cream Pie Fudge actually benefits from being made ahead of time. It needs to set completely, which usually takes at least 4 hours, but refrigerating it overnight is even better. This allows the flavors to meld and the fudge to reach its ideal firm yet creamy consistency.
Q2: My fudge is too hard/soft. How can I fix it?
If your Boston Cream Pie Fudge is too hard, it might have been overcooked or the chocolate may have seized. Gently re-melting it over very low heat with a tablespoon of milk or cream might help soften it. If it’s too soft, it likely didn’t cook long enough or the ratio of ingredients was off. You can try carefully re-heating it and adding a little more condensed milk or a bit of melted white chocolate to help firm it up. Unfortunately, significant corrections can be tricky, so precise measurements are key!
Boston Cream Pie Fudge
A decadent fudge recipe that captures the classic flavors of Boston Cream Pie with a creamy white chocolate base and a rich chocolate swirl.
Ingredients
-
2 cups granulated sugar
-
4 ounces unsalted butter, cut into cubes
-
1/2 cup heavy cream
-
2 cups white chocolate chips
-
7 ounces container of marshmallow creme
-
3 tablespoons dry vanilla pudding mix
-
1/2 teaspoon vanilla extract
-
3 tablespoons unsweetened cocoa powder
-
6 ounces semisweet chocolate chips
-
1 tablespoon vegetable oil
Instructions
-
Step 1
Combine granulated sugar, unsalted butter, and heavy cream in a saucepan. Heat over medium heat, stirring until butter is melted and sugar is dissolved. -
Step 2
Bring the mixture to a gentle boil and cook for 5-7 minutes, or until it reaches the soft-ball stage (approximately 235°F). -
Step 3
Remove from heat and stir in white chocolate chips and marshmallow creme until completely melted and smooth. Stir in dry vanilla pudding mix and vanilla extract. -
Step 4
Melt semisweet chocolate chips with vegetable oil until smooth. Pour two-thirds of the white fudge base into a lined 8×8 inch pan. Pour melted chocolate over the white fudge and swirl gently. -
Step 5
Pour the remaining one-third of the white fudge base over the swirled chocolate layer. Spread evenly. Let the fudge set at room temperature for at least 4 hours, or in the refrigerator for 2 hours, until firm. -
Step 6
Lift the fudge out of the pan using the parchment paper overhang. Cut into bite-sized squares and serve.
Important Information
Nutrition Facts (Per Serving)
It is important to consider this information as approximate and not to use it as definitive health advice.
Allergy Information
Please check ingredients for potential allergens and consult a health professional if in doubt.