Hawaiian Fruit Salad – Tropical Refreshing Delight
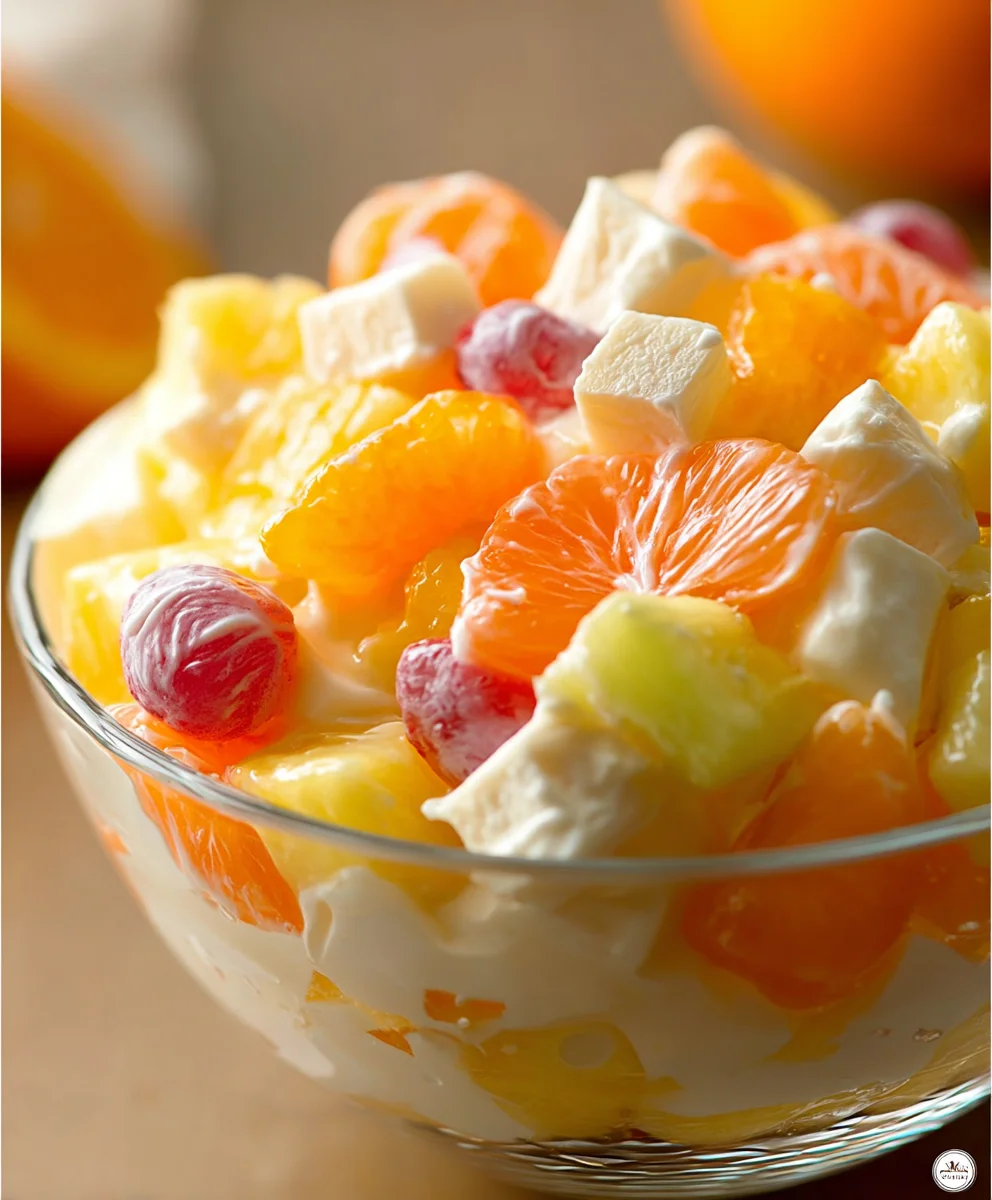
“Hawaiian” Fruit Salad isn’t just a dish; it’s a vibrant explosion of tropical sunshine in every bite. Imagin extracte the sweet tang of ripe pineapple mingling with juicy mangoes, the refreshing burst of watermelon, and the creamy delight of papaya, all kissed by a hint of lime. It’s no wonder this “Hawaiian” Fruit Salad is a perennial crowd-pleaser, evoking images of sandy beaches and warm breezes. What truly makes it special, beyond the sheer deliciousness of perfectly ripe, seasonal fruits, is its effortless simplicity. It’s a testament to how the freshest ingredients, combined with a little zest, can create something utterly magical. Whether you’re serving it at a backyard barbecue, a potluck, or simply enjoying it as a healthy dessert on a hot day, this salad promises pure, unadulterated joy. Get ready to transform your ordinary moments into a mini-vacation for your taste buds.
Ingredients:
- 1 (30-ounce) can fruit cocktail in juice, undrained
- 1 (20-ounce) can pineapple chunks in juice, undrained
- 1 (8-ounce) can mandarin orange slices, drained
- 1 (10-ounce) bag mini marshmallows
- 1 (24-ounce) container of sour cream
- 1 box orange flavored gelatin
Preparing Your “Hawaiian” Fruit Salad
This refreshing “Hawaiian” Fruit Salad is incredibly easy to assemble, making it perfect for potlucks, picnics, or just a delightful treat on a warm day. The combination of juicy fruits, creamy sour cream, and sweet marshmallows creates a unique texture and flavor profile that’s always a crowd-pleaser. We’ll be bringin extractg together classic flavors with a simple, no-fuss approach. The key is to ensure all your ingredients are ready to go beforgin extractou begin mixing.
Step 1: Blooming the Gelatin
The first step is to activate the orange-flavored gelatin. In a medium-sized heatproof bowl, empty the contents of the orange-flavored gelatin box. Now, you’ll need about 1/2 cup of hot water. The water should be hot enough to dissolve the gelatin, but not necessarily boiling. Carefully pour the hot water over the gelatin powder. Using a whisk or a spoon, stir continuously for about two minutes, or until the gelatin powder is completely dissolved and there are no grainy bits remaining. This process is called “blooming” and it ensures the gelatin will set properly. Once dissolved, set this bowl aside to cool slightly at room temperature. We don’t want it to set in the bowl, but it shouldn’t be piping hot when we add it to the other ingredients.
Step 2: Draining and Combining Fruits
Next, we prepare our fruits. Open the 30-ounce can of fruit cocktail in juice. While the juice from the fruit cocktail is delicious and adds to the salad’s moisture, we’ll be draining off the majority of it to prevent the salad from becoming too watery. Carefully pour the contents of the can into a colander set over a sink. Gently shake the colander to allow as much of the juice to drain off as possible. Repeat this draining process with the 20-ounce can of pineapple chunks in juice. For the 8-ounce can of mandarin orange slices, we want to drain them thoroughly as well. These delicate segments can break apart easily, so drain them gently. Once all the fruits are drained, transfer them into a large mixing bowl.
Step 3: Introducing Creaminess and Sweetness
Now, it’s time to add the creamy and sweet elements that make this salad truly special. Open the 24-ounce container of sour cream and spoon it all into the large mixing bowl with the drained fruits. Next, add the entire 10-ounce bag of mini marshmallows to the bowl. The marshmallows will absorb some of the moisture from the fruits and sour cream, creating a delightful chewy texture. Using a large spoon or a spatula, gently fold the sour cream and marshmallows into the fruits. The goal here is to coat the fruit evenly with the sour cream and distribute the marshmallows throughout. Be careful not to mash the fruits too much.
Step 4: Incorporating the Gelatin Mixture
Once the fruits, marshmallows, and sour cream are well combined, it’s time to introduce the bloomed gelatin. By now, the gelatin mixture should have cooled down to a temperature that won’t “cook” the sour cream. Slowly pour the cooled gelatin mixture over the ingredients in the large mixing bowl. Again, use your large spoon or spatula to gently fold everything together. Ensure the gelatin is evenly distributed throughout the salad. This will help bind all the components and give the salad a cohesive, slightly gelled texture. Continue to fold until you can no longer see distinct streaks of gelatin.
Step 5: Chilling and Setting
The final and arguably most important step is allowing the “Hawaiian” Fruit Salad to chill and set. Once all the ingredients are thoroughly mixed, cover the large mixing bowl tightly with plastic wrap. Place the covered bowl in the refrigerator. We recommend chilling the salad for at least 2 to 3 hours. This chilling time is crucial for allowing the flavors to meld together and for the gelatin to fully set, creating the perfect consistency. The longer it chills, the more the flavors will develop. For the best results and a perfectly set salad, you can even prepare it the night before your event. When you’re ready to serve, give it a gentle stir and dish out this delightful, creamy, and fruity salad.
Conclusion:
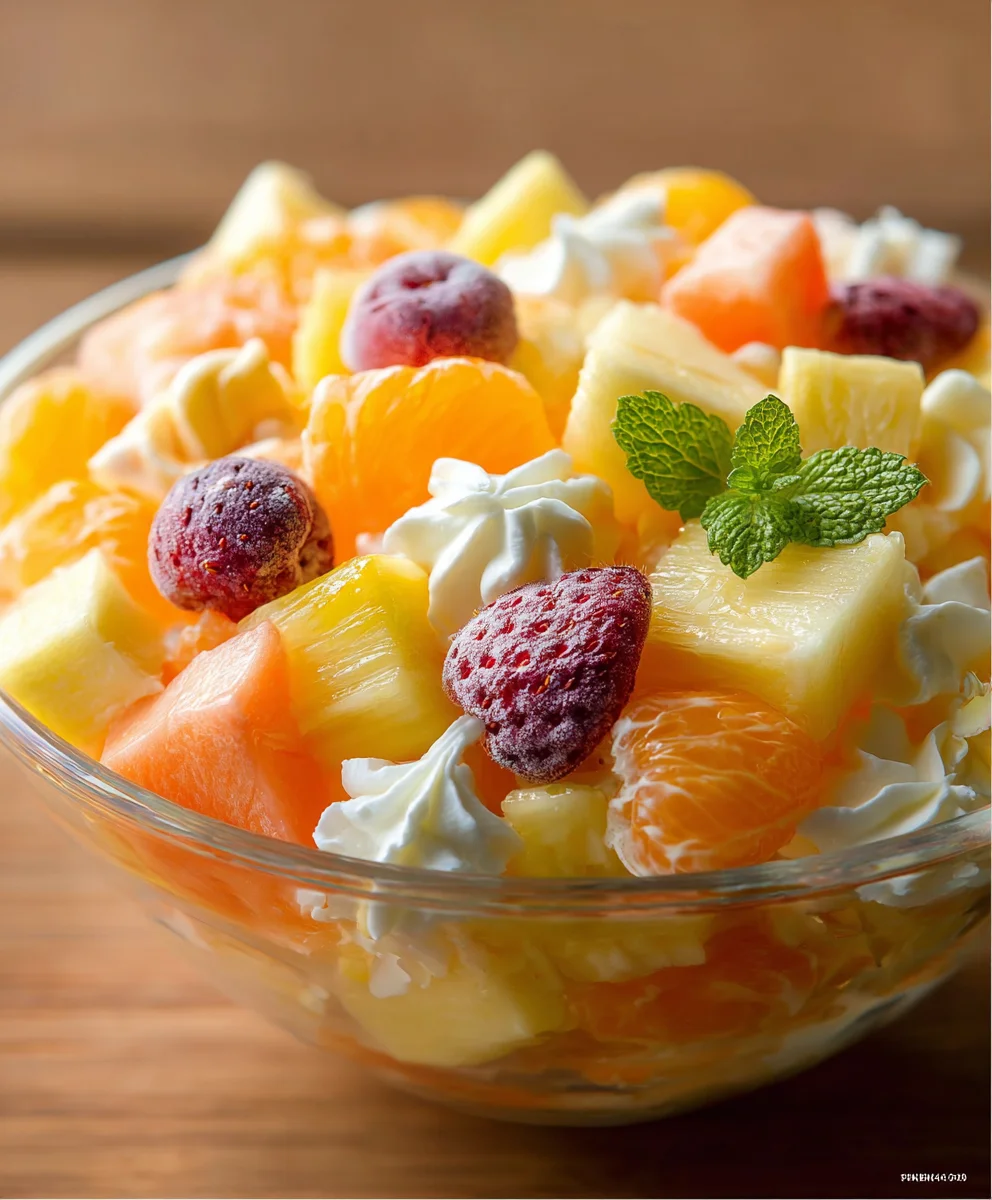
There you have it – a vibrant and refreshing “Hawaiian” Fruit Salad that’s sure to transport your taste buds to a tropical paradise! We’ve covered the simple steps to create this delightful dish, from selecting the freshest fruits to achieving that perfect balance of sweet and tangy flavors. Remember, the beauty of this “Hawaiian” Fruit Salad lies in its versatility. Don’t hesitate to experiment with different fruit combinations based on what’s in season or your personal preferences.
This “Hawaiian” Fruit Salad is fantastic served chilled on its own, as a light and healthy breakfast, or as a beautiful accompaniment to grilled meats and seafood. For an extra touch of indulgence, consider topping it with a dollop of whipped cream or a sprinkle of toasted coconut flakes. We encourage you to get creative and make this “Hawaiian” Fruit Salad your own! Enjoy the sunshine in every bite!
Frequently Asked Questions:
Can I make “Hawaiian” Fruit Salad ahead of time?
Yes, you can! It’s best to chop the firmer fruits like pineapple, melon, and oranges a few hours in advance and store them separately. Add softer fruits like berries and bananas closer to serving time to prevent them from becoming mushy. The dressing can also be made ahead and refrigerated. Combine everything about 30 minutes to an hour before serving for optimal freshness.
What are some other fruits I can add to this “Hawaiian” Fruit Salad?
The possibilities are endless! Consider adding kiwi, mango, papaya, starfruit, or even some fresh figs. If you enjoy a bit of a bite, a few thinly sliced red grapes can also be a delightful addition. Feel free to adjust the sweet and tart elements to your liking.
Hawaiian Fruit Salad – Tropical Refreshing Delight
A refreshing and easy-to-assemble fruit salad with a creamy, sweet, and slightly gelled texture, perfect for any occasion.
Ingredients
-
1 (30-ounce) can fruit cocktail in juice, undrained
-
1 (20-ounce) can pineapple chunks in juice, undrained
-
1 (8-ounce) can mandarin orange slices, drained
-
1 (10-ounce) bag mini marshmallows
-
1 (24-ounce) container of sour cream
-
1 box orange flavored gelatin
Instructions
-
Step 1
Bloom the orange-flavored gelatin by whisking it with 1/2 cup of hot water in a heatproof bowl until completely dissolved. Set aside to cool slightly. -
Step 2
Drain the fruit cocktail, pineapple chunks, and mandarin orange slices separately. Transfer the drained fruits into a large mixing bowl. -
Step 3
Add the sour cream and mini marshmallows to the bowl with the fruits. Gently fold to coat the fruit and distribute the marshmallows. -
Step 4
Pour the cooled gelatin mixture over the ingredients in the bowl. Gently fold everything together until the gelatin is evenly incorporated. -
Step 5
Cover the bowl tightly with plastic wrap and refrigerate for at least 2 to 3 hours, or until fully set. For best results, prepare the night before.
Important Information
Nutrition Facts (Per Serving)
It is important to consider this information as approximate and not to use it as definitive health advice.
Allergy Information
Please check ingredients for potential allergens and consult a health professional if in doubt.