Easy Teriyaki Salmon Sushi Bowl – Gluten Free
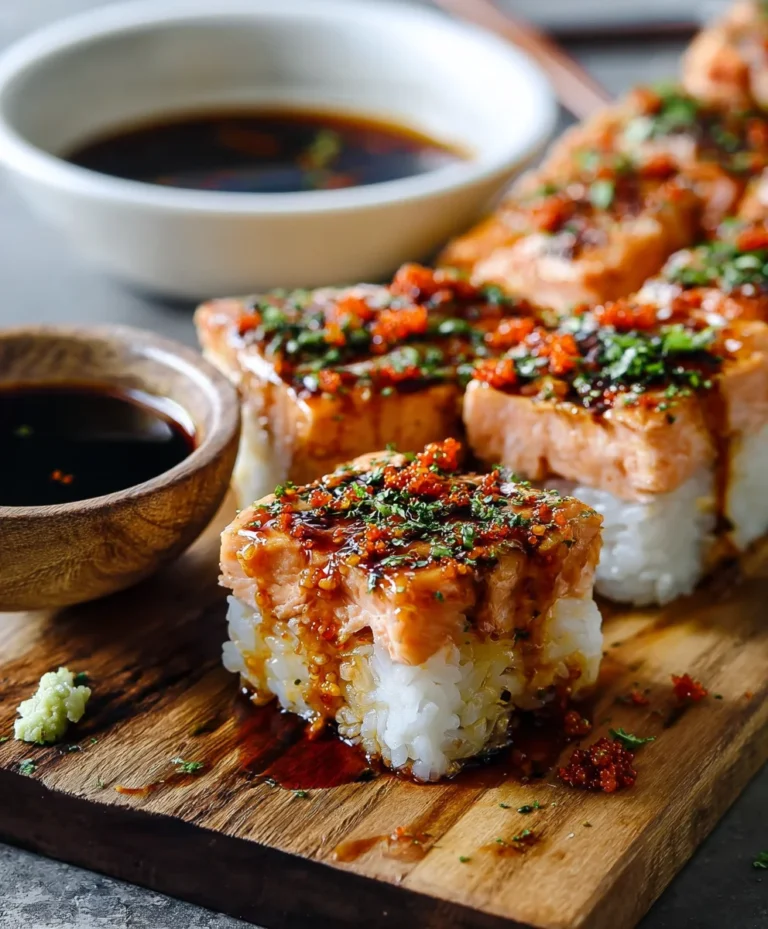
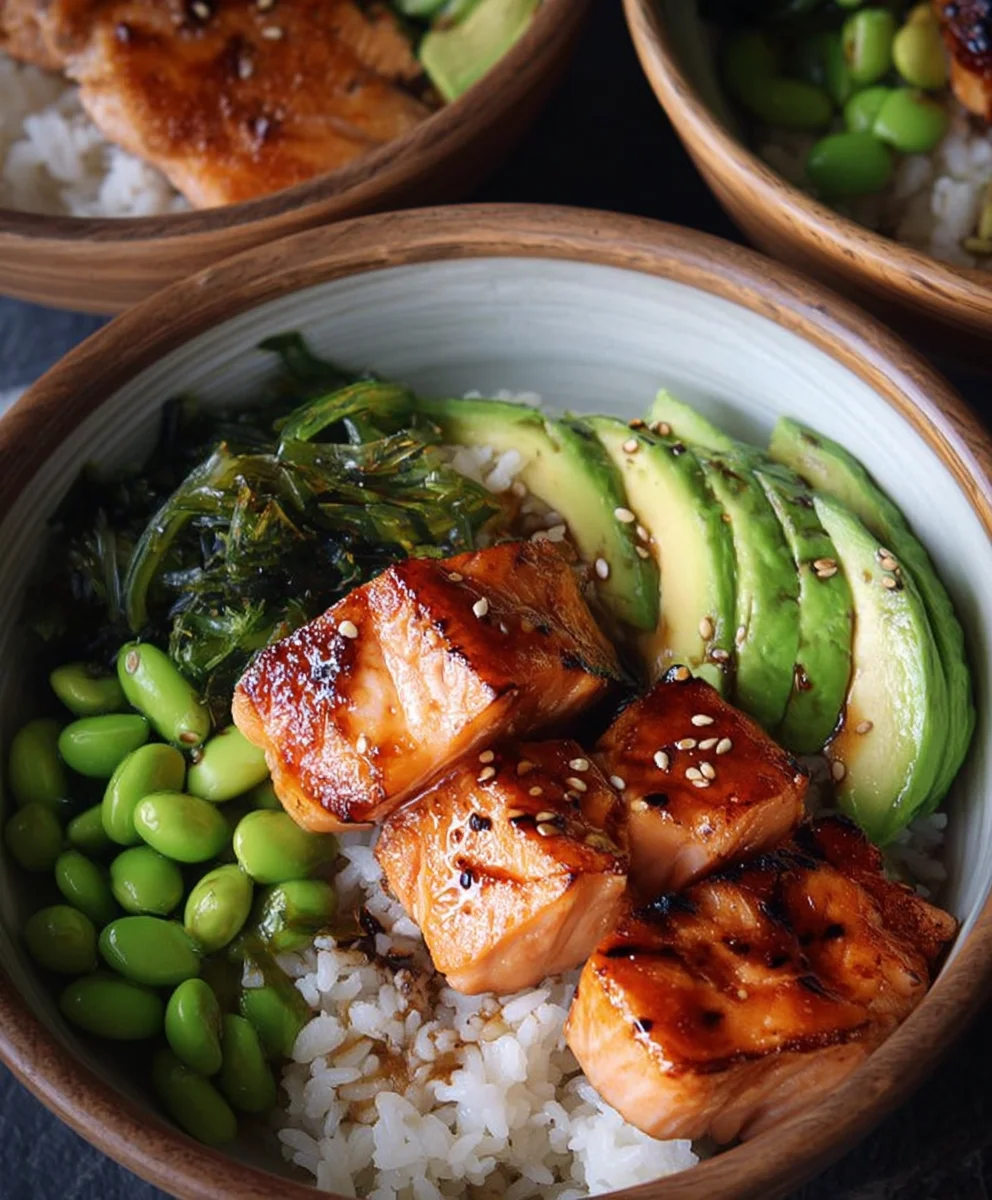
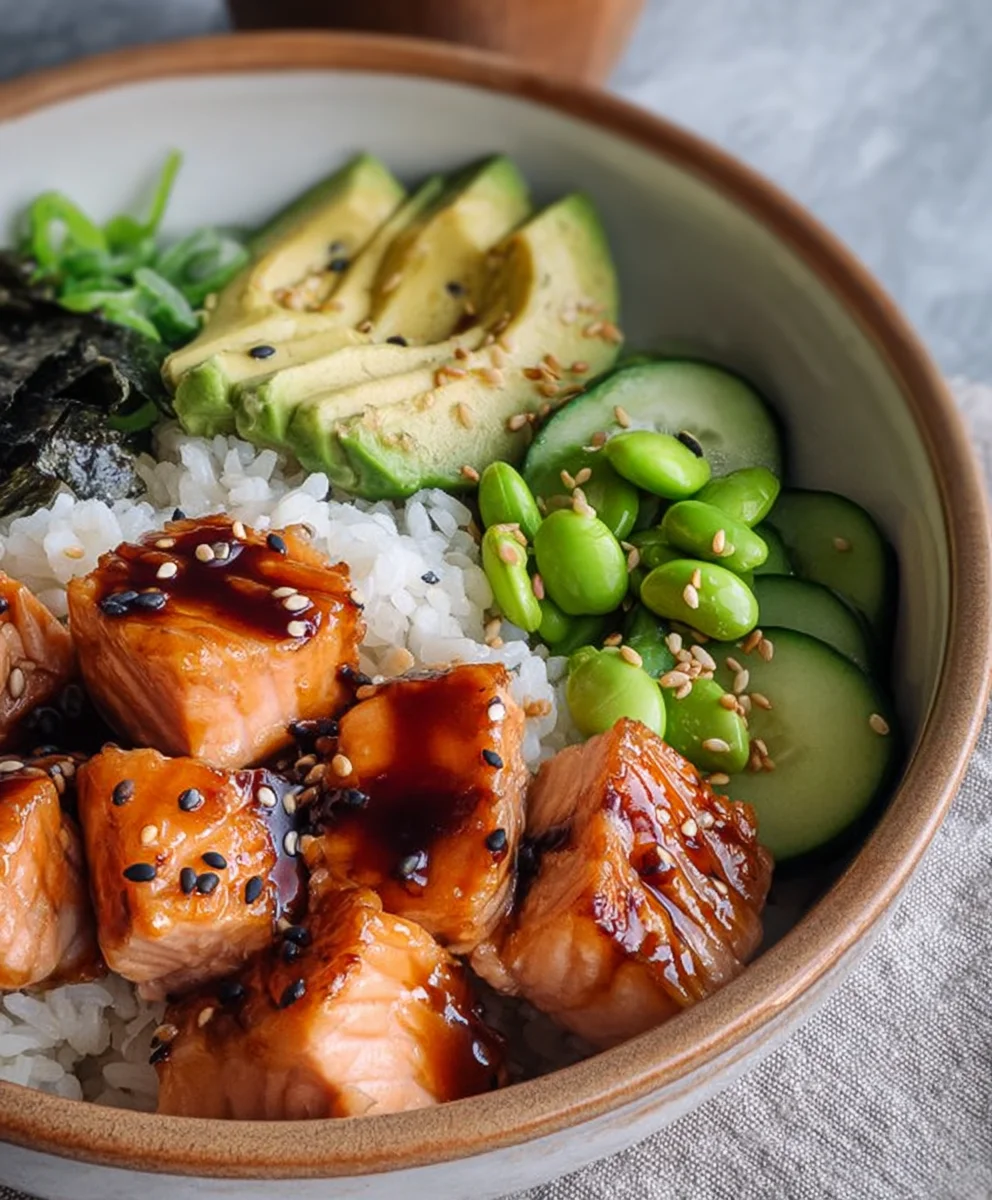
Teriyaki Salmon Sushi Bowl (GF). Imagin extracte a vibrant, flavorful explosion hitting your taste buds – that’s exactly what you’ll experience with this incredible Teriyaki Salmon Sushi Bowl (GF). It’s more than just a meal; it’s a culinary adventure that brings the best of Japanese-inspired cuisine right into your own kitchen, without any gluten fuss. People absolutely adore this dish because it perfectly balances the savory-sweet punch of teriyaki glazed salmon with the fresh, clean flavors of sushi rice and crisp vegetables. What truly makes this Teriyaki Salmon Sushi Bowl (GF) special is its incredible versatility and the satisfying textures that dance in every spoonful. It’s a weeknight-friendly option that feels incredibly gourmet, making it a perfect choice for impressing guests or simply treating yourself to something utterly delicious and wholesome.
Ingredients:
- 180g (6.5oz) sushi rice
- 3 tbsp rice vinegar
- 1 tsp caster sugar
- 0.5 tsp fine salt
- 30ml (1fl oz) maple syrup
- 1 tsp sesame oil
- 2 tsp gluten free tamari soy sauce
- 0.5 tsp garlic granules
- 1 tsp non-non-non-alcoholic alternativeic non-alcoholic mirin
- 2 salmon fillets (skin on or off, your preference)
- 2 tbsp sesame seeds (white or black, or a mix)
- 4 spring onions
- 150g (5oz) edamame beans (shelled, fresh or frozen)
- Half a ripe avocado
Preparing the Sushi Rice
The foundation of any great sushi bowl is perfectly cooked sushi rice. Begin extract by rinsing the sushi rice under cold running water in a fine-mesh sieve. Continue rinsing until the water runs clear. This crucial step removes excess starch, preventing the rice from becoming gummy. Transfer the rinsed rice to a medium saucepan. Add 220ml (approximately 1 cup) of cold water. Bring the water to a boil over medium-high heat, then immediately reduce the heat to the lowest setting, cover the pan tightly with a lid, and let it simmer for 15 minutes. Do not lift the lid during this steaming period; patience is key here! After 15 minutes, remove the pan from the heat and let it stand, still covered, for another 10 minutes. This allows the rice to finish steaming and become fluffy.
While the rice is resting, prepare the sushi vinegar. In a small bowl, whisk together the rice vinegar, caster sugar, and fine salt until the sugar and salt are completely dissolved. This creates a wonderfully tangy and slightly sweet seasoning that is characteristic of sushi rice. Once the rice has rested, gently transfer it to a large, shallow non-metallic bowl or a wooden sushi oke. Pour the prepared sushi vinegar evenly over the hot rice. Using a flat rice paddle or a spatula, gently ‘cut’ through the rice, folding and fanning it simultaneously. This process cools the rice quickly while evenly distributing the vinegar and creating that desirable shiny texture. Aim for individual grains of rice, not a mashed-up consistency. Set aside the seasoned rice, covered with a damp cloth to prevent it from drying out, while you prepare the other components.
Crafting the Teriyaki Glaze and Cooking the Salmon
Now, let’s make that irresistible teriyaki glaze. In a small bowl, combine the maple syrup, sesame oil, gluten-free tamari soy sauce, garlic non-alcoholic alternatives, and non-non-alcoholic mirinolicolic mirin. Whisk these ingredients together until they are well combined, creating a rich, savory, and slightly sweet sauce. This glaze will beautifully coat and flavor our salmon.
Next, prepare the salmon. Pat the salmon fillets completely dry with paper towels. This helps to achieve a nice sear. You can choose to cook the salmon in a non-stick skillet over medium-high heat with a little oil, or for a healthier option, you can bake it. If pan-searing, heat a tablespoon of neutral oil (like vegetable or canola) in a skillet over medium-high heat. Once the oil is shimmering, carefully place the salmon fillets, skin-side down if using skin-on, into the hot skillet. Sear for about 3-4 minutes until the skin is crispy and golden brown. Flip the salmon and cook for another 2-3 minutes, or until cooked to your desired level of doneness. If baking, preheat your oven to 200°C (400°F). Place the salmon on a baking sheet lined with parchment paper. Brush the salmon generously with about half of your prepared teriyaki glaze. Bake for 10-12 minutes, or until the salmon is cooked through and flakes easily with a fork. During the last minute of cooking, you can brush with a little more glaze for an extra sticky finish.
Assembling Your Teriyaki Salmon Sushi Bowl
It’s time to bring all these delicious elements together! While the salmon is cooking or resting, prepare the remaining toppings. Blanch the shelled edamame beans in boiling water for 2-3 minutes until tender-crisp, then drain. If using frozen edamame, follow the package instructions. Thinly slice the spring onions diagonally, using both the white and green parts for a pop of color and fresh flavor. Halve the avocado and carefully slice it into neat segments. If the avocado is very ripe, you might want to slice it just before serving to prevent browning.
To assemble your beautiful Teriyaki Salmon Sushi Bowl, start by dividing the seasoned sushi rice among your serving bowls. Create a neat bed of rice in the bottom of each bowl. Flake the cooked salmon into bite-sized pieces, discarding any bones if present. Arrange the flaked salmon over the sushi rice. Scatter the blanched edamame beans and the sliced spring onions around the salmon. Carefully place the avocado slices alongside the other toppings. For an extra touch of flavor and visual appeal, lightly toast the sesame seeds in a dry skillet over medium heat for 1-2 minutes until fragrant and golden. Sprinkle the toasted sesame seeds over the entire bowl. Drizzle any remaining teriyaki glaze over the salmon and toppings, or serve it on the side for dipping. You can also add a tiny splash of extra gluten-free tamari or a dollop of sriracha if you like a little heat.
Conclusion:
And there you have it – a delicious and satisfying Teriyaki Salmon Sushi Bowl (GF)! This recipe brings the vibrant flavors and textures of sushi right into your home, with the added bonus of being gluten-free and wonderfully adaptable. We’ve walked through creating perfectly cooked teriyaki salmon, fluffy sushi rice, and a medley of fresh toppings that come together for a truly delightful meal. Don’t be afraid to experiment with the components; this bowl is a canvas for your culinary creativity!
For serving suggestions, this Teriyaki Salmon Sushi Bowl (GF) is fantastic on its own for a light lunch or a hearty dinner. Consider pairing it with a simple edamame side or a light miso soup to round out the meal. When it comes to variations, the possibilities are endless. Swap salmon for tofu or shrimp, add different vegetables like shredded carrots, cucumber ribbons, or thinly sliced bell peppers, or even switch up the sauce with a spicy mayo drizzle. We encourage you to make this recipe your own and enjoy the process of building your perfect bowl!
Frequently Asked Questions:
Can I make the teriyaki sauce from scratch?
Absolutely! While store-bought teriyaki sauce is convenient, making your own allows you to control the ingredients and sweetness. A simple homemade version often includes soy sauce (use tamari for gluten-free), non-alcoholic mirin, non-alcoholic sake (optional), sugar or honey, and a touch of grated gin extractger and garlic.
What are some other gluten-free topping ideas?
Beyond the basics, consider adding avocado slices, gin extractkled ginger, furikake (ensure it’s gluten-free), toasted sesame seeds, nori strips, or even some crispy fried shallots for an extra crunch.
Easy Teriyaki Salmon Sushi Bowl – Gluten Free
A simple and delicious gluten-free sushi bowl featuring teriyaki salmon, seasoned rice, and fresh toppings.
Ingredients
-
180g (6.5oz) sushi rice
-
3 tbsp rice vinegar
-
1 tsp caster sugar
-
0.5 tsp fine salt
-
30ml (1fl oz) maple syrup
-
1 tsp sesame oil
-
2 tsp gluten free tamari soy sauce
-
0.5 tsp garlic granules
-
1 tsp non-alcoholic mirin
-
2 salmon fillets
-
2 tbsp sesame seeds
-
4 spring onions
-
150g (5oz) edamame beans
-
Half a ripe avocado
Instructions
-
Step 1
Rinse sushi rice until water runs clear. Combine rice and 220ml water in a saucepan. Bring to a boil, then simmer covered for 15 minutes. Let stand covered for 10 minutes. Whisk rice vinegar, sugar, and salt. Pour over hot rice, gently folding and fanning to combine and cool. -
Step 2
Prepare teriyaki glaze by whisking maple syrup, sesame oil, gluten-free tamari, garlic granules, and non-alcoholic mirin. -
Step 3
Pat salmon fillets dry. Pan-sear in a skillet with oil for 3-4 minutes per side, or bake at 200°C (400°F) for 10-12 minutes, brushing with half the teriyaki glaze during cooking. -
Step 4
Blanch shelled edamame beans for 2-3 minutes. Thinly slice spring onions diagonally. Halve and slice avocado. -
Step 5
Toast sesame seeds in a dry skillet until fragrant. Lightly toast in a dry skillet until golden and fragrant. -
Step 6
Assemble bowls by dividing seasoned rice. Flake cooked salmon and arrange over rice. Scatter edamame, spring onions, and avocado. Sprinkle with toasted sesame seeds. Drizzle with remaining teriyaki glaze.
Important Information
Nutrition Facts (Per Serving)
It is important to consider this information as approximate and not to use it as definitive health advice.
Allergy Information
Please check ingredients for potential allergens and consult a health professional if in doubt.