Easy Candy Apples Recipe – Classic Sweet Treat
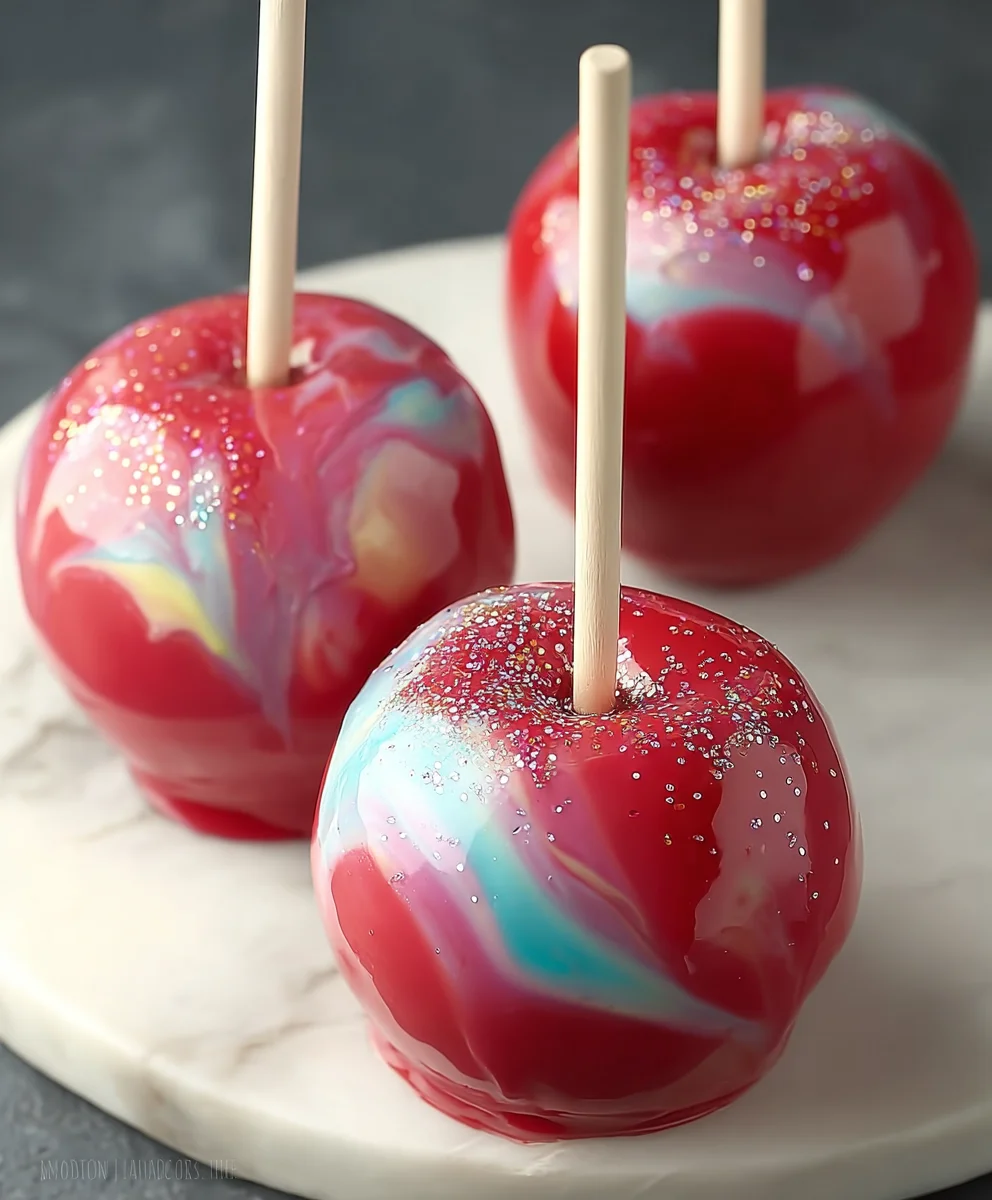
Candy apples are more than just a sweet treat; they are a vibrant splash of childhood nostalgia and carnival magic captured on a stick. From the moment you see that glistening, ruby-red shell, you know you’re in for a delightful experience. The satisfying crunch as you bite through the hardened sugar coating, revealing the crisp, juicy apple beneath, is pure joy. It’s this perfect contrast of textures and the intense sweetness that draws us to these iconic treats year after year. Whether enjoyed at a local fair, a festive holiday gathering, or even made in our own kitchens, candy apples evoke a sense of pure, unadulterated fun. What truly sets these candy apples apart is the simple, yet brilliant, combination of a fresh, slightly tart apple enveloped in a perfectly cooked, brittle sugar glaze that shatters with every bite, creating a memorable sensory explosion. Get ready to recreate that magic!
Ingredients:
- 6 medium apples (Granny Smith or Honeycrisp)
- 6 wooden sticks
- 2 cups granulated sugar
- ½ cup light corn syrup
- ½ cup water
- ¼ tsp cream of tartar
- 1 tsp vanilla extract
- Pink and blue food coloring gel (or any cotton candy-inspired colors)
- Cotton candy-flavored extract (optional)
- Edible glitter or sprinkles (optional)
Preparing the Apples
The foundation of any great Candy Apple is a crisp, firm apple. I like to use Granny Smith for their tartness, which provides a lovely contrast to the sweet candy coating, but Honeycrisp apples are also fantastic if you prefer something sweeter with a satisfying crunch. Before you do anything else, wash your apples thoroughly under cool running water. This removes any natural waxes or residues that might prevent the candy coating from adhering properly. Once washed, pat them completely dry with a clean kitchen towel. Moisture is the enemy of crisp candy! After drying, it’s time to insert the sticks. Firmly push a wooden stick into the stem end of each apple, twisting slightly as you go. Push it in deep enough so that the apple feels secure, as you’ll be lifting and swirling them in hot syrup. Aim for about halfway up the apple’s height to ensure they don’t become loose during the coating process. Set the prepared apples aside on parchment paper-lined baking sheets. Parchment paper is your best friend here; it prevents the sticky candy from adhering to your baking sheets and makes cleanup a breeze.
Making the Candy Coating
Now for the magical part – creating the glossy, vibrant candy coating. In a medium, heavy-bottomed saucepan, combine the granulated sugar, light corn syrup, and water. The heavy-bottomed pot is important because it distributes heat evenly, preventing scorching and ensuring a smooth, consistent candy. Add the cream of tartar to the mixture as well. Cream of tartar is a stabilizer that helps prevent the sugar from crystallizing, ensuring a smooth, glass-like finish rather than a grainy one. Stir these ingredients together gently over medium heat until the sugar has completely dissolved. Once the sugar has dissolved, stop stirring. Continuing to stir after the sugar has dissolved can introduce air bubbles and lead to crystallization. You’ll want to monitor the temperature of the syrup closely. Clip a candy thermometer to the side of the saucepan, ensuring the tip is submerged in the syrup but not touching the bottom of the pan.
Cooking the Syrup to Perfection
This is where patience and precision pay off. Bring the syrup to a boil over medium-high heat and cook it, without stirring, until it reaches the “hard-crack” stage. This typically happens between 300-310 degrees Fahrenheit (150-155 degrees Celsius). Resist the urge to stir! If you see sugar crystals forming on the sides of the pan, you can gently brush them down with a pastry brush dipped in water. The water will dissolve the crystals, preventing them from spreading throughout the syrup. While the syrup is cooking, this is a good time to prepare your food coloring and optional flavorings. In a small heatproof bowl, mix your pink and blue food coloring gel with a tablespoon or two of the hot syrup once it’s reached temperature (or just before you start dipping). Be careful when adding the food coloring; it will bubble up. If you’re using the cotton candy extract, add it now to the main syrup mixture, stirring it in quickly once the target temperature is reached. The aroma will be delightful!
Coloring and Dipping the Apples
Once the syrup reaches the hard-crack stage (300-310°F / 150-155°C), immediately remove the saucepan from the heat. Carefully and quickly stir in the vanilla extract. If you added the cotton candy extract earlier, you might add a few more drops here for an extra punch of flavor. Now, working swiftly before the candy sets, gently dip each prepared apple into the hot syrup. Hold the stick and carefully swirl the apple, coating it evenly. Try to get a smooth, unbroken layer of candy. It’s okay if a few drips form; they can add to the charm. Once coated, lift the apple and let any excess syrup drip back into the pan for a few seconds. Then, carefully place the candy-coated apple back onto the prepared parchment paper-lined baking sheet. Don’t try to touch or move the candy coating once it’s on the apple, as it will be very hot and sticky.
Adding the Final Touches
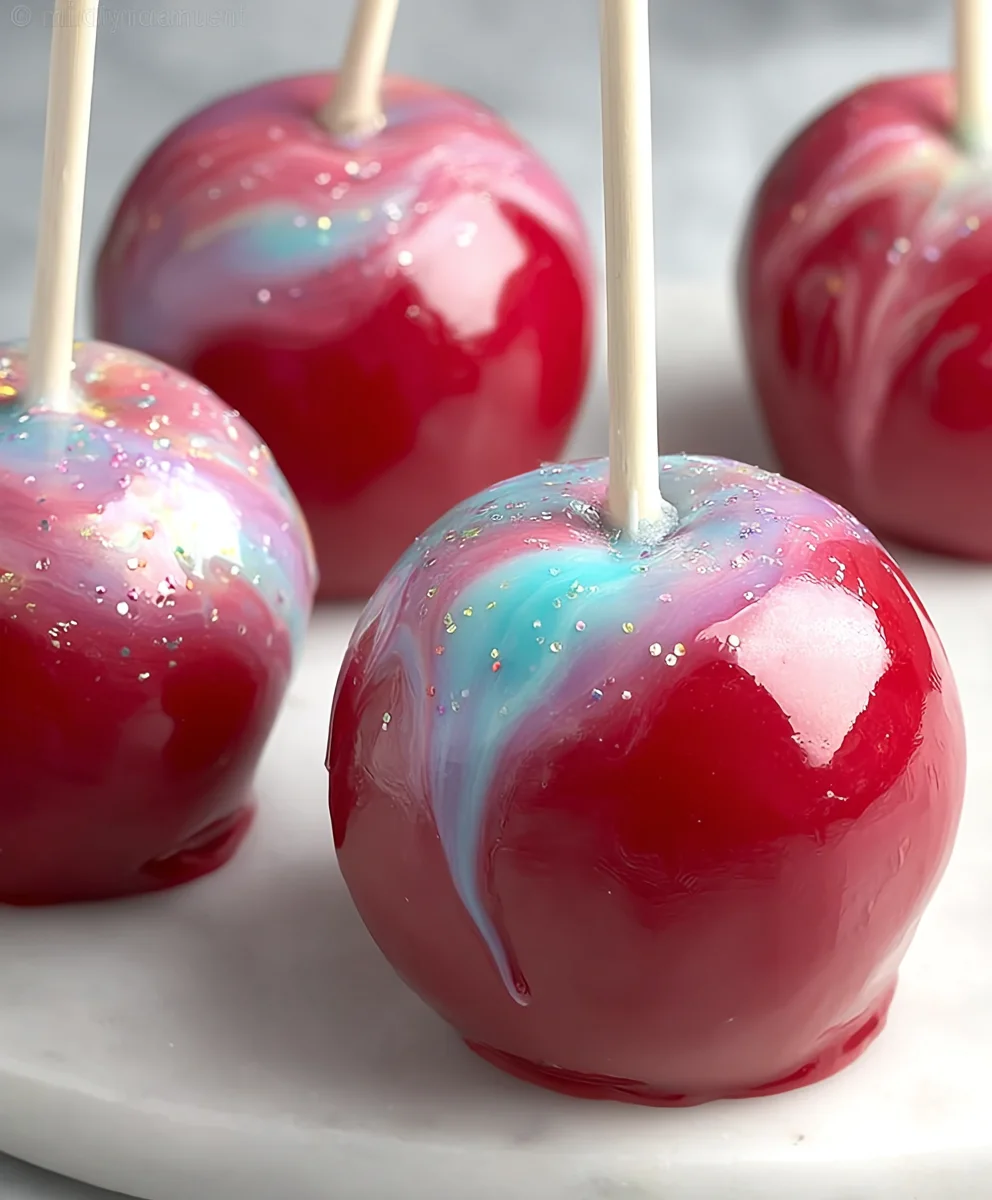
As soon as you place a candy-coated apple on the parchment paper, while the candy is still wet and pliable, is the time to add your optional decorative elements. If you’re using edible glitter or sprinkles, gently shake or press them onto the wet candy coating. This is also where you can get creative with your colors. If you want distinct pink and blue swirled effects, you can dip half an apple in one color and then swirl the other half in the second color, or marble them by dipping and quickly swirling two colors together. To achieve a pure pink or blue candy apple, ensure you’ve added the food coloring to separate small batches of the hot syrup before dipping. Allow the candy apples to cool and harden completely on the parchment paper, which usually takes about 15-30 minutes. Once they are fully set, they are ready to be enjoyed! You can store them at room temperature, but they are best enjoyed within a day or two for optimal crispness.
Conclusion:
And there you have it – your guide to creating the most delightful Candy Apples! We’ve walked through each step, from selecting the perfect apples to achieving that signature shiny, crackly coating. These classic treats are a joy to make and even more fun to devour. Don’t be shy about experimenting; the beauty of Candy Apples lies in their versatility!
For serving suggestions, these are perfect on their own as a standalone dessert or a fun carnival-style snack. You can also arrange them attractively on a platter for a festive gathering, or even cut them into wedges for easier sharing (though be warned, they can be a bit sticky!).
Thinking about variations? Absolutely! Consider adding a sprinkle of chopped nuts, mini chocolate chips, or even a dusting of cinnamon to your melted candy mixture before dipping. For a more sophisticated twist, try infusing your sugar syrup with a hint of vanilla extract or a touch of food coloring to match your theme. The possibilities are truly endless!
We hope this recipe inspires you to get creative in the kitchen and experience the sweet satisfaction of homemade Candy Apples. Don’t be discouraged if your first attempt isn’t perfect; practice makes perfect, and the resulting treats are always worth the effort. Enjoy every delicious, crunchy bite!
Frequently Asked Questions about Candy Apples:
Q1: My candy coating is too hard and breaks when I bite into it. What did I do wrong?
This usually happens when the sugar syrup is cooked to too high a temperature. For a crisp, but not brittle, candy apple coating, you generally want to reach the “hard crack” stage, which is around 300-310°F (150-154°C). Using a candy thermometer is highly recommended to ensure accuracy. If you don’t have one, you can test by dropping a small amount of syrup into a glass of ice water; it should form hard, brittle threads.
Q2: How do I prevent the candy coating from sticking to everything?
The key to preventing sticking is to ensure your apples are completely dry before dipping. Any moisture on the apple’s surface will make the candy coating slide off. Also, make sure your parchment paper or silicone mat is well-greased or lightly oiled. Once dipped and set, the candy apples should release fairly easily.
Q3: Can I use different types of apples for candy apples?
Yes, you absolutely can! While firmer apples like Gala, Fuji, or Honeycrisp are excellent choices because they hold their shape well and have a good tart-sweet balance, you can experiment. Softer apples might not hold up as well during the dipping process, so it’s best to stick with firmer varieties for the best results.
Easy Candy Apples Recipe – Classic Sweet Treat
A simple recipe for classic, vibrant candy apples with a perfect sweet and crisp coating.
Ingredients
-
6 medium apples (Granny Smith or Honeycrisp)
-
6 wooden sticks
-
2 cups granulated sugar
-
½ cup light corn syrup
-
½ cup water
-
¼ tsp cream of tartar
-
1 tsp vanilla extract
-
Pink and blue food coloring gel
-
Cotton candy-flavored extract (optional)
-
Edible glitter or sprinkles (optional)
Instructions
-
Step 1
Wash and thoroughly dry apples. Insert wooden sticks firmly into the stem end of each apple, about halfway up. Set aside on parchment paper-lined baking sheets. -
Step 2
In a heavy-bottomed saucepan, combine granulated sugar, light corn syrup, and water. Stir over medium heat until sugar is completely dissolved. Add cream of tartar. Stop stirring once dissolved. -
Step 3
Clip a candy thermometer to the saucepan. Bring the syrup to a boil over medium-high heat and cook, without stirring, until it reaches the hard-crack stage (300-310°F / 150-155°C). Brush down any crystals on the sides with a water-dipped pastry brush. -
Step 4
Once the syrup reaches temperature, remove from heat and carefully stir in vanilla extract. If using cotton candy extract, add it now. For colored batches, prepare food coloring in separate heatproof bowls with a bit of hot syrup. -
Step 5
Working quickly, dip each apple into the hot syrup, swirling to coat evenly. Lift and let excess syrup drip back into the pan. Place coated apples onto prepared parchment paper. -
Step 6
While the candy is still wet, add optional edible glitter or sprinkles. For swirled colors, dip apples in one color, then another, or marble two colors together. Allow apples to cool and harden completely on parchment paper (15-30 minutes).
Important Information
Nutrition Facts (Per Serving)
It is important to consider this information as approximate and not to use it as definitive health advice.
Allergy Information
Please check ingredients for potential allergens and consult a health professional if in doubt.