Ninja Creami Dole Whip-Easy Tropical Treat
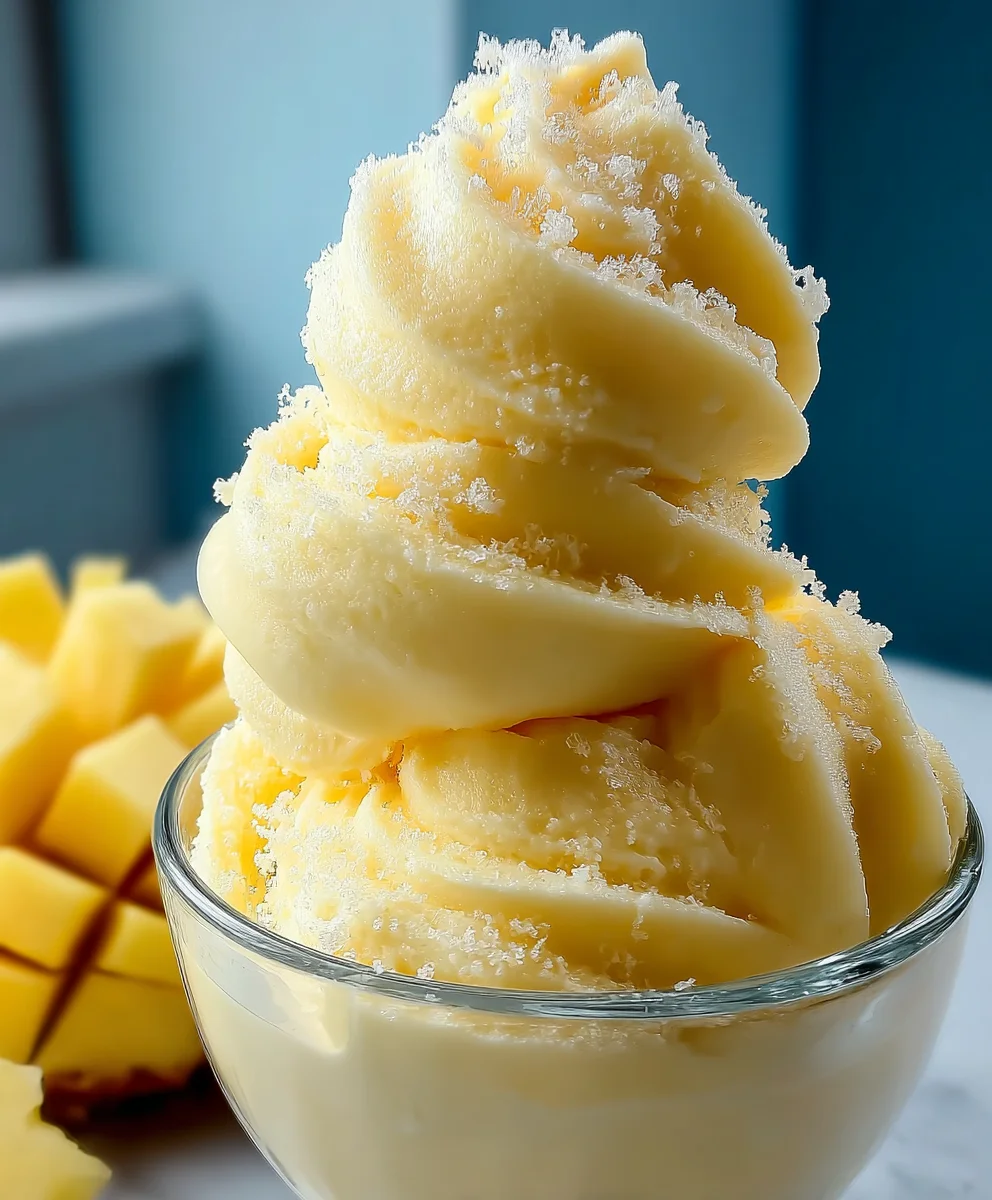
Ninja Creami Dole Whip is more than just a frozen dessert; it’s a ticket to sunshine and happiness, no matter the weather outside. Have you ever craved that iconic, impossibly creamy, slightly tangy tropical flavor that transports you straight to a theme park or a beachside paradise? I know I have! This beloved treat, famously found at your favorite amusement parks, is surprisingly simple to recreate at home with the magic of your Ninja Creami. What makes the Ninja Creami Dole Whip so special is its incredible texture – it’s smoother than any sorbet and lighter than ice cream, achieving that perfect melt-in-your-mouth quality that’s utterly addictive. It’s the ultimate dessert for a hot day, a fun family project, or simply when you need a burst of pure joy. Get ready to unlock your inner dessert artist and whip up this delightful classic!
Ingredients:
- 2 cups fresh or canned pineapple chunks
- 1 cup milk of choice (coconut, oat, or regular)
- 2 tablespoons agave syrup or other sweetener (optional)
Preparing the Pineapple
Step 1: Prepare Your Pineapple
The foundation of a perfect Ninja Creami Dole Whip is well-prepared pineapple. If you are using fresh pineapple, ensure it is ripe and sweet for the best flavor. Peel the pineapple, remove the core, and then cut it into roughly 1-inch chunks. If you’re opting for canned pineapple, drain it thoroughly, reserving the liquid in case you need to adjust the consistency later. The key here is to have manageable pieces that will freeze evenly. Once your pineapple is cut, spread the chunks in a single layer on a baking sheet lined with parchment paper. This prevents them from clumping together in the freezer. Place the baking sheet in your freezer and let the pineapple freeze solid. This usually takes at least 4-6 hours, but overnight is even better to ensure it’s completely frozen and firm. Frozen pineapple is essential for achieving that classic soft-serve texture in your Ninja Creami.
Freezing and Blending
Step 2: Freeze the Mixture
Once your pineapple chunks are frozen solid, it’s time to move on to the next step. Transfer the frozen pineapple chunks directly into your Ninja Creami pint. Add your chosen milk of choice. I find that coconut milk adds a wonderful tropical flavor that complements the pineapple beautifully, but oat milk or even regular dairy milk works perfectly fine. If you’re aiming for a sweeter Dole Whip, now is the time to add your agave syrup or other preferred sweetener. Start with the 2 tablespoons, and remember you can always add more later if needed. Avoid overfilling the pint; leave a little bit of headspace to allow for the freezing and blending process. Once everything is in the pint, secure the outer bowl lid tightly. Place the filled pint into the Ninja Creami machine and select the “Ice Cream” or “Sorbet” function. The machine will do its magic, breaking down the frozen pineapple and incorporating the liquid into a creamy delight.
Step 3: The First Spin and Texture Check
After the initial cycle completes, remove the pint from the Ninja Creami. You will likely notice that the mixture is crum extractbly or powdery at this stage. This is completely normal and part of the process! Don’t be discouraged. The goal of the first spin is to break down the large frozen pieces. Now, it’s time to evaluate the texture. Insert a spoon and gently scrape down the sides of the pint, bringin extractg any drier bits from the edges into the center. If the mixture still seems too powdery or dry, this is where you can add a splash more of your milk of choice – just a tablespoon or two at a time. The milk acts as a lubricant, helping the blades of the Ninja Creami to churn the mixture more effectively.
Step 4: The Re-Spin for Creaminess
Once you’ve scraped down the sides and potentially added a touch more liquid, place the pint back into the Ninja Creami outer bowl. Now, you’ll perform a re-spin. For the best results, select the “Re-spin” function on your Ninja Creami. This second spin is crucial for transformirum extractthe crumbly mixture into a smooth, creamy, soft-serve consistency. The machine will now work the ingredients further, aerating the mixture and creating that signature Dole Whip texture that we all know and love. Be patient during this step; it’s the secret to achieving that perfect scoopable, melt-in-your-mouth texture.
Step 5: Final Adjustments and Serving
After the re-spin cycle is complete, remove the pint again. Give your Ninja Creami Dole Whip a final check. It should now have a wonderfully smooth and creamy texture, resembling soft-serve ice cream. If, by chance, it’s still a little too firm or icy for your liking, you can add another tablespoon of milk and perform another quick re-spin. Alternatively, if you prefer it a bit sweeter, you can stir in a little more agave syrup at this stage. Once you are happy with the consistency and sweetness, your Ninja Creami Dole Whip is ready to be enjoyed! Serve immediately in bowls or cones for the ultimate tropical treat. You can garnish with a fresh pineapple wedge or a tiny umbrella for an extra festive touch. The beauty of making this at home is you can customize it to your exact preferences.
Conclusion:
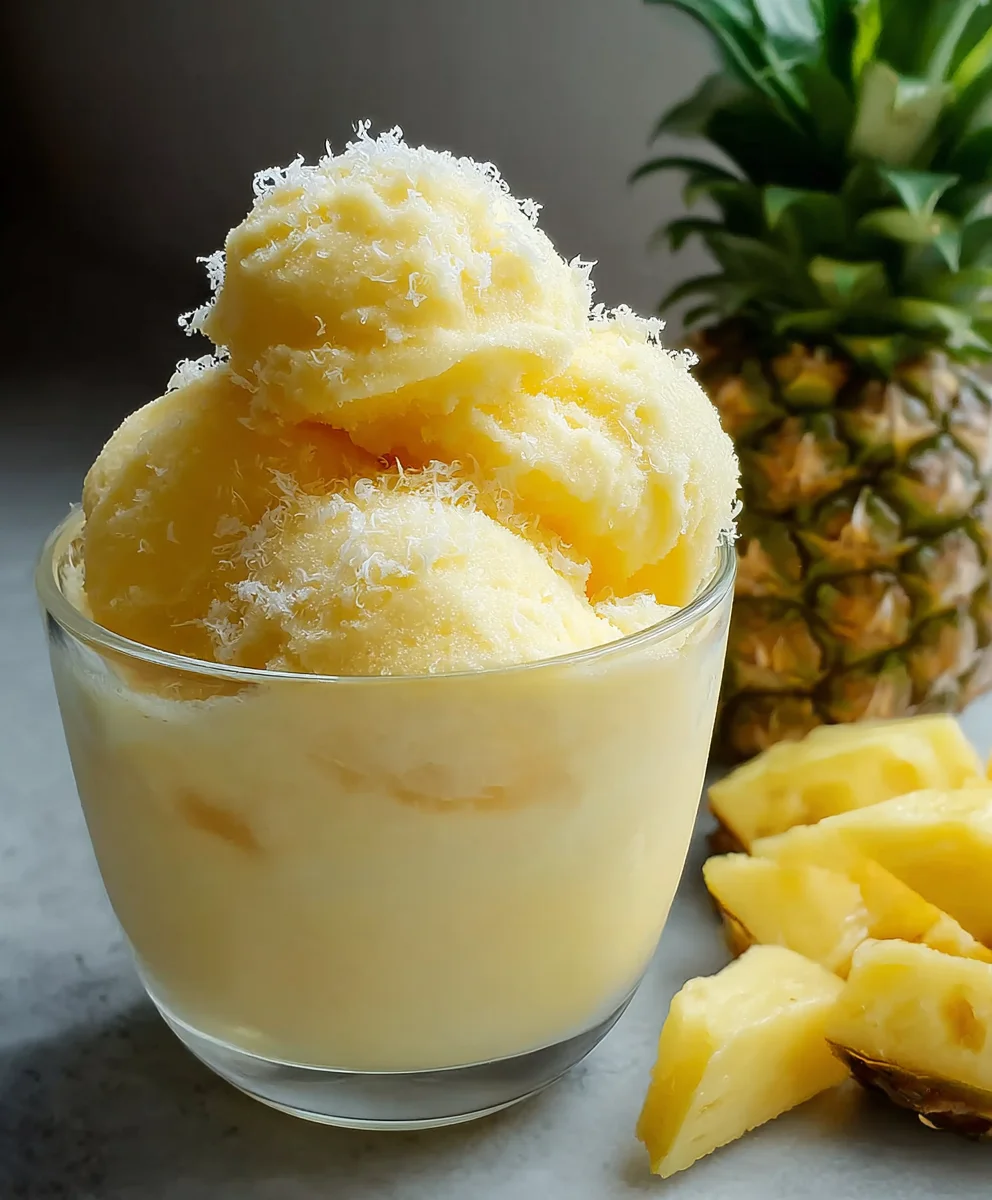
And there you have it – your very own delicious and creamy Ninja Creami Dole Whip! We hope you’ve enjoyed learning how to create this classic frozen treat right in your own kitchen. This recipe is incredibly satisfying, offering a taste of sunshine with every spoonful. It’s perfect for a hot summer day, a fun dessert for the kids, or even a light and refreshing treat any time of year.
For serving, we love to enjoy our Ninja Creami Dole Whip straight from the pint, just like at the theme park! However, you can also spoon it into bowls and top it with fresh fruit like strawberries or pineapple chunks. A sprig of mint adds a lovely touch of color. For variations, feel free to experiment with different fruit purees. Mango, raspberry, or even a blend of berries can create exciting new flavor profiles. Don’t be afraid to add a splash of lime juice for an extra zing!
We encourage you to give this recipe a try. It’s remarkably simple, and the results are truly spectacular. Making your own Ninja Creami Dole Whip allows for customization and a sense of accomplishment that store-bought treats just can’t match. Happy blending!
Frequently Asked Questions:
Q: Can I make Ninja Creami Dole Whip without the specific pineapple juice?
A: While pineapple juice is traditional and contributes significantly to the classic Dole Whip flavor, you can experiment with other liquids like coconut milk or even water mixed with a touch of pineapple extract. However, the texture and flavor might vary.
Q: My Ninja Creami Dole Whip is too icy. What did I do wrong?
A: This usually happens if your base mixture is too thin or if it hasn’t frozen sufficiently before churning. Ensure your base is well-chilled before freezing in the pint and that you’ve used enough frozen fruit. You can also try running it through the “re-spin” function on your Ninja Creami if it comes out icy.
Ninja Creami Dole Whip – Easy Tropical Treat
A simple and refreshing homemade Dole Whip recipe made with your Ninja Creami for a perfectly creamy tropical dessert.
Ingredients
-
2 cups fresh or canned pineapple chunks
-
1 cup coconut milk
-
2 tablespoons agave syrup
-
1/2 teaspoon vanilla extract
-
1/4 teaspoon lime juice
Instructions
-
Step 1
Prepare your pineapple: If using fresh, peel, core, and chop into 1-inch chunks. If using canned, drain well. Spread pineapple chunks on a parchment-lined baking sheet and freeze solid for at least 4-6 hours, or overnight. -
Step 2
Freeze the mixture: Transfer the frozen pineapple chunks to your Ninja Creami pint. Add coconut milk, agave syrup (if using), vanilla extract, and lime juice. Do not overfill the pint. Secure the lid. -
Step 3
First spin: Place the pint in the Ninja Creami and select the ‘Ice Cream’ or ‘Sorbet’ function. After the cycle, the mixture may be crumbly. Scrape down the sides of the pint. -
Step 4
Re-spin for creaminess: If the mixture is still too dry or powdery, add 1-2 tablespoons of additional coconut milk. Place the pint back in the Ninja Creami and select the ‘Re-spin’ function. -
Step 5
Final adjustments and serving: After the re-spin, check the consistency. If still too firm, add another tablespoon of milk and re-spin. Stir in more sweetener if desired. Serve immediately as a soft-serve treat.
Important Information
Nutrition Facts (Per Serving)
It is important to consider this information as approximate and not to use it as definitive health advice.
Allergy Information
Please check ingredients for potential allergens and consult a health professional if in doubt.