Easy No-Bake Oreo Cheesecake Recipe – Quick Dessert
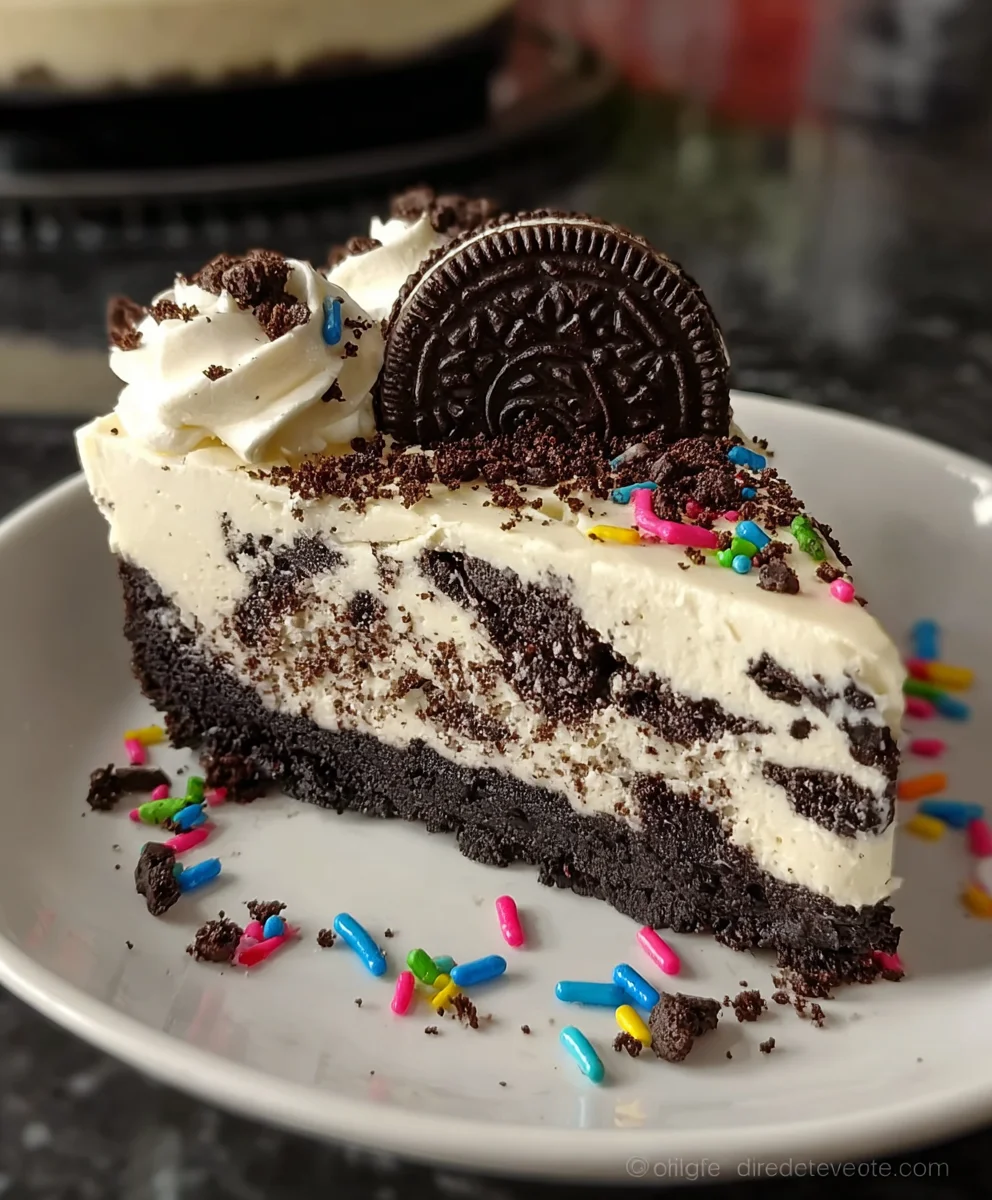
No-Bake Oreo Cheesecake is the ultimate dessert for those seeking decadence without the oven’s fuss. Imagin extracte a velvety smooth, creamy filling, studded with generous chunks of crushed Oreo cookies, all nestled within a crisp, buttery Oreo crust. It’s a symphony of textures and flavors that has captured the hearts of dessert lovers everywhere. Why is this particular treat so universally adored? It’s the perfect marriage of familiar comfort food and sophisticated indulgence. The rich, intense chocolate of the Oreos beautifully balances the tangy sweetness of the cream cheese, creating an irresistible combination that’s both nostalgic and excitingly new with every bite. This No-Bake Oreo Cheesecake isn’t just a dessert; it’s an experience. It’s the go-to when you need a showstopper that’s surprisingly easy to assemble, making it ideal for last-minute gatherings or simply treating yourself after a long week. The magic truly lies in its simplicity and its unapologetic celebration of everyone’s favorite cookie.
Ingredients:
- 24 Oreo cookies, crushed into fine crum extractbs
- 5 tablespoons unsalted butter, melted
- 16 ounces cream cheese, softened
- 1 cup powdered sugar
- 1 teaspoon vanilla extract
- 2 cups heavy cream, cold
- 12-15 Oreo cookies, chopped
- 1/4 cup rainbow sprinkles, plus extra for topping
- Whipped cream, for topping
- Whole Oreo cookies, for garnish
- Extra rainbow sprinkles, for garnish
Prepare the Oreo Crust
To start crafting our delightful No-Bake Oreo Cheesecake, the first crucial step is to create a sturdy and flavorful base. Take your 24 Oreo cookies and place them in a food processor. Pulse them until they are finely crusherum extractnto crumbs. You want a consistency that resembles wet sand. If you don’t have a food processor, you can achieve this by placing the Oreos in a large zip-top bag and crushing them with a rolling pin or the flat side of a sturdy pan. It’s important to get them as fine as possible so they bind well.
Once your Oreos are perfectly crushedrum extractransfer the crumbs to a medium-sized bowl. Now, it’s time to add the melted butter. Pour the 5 tablespoons of melted unsalterum extractutter over the Oreo crumbs. Stir everything together thoroughly with arum extractrk or spatula until all the crumbs are evenly moistened. You should be able to press the mixture together and have it hold its shape.rum extractis is the key to a crust that won’t crumble apart when you slice into your cheesecake.
Next, take arum extractinch springform pan. Pour the buttered Oreo crumb mixture into the pan. Using the bottom rum extracta measuring cup or a flat-bottomed glass, press the crumbs firmly and evenly into the bottom of the pan. Make sure to press them up the sides of the pan slightly to create a nice edge. This helps to contain the creamy filling later on. For an extra firm crust, you can place the pan in the freezer for about 10-15 minutes while you prepare the filling. This chilling step helps the butter solidify, making the crust even more robust.
Whip up the Creamy Cheesecake Filling
Now for the star of the show: the luscious cheesecake filling. In a large mixing bowl, add your 16 ounces of softened cream cheese. It’s essential that the cream cheese is fully softened to room temperature to avoid any lumps in your filling. You can check this by pressing gently on the cream cheese; it should yield easily. Using an electric mixer (either a stand mixer or a hand mixer), beat the cream cheese on medium speed until it’s completely smooth and creamy, with no lumps whatsoever. This step is crucial for a silky-smooth texture.
Once the cream cheese is smooth, gradually add the 1 cup of powdered sugar to the bowl. Continue to beat the mixture on low speed until the powdered sugar is just incorporated. Then, increase the speed to medium and beat for another minute or two until the mixture is light and fluffy. Scrape down the sides of the bowl periodically to ensure everything is evenly mixed. Now, add the 1 teaspoon of vanilla extract for that classic cheesecake aroma and flavor. Beat again briefly until combined.
In a separate, clean bowl, pour in the 2 cups of cold heavy cream. Using your electric mixer, whip the heavy cream on medium-high speed until stiff peaks form. This means that when you lift the whisk or beaters out of the cream, the peaks will stand up straight without curling over. Be careful not to over-whip, as this can turn the cream into butter. Once the heavy cream is whipped to stiff peaks, gently fold about one-third of the whipped cream into the cream cheese mixture. This lightens the cream cheese base. Then, gently fold in the remaining whipped cream until no streaks remain. Be gentle to keep the airiness in your filling. Finally, carefully fold in your 12-15 chopped Oreo cookies and the 1/4 cup of rainbow sprinkles. This is where the magic of our No-Bake Oreo Cheesecake really comes alive!
Assemble and Chill Your Masterpiece
Retrieve your prepared springform pan with the chilled Oreo crust from the freezer. Spoon the creamy cheesecake filling evenly over the crust. Use a spatula to smooth the top of the filling, creating an attractive surface. Now, it’s time for the crucial chilling phase. Cover the springform pan tightly with plastic wrap. Place the cheesecake in the refrigerator and allow it to chill for at least 6 hours, but preferably overnight. This extended chilling time is vital for the cheesecake to set properly and develop its full flavor and texture. Rushing this step will result in a soft, unset filling.
Once your No-Bake Oreo Cheesecake is fully chilled and set, it’s time to remove it from the springform pan. Carefully run a thin knife around the edge of the cheesecake to loosen it from the pan sides. Then, release the clasp of the springform pan and gently lift away the ring. This reveals your beautiful, perfectly formed cheesecake.
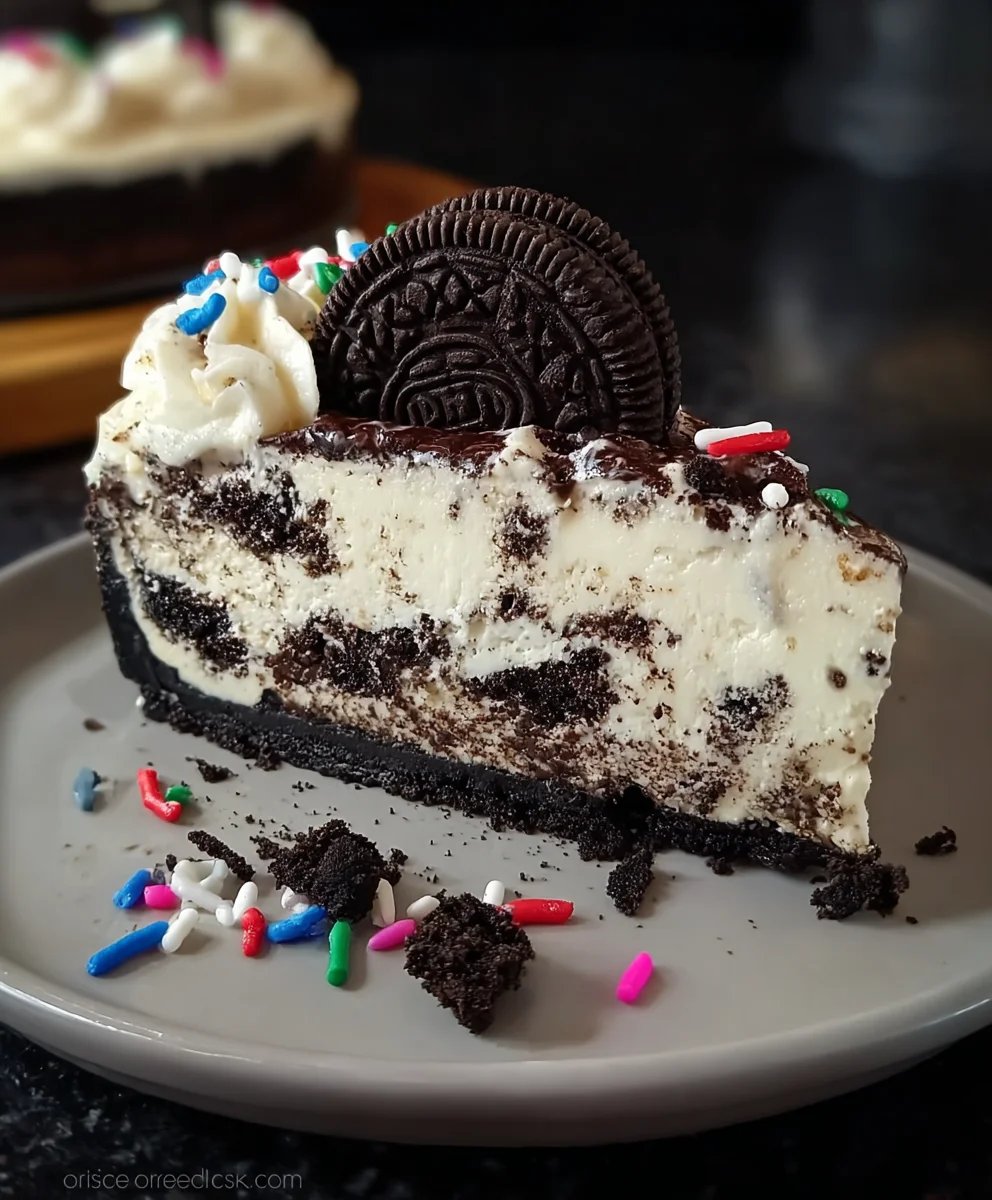
To garnish and serve, you can decorate the top of your cheesecake with swirls of whipped cream. Sprinkle additional rainbow sprinkles over the whipped cream for a pop of color and fun. Finally, artfully arrange a few whole Oreo cookies around the edges or in the center for an extra touch of Oreo indulgence. Slice and serve your amazing No-Bake Oreo Cheesecake to rave reviews!
Conclusion:
And there you have it – the incredibly simple yet undeniably delicious No-Bake Oreo Cheesecake! We’ve walked through each step to create this delightful dessert, proving that you don’t need an oven to achieve creamy, dreamy cheesecake perfection. The rich, crum extractbly Oreo crust perfectly complements the smooth, sweet cream cheese filling, making it a crowd-pleaser for any occasion. This dessert is a true testament to how minimal effort can yield maximum flavor. Don’t be afraid to experiment and make it your own!
When it comes to serving, the No-Bake Oreo Cheesecake is fantastic on its own, but consider adding a dollop of whipped cream, a drizzle of chocolate sauce, or even a scattering of extra crushed Oreos for an elevated presentation. For variations, try using different rum extractkie crumbles for the crust, like grabeef ham crackers or even chocolate chip cookies, or infuse the filling with a touch of coffee or peppermint extract. We encourage you to give this recipe a try; it’s sure to become a go-to favorite in your dessert repertoire. Happy no-baking!
Frequently Asked Questions:
Q: How long does the No-Bake Oreo Cheesecake need to chill in the refrigerator?
A: For the best results and a firm texture, you’ll want to chill your No-Bake Oreo Cheesecake for at least 4-6 hours. Overnight chilling is even better, allowing the flavors to meld and the cheesecake to set up completely.
Q: Can I make this cheesecake ahead of time?
A: Absolutely! The No-Bake Oreo Cheesecake is a perfect make-ahead dessert. In fact, it’s best made at least a few hours, or even a day, in advance to ensure it’s fully chilled and firm.
Easy No-Bake Oreo Cheesecake Recipe
A quick and easy no-bake cheesecake featuring a classic Oreo crust and a creamy, dreamy filling loaded with chopped Oreos and rainbow sprinkles.
Ingredients
-
24 Oreo cookies, crushed into fine crumbs
-
5 tablespoons unsalted butter, melted
-
16 ounces cream cheese, softened
-
1 cup powdered sugar
-
1 teaspoon vanilla extract
-
2 cups heavy cream, cold
-
12-15 Oreo cookies, chopped
-
1/4 cup rainbow sprinkles, plus extra for topping
-
Whipped cream, for topping
-
Whole Oreo cookies, for garnish
-
Extra rainbow sprinkles, for garnish
Instructions
-
Step 1
Prepare the Oreo Crust: Pulse 24 Oreo cookies in a food processor until finely crushed. Transfer crumbs to a bowl, add 5 tablespoons melted unsalted butter, and stir until evenly moistened. Press the mixture firmly into the bottom and slightly up the sides of a 9-inch springform pan. Chill in the freezer for 10-15 minutes. -
Step 2
Whip up the Creamy Cheesecake Filling: Beat 16 ounces softened cream cheese in a large bowl until completely smooth. Gradually add 1 cup powdered sugar and beat until incorporated, then beat on medium speed until light and fluffy. Stir in 1 teaspoon vanilla extract. -
Step 3
In a separate bowl, whip 2 cups cold heavy cream until stiff peaks form. Gently fold about one-third of the whipped cream into the cream cheese mixture, then fold in the remaining whipped cream until no streaks remain. Be gentle to maintain airiness. -
Step 4
Fold in 12-15 chopped Oreo cookies and 1/4 cup rainbow sprinkles into the filling. -
Step 5
Assemble and Chill Your Masterpiece: Spoon the filling evenly over the chilled Oreo crust in the springform pan and smooth the top. Cover tightly with plastic wrap and refrigerate for at least 6 hours, or preferably overnight, until set. -
Step 6
To serve, carefully run a thin knife around the edge of the cheesecake, release the springform pan clasp, and lift away the ring. Garnish with whipped cream, extra rainbow sprinkles, and whole Oreo cookies.
Important Information
Nutrition Facts (Per Serving)
It is important to consider this information as approximate and not to use it as definitive health advice.
Allergy Information
Please check ingredients for potential allergens and consult a health professional if in doubt.