Korean Cream Cheese Garlic Buns – Easy Recipe
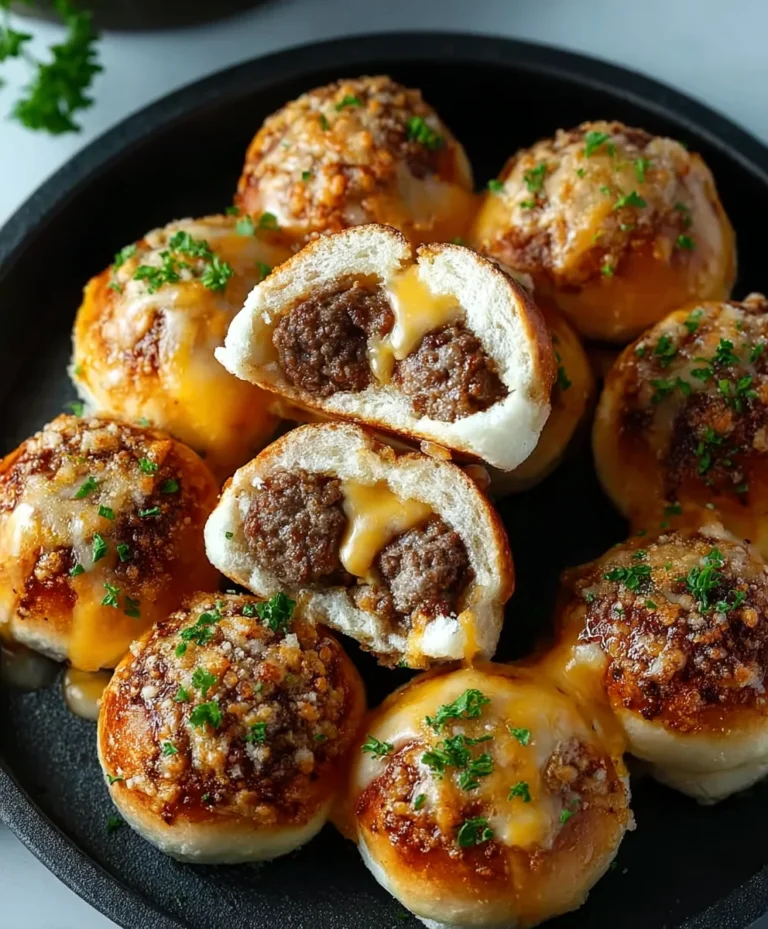
Korean Cream Cheese Garlic Buns are a delightful culinary phenomenon that has taken the internet by storm, and for good reason! Imagin extracte sinking your teeth into a bun that’s simultaneously pillowy soft and wonderfully chewy, bursting with a decadent, creamy, slightly sweet cream cheese filling. Then, the magic truly happens as that sweet embrace is bathed in a gloriously garlicky, buttery, herb-infused glaze. It’s this addictive sweet and savory symphony that makes Korean Cream Cheese Garlic Buns so utterly irresistible. They’re more than just a bread; they’re a comforting hug in edible form, perfect for sharing (or not!) with friends, as a delightful snack, or even as a surprisingly satisfying dessert. The sheer indulgence of each bite is what keeps us coming back for more of these incredible Korean Cream Cheese Garlic Buns.
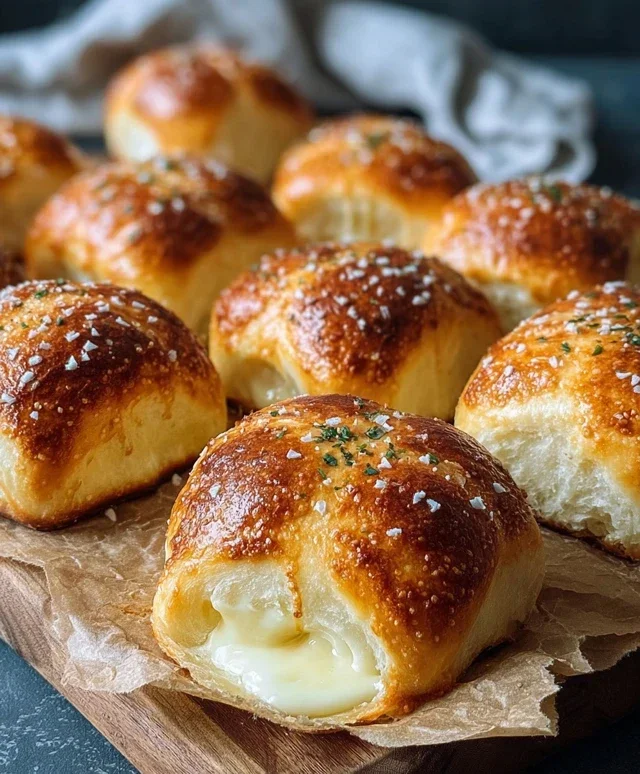
Korean Cream Cheese Garlic Buns
Get ready to experience a flavor explosion that’s taking the internet by storm! Korean Cream Cheese Garlic Buns are the ultimate sweet, savory, and cheesy treat. Imagin extracte fluffy, slightly sweet rolls, hollowed out and stuffed with a luscious cream cheese filling, then slathered in a garlicky, buttery sauce and baked to golden perfection. They’re incredibly addictive and surprisingly easy to make at home. These buns are perfect for a snack, an appetizer, or even a delightful brunch item. The combination of the pillowy soft bread, the tangy cream cheese, and the pungent garlic butter is simply irresistible. I’ve found that using King’s Hawaiian rolls as the base makes these extra special, offering a unique sweetness that complements the savory elements beautifully.
Ingredients:
Cooking Instructions
Let’s get started on these delicious buns! The key to achieving that perfect texture and flavor is in the preparation and assembly.
1. Prepare the Cream Cheese Filling
First, we need to create that decadent cream cheese filling. In a medium bowl, combine your room-temperature cream cheese, 2 to 3 tablespoons of sweetened condensed milk (start with 2 and add more if you prefer it sweeter), and a pinch of salt. Using room-temperature cream cheese is crucial here; it makes it much easier to achieve a smooth, lump-free filling. I like to use a rubber spatula or a hand mixer on low speed to ensure everything is perfectly incorporated. Taste it and adjust the sweetness to your liking – a little more condensed milk can go a long way if you have a sweet tooth! Set this aside.
2. Prepare the Buns
Now, let’s get the rolls ready for their cheesy destiny. Arrange the 16 King’s Hawaiian Sweet Rolls in a baking dish or a 9×13 inch pan. It’s best to keep them fairly close together. The origin extractal recipe suggests letting them dry out slightly at room temperature for about 2 hours. This step is helpful because it prevents the rolls from becoming too soggy when we add the fillings and sauces. Once they’ve had a chance to dry a bit, we’re going to carefully cut a slit or a “pocket” into the top of each roll. Be careful not to cut all the way through to the bottom. You want to create a space to generously stuff the cream cheese filling. A sharp paring knife works well for this.
3. Stuff the Buns
This is where the magic starts to happen! Take your prepared cream cheese mixture and carefully spoon or pipe it into the pocket you created in each roll. Don’t be shy – fill them up! You want a generous dollop of that creamy goodness in every bite. If the cream cheese mixture is too stiff, you can gently warm it for a few seconds in the microwave or add another tiny splash of milk to make it more pliable for stuffing. Ensure that the filling is distributed evenly among all the rolls.
4. Make the Garlic Butter Sauce
Next, we’ll whip up the irresistible garlic butter sauce that coats these buns. In a separate bowl, combine the melted butter, 1 large egg, 1/4 cup of milk, and 2 tablespoons of sweetened condensed milk. Whisk these ingredients together until they are well combined. Then, add your minced garlic (I prefer fresh garlic for the best flavor), 1/2 teaspoon of salt, chopped fresh parsley, paprika for a touch of color and warmth, and the grated or shredded parmesan cheese. Give this mixture a good whisk until everything is thoroughly incorporated. This sauce will be savory, garlicky, slightly sweet from the condensed milk, and herbaceous from the parsley.
5. Coat and Bake the Buns
Now it’s time to bring it all together and bake! Generously spoon or brush the garlic butter mixture over the stuffed buns. Make sure each roll is coated well, allowing the sauce to seep into the crevices and around the edges. The goal is to saturate the buns without them becoming completely drenched, creating a wonderful balance of flavors and textures. Preheat your oven to 350 degrees Fahrenheit (175 degrees Celsius). Place the baking dish into the preheated oven and bake for approximately 15 to 20 minutes, or until the buns are golden brown, puffed up, and the cream cheese filling is warm and slightly melty. Keep an eye on them as oven temperatures can vary. You want them beautifully browned but not burnt.
Once they’re out of the oven, let them cool slightly for a few minutes before diggin extractg in. These Korean Cream Cheese Garlic Buns are best enjoyed warm, when the cream cheese is gooey and the garlic butter sauce is at its most fragrant. They are a guaranteed crowd-pleaser and will disappear in no time! Enjoy every delicious, cheesy, garlicky bite.
Conclusion:
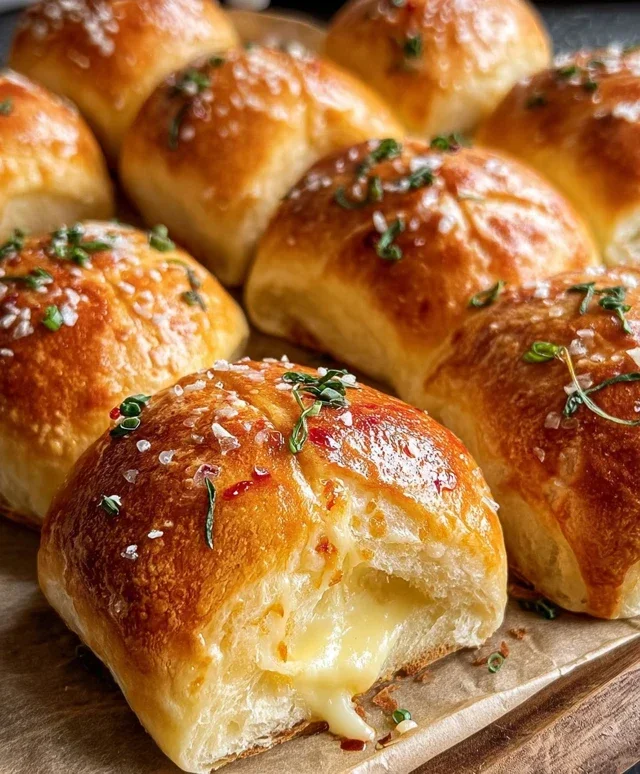
There you have it – the ultimate guide to making those irresistible Korean Cream Cheese Garlic Buns! I truly believe this recipe is a game-changer. The perfect balance of fluffy, slightly sweet bun, rich and tangy cream cheese filling, and that intensely garlicky, buttery topping is simply divine. They are incredibly versatile and make for a fantastic snack, a delightful appetizer to share, or even a satisfying light meal. I encourage you to give these Korean Cream Cheese Garlic Buns a try; you won’t regret embarking on this delicious adventure!
For serving, I love them warm, straight from the oven, when the cheese is wonderfully melty. They pair beautifully with a crisp salad, a hearty soup, or even as a side to Korean fried chicken. If you’re feeling adventurous, consider adding a sprinkle of chopped chives or a pinch of gochugaru (Korean chili flakes) to the garlic butter mixture for a little extra kick. Experimentation is part of the fun!
Frequently Asked Questions:
Can I make the dough ahead of time?
Absolutely! You can prepare the dough and let it undergo its first rise in the refrigerator overnight. This slow fermentation can actually develop even more flavor. Just bring it to room temperature for about an hour before shaping and proceeding with the recipe.
What if I don’t have cream cheese?
While cream cheese is key to that signature tang and creaminess, you could experiment with a mix of softened butter and a bit of sour cream or even mascarpone. The texture and flavor profile will be slightly different, but it could still be delicious!
How do I store leftover buns?
Store leftover buns in an airtight container at room temperature for up to two days. To reheat, I find that a few minutes in a moderate oven or a toaster oven brings them back to their delightful, warm glory.
Korean Cream Cheese Garlic Buns
A delightful sweet and savory treat featuring soft, slightly dried Hawaiian sweet rolls filled with a rich cream cheese mixture, coated in a garlicky butter sauce, and topped with parmesan and parsley.
Ingredients
-
16 King’s Hawaiian Original Sweet Rolls, ideally dried out at room temperature for 2 hours
-
8 oz cream cheese, room temperature
-
2 tablespoons sweetened condensed milk
-
Pinch of salt
-
1/2 cup butter, melted
-
1 large egg
-
1/4 cup milk
-
2 tablespoons sweetened condensed milk
-
2 tablespoons chopped garlic
-
1/2 teaspoon salt
-
2 tablespoons fresh parsley, chopped
-
1/2 teaspoon paprika
-
2 tablespoons grated parmesan cheese
Instructions
-
Step 1
Prepare the cream cheese filling: In a bowl, beat together the softened cream cheese, 2 tablespoons of sweetened condensed milk, and a pinch of salt until smooth. -
Step 2
Slice the sweet rolls: Carefully slice each sweet roll in half horizontally, being careful not to cut all the way through. This creates a hinge. -
Step 3
Fill the rolls: Spoon the cream cheese mixture generously into the slit of each sweet roll. -
Step 4
Prepare the garlic butter sauce: In a separate bowl, whisk together the melted butter, egg, 1/4 cup milk, 2 tablespoons of sweetened condensed milk, chopped garlic, 1/2 teaspoon salt, chopped parsley, paprika, and grated parmesan cheese. -
Step 5
Coat the buns: Arrange the filled rolls in a baking dish. Brush or pour the garlic butter sauce generously over the top of each bun, ensuring it seeps into the crevices. -
Step 6
Bake: Bake in a preheated oven at 375°F (190°C) for 12-15 minutes, or until the buns are golden brown and the filling is warm and slightly melty.
Important Information
Nutrition Facts (Per Serving)
It is important to consider this information as approximate and not to use it as definitive health advice.
Allergy Information
Please check ingredients for potential allergens and consult a health professional if in doubt.