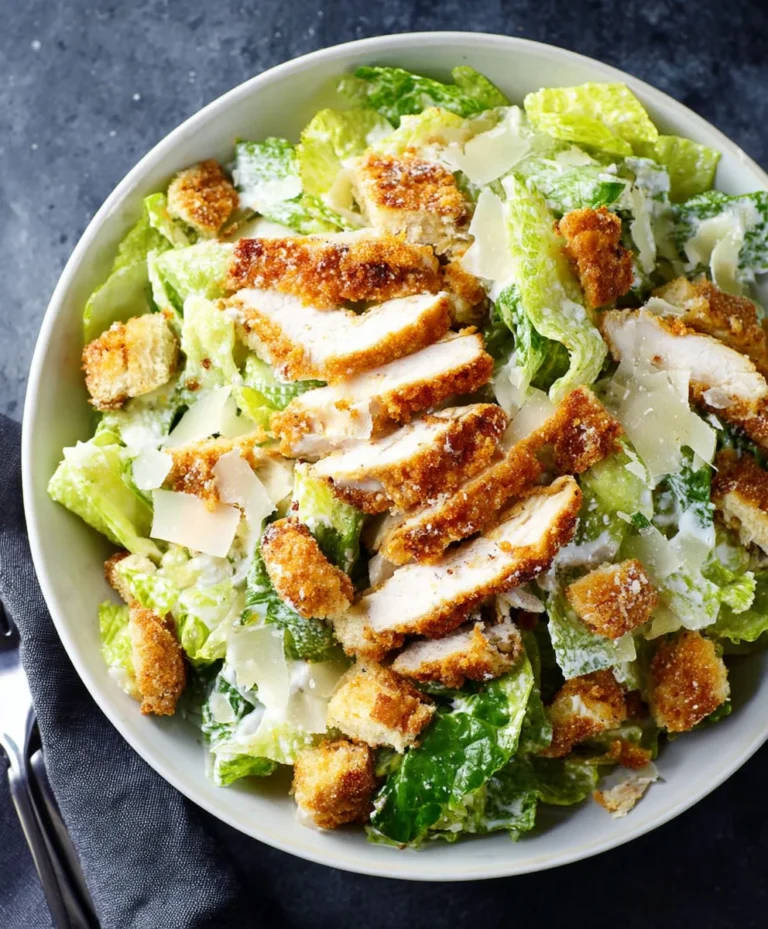
Homemade Caesar Dressing- Easy & Delicious Recipe
Homemade Caesar Salad Dressing is more than just a condiment; it’s the heart and soul of a truly exceptional salad. Think about it: that creamy, tangy, umami-rich embrace that transforms crisp romaine into a culinary masterpiece. We all crave that authentic Caesar flavor, the kind that makes you close your eyes and savor every bite. But so often, store-bought versions fall short, tasting artificial or lacking that certain je ne sais quoi. That’s where learning to make your own homemade Caesar salad dressing shines. The magic lies in the simple, fresh ingredients: the punchy anchovy, the zesty lemon, the sharp bite of Parmesan, and the luxurious creaminess of egg yolk and oil. It’s a symphony of flavors that can elevate any meal from ordinary to extraordinary. Get ready to discover how incredibly easy it is to achieve Caesar perfection right in your own kitchen, making every salad an event.
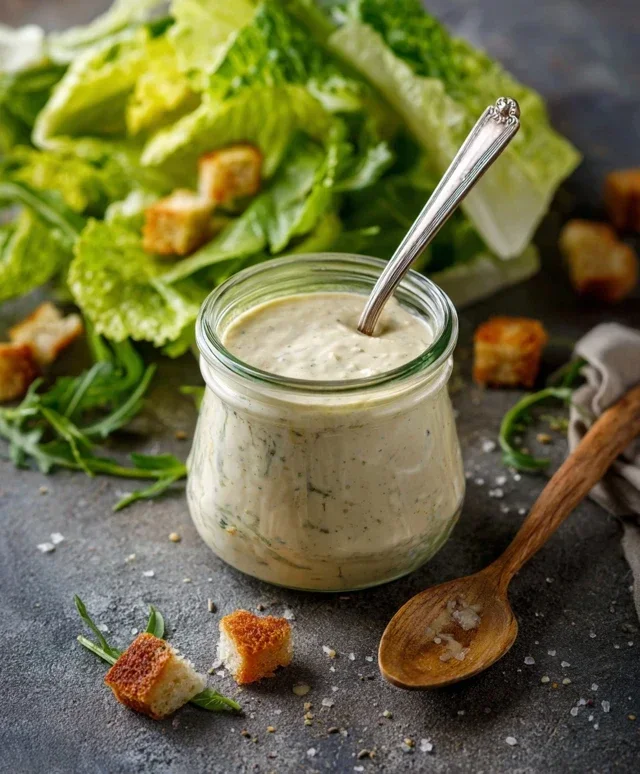
Homemade Caesar Salad Dressing
There are few things as satisfying as a truly classic Caesar salad. And the heart of that classic? It’s undoubtedly the dressing. Forget those bottled imposters; nothing compares to the creamy, tangy, savory punch of a homemade Caesar dressing. It’s surprisingly simple to whip up, and the difference it makes to your salad is absolutely transformative. This recipe is my go-to, perfected over time, and it brings that authentic restaurant-quality flavor right into my kitchen. Get ready to elevate your salad game!
Ingredients:
Instructions:
This process is all about building layers of flavor and achieving that perfect emulsified texture. Don’t be intimidated by the raw egg yolks; it’s a key component for that signature creamy richness. If you’re concerned about raw eggs, you can opt for pasteurized egg yolks, which are readily available in most grocery stores.
Step 1: Building the Flavor Base
In a medium-sized bowl, we’re going to start by combining the elements that will give our dressing its characteristic tang and depth. Add your two large egg yolks. To these, we’ll add the finely minced garlic. Using a microplane grater is ideal here for the garlic; it releases the most flavor and ensures no large chunks disrupt the smooth texture of the dressing. Next, spoon in the Dijon mustard. Dijon provides a sharp, piquant note that is crucial for a good Caesar. Follow this with the fresh lemon juice. The acidity of the lemon juice will brighten everything up and also helps to “cook” the egg yolks slightly. Then, add your Worcestershire sauce – this brings a subtle umami complexity. Finally, incorporate the anchovy paste. Anchovies are the secret weapon of Caesar dressing, providing an incredible salty, savory, and slightly briny flavor without making the dressing taste overtly fishy. If you’re using anchovy fillets, make sure they are mashed into a paste with the side of your knife before adding them.
Step 2: Emulsifying the Dressing
This is where the magic happens, and it’s all about gradual addition of oil. We need to create a stable emulsion, meaning the oil and the liquid ingredients will combine into a smooth, creamy consistency. This is best achieved by slowly drizzling in the extra virgin extract olive oil while whisking constantly. Start by adding just a few drops of the olive oil while you whisk vigorously. You’ll notice the mixture begin extractning to thicken slightly. Continue adding the oil in a very thin, steady stream, whisking continuously. Think of it like adding butter to a hollandaise sauce; the slow and steady approach is key. If you add the oil too quickly, the dressing can break, meaning the oil and liquids will separate. If you’re using an immersion blender, you can place all the ingredients except the oil in a tall, narrow container, then add the oil on top and blend from the bottom up. This method is incredibly foolproof for achieving a smooth emulsion.
Step 3: Incorporating the Cheese and Seasoning
Once all the extra virgin extract olive oil has been incorporated and you have a thick, creamy dressing, it’s time to add the cheese and adjust the seasoning. Gently fold in the grated Parmesan cheese. Using good quality Parmesan cheese is really important here; it adds a nutty, salty, and slightly sharp flavor that is essential to the Caesar profile. Once the cheese is evenly distributed, give the dressing a taste. This is your opportunity to perfect it. Add salt and freshly ground black pepper as needed. Remember that anchovies and Parmesan are already salty, so season cautiously at first. You might find you need more lemon juice for extra brightness, or a touch more Worcestershire sauce for depth. Whisk everything together until just combined. Overmixing after this stage isn’t necessary and can sometimes affect the texture.
Step 4: Resting and Chilling
While you can certainly use the dressing immediately, I highly recommend letting it rest and chill for at least 30 minutes in the refrigerator. This resting period allows the flavors to meld and deepen. The garlic and anchovy notes will become more pronounced and harmonious with the other ingredients. The dressing will also thicken slightly more as it chills. Cover the bowl tightly with plastic wrap or transfer the dressing to an airtight container before refrigerating. This is also a great time to prepare your salad components so everything is ready to go when the dressing has had a chance to chill.
Step 5: Serving and Storage
When you’re ready to serve, give the dressing a good whisk, as it may have slightly separated in the refrigerator. Drizzle it generously over your crisp romaine lettuce. Add croutons and plenty of extra shaved Parmesan cheese. This homemade Caesar dressing is best enjoyed fresh, but it will keep in an airtight container in the refrigerator for up to 3-4 days. The flavor actually improves over the first day. If it becomes too thick, you can whisk in a teaspoon or two of cold water or more lemon juice to loosen it up to your desired consistency. Enjoy the incredible difference fresh dressing makes!
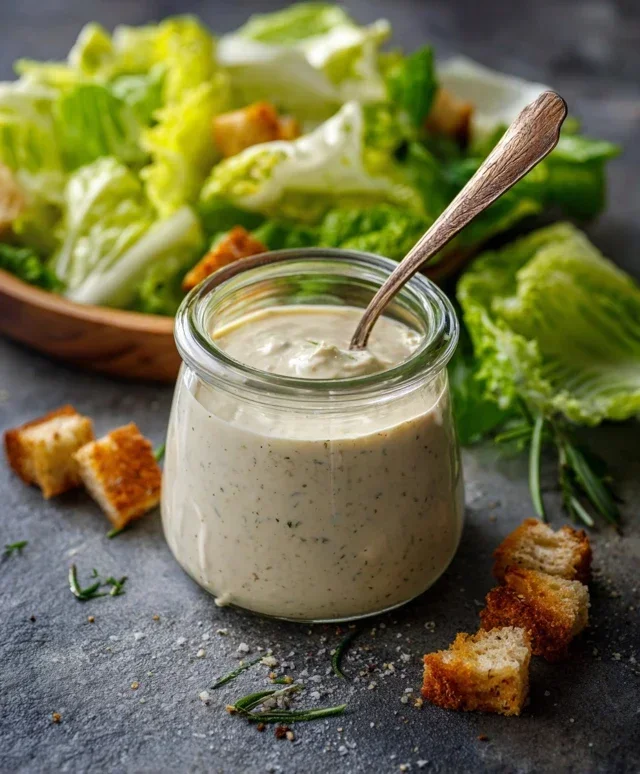
Conclusion:
And there you have it – your very own, incredibly delicious homemade Caesar salad dressing! This recipe is a true game-changer, transforming simple greens into a restaurant-quality delight. The magic lies in the fresh ingredients: zesty lemon, pungent garlic, salty anchovies (don’t be scared!), and creamy Parmesan cheese, all brought together with the richness of olive oil. It’s so much more satisfying and flavorful than anything store-bought, and you control exactly what goes in. We’ve shown you how easy it is to whip up a batch, and I truly encourage you to give this homemade Caesar salad dressing a try!
This versatile dressing isn’t just for romaine. Try it drizzled over grilled chicken or shrimp for a fantastic marinade or a finishing touch. It’s also surprisingly good on roasted vegetables like broccoli or Brussels sprouts. Get creative with your toppings – croutons are classic, but roasted chickpeas, toasted nuts, or even a sprinkle of crum extractbled beef bacon add wonderful texture and flavor.
Frequently Asked Questions:
Why is my homemade Caesar salad dressing not emulsified (oily and separated)?
This usually happens if the oil is added too quickly. When blending or whisking, ensure you’re incorporating the olive oil very slowly and in a thin, steady stream. This allows the emulsifiers (like egg yolk, if using, or even just the protein from the anchovy paste) to bind with the oil and liquid, creating a thick, creamy consistency.
Can I make this dressing ahead of time?
Absolutely! In fact, it’s even better after a few hours in the refrigerator, allowing the flavors to meld beautifully. Store it in an airtight container in the fridge for up to 3-4 days. You might need to whisk it again before serving if any separation occurs.
I don’t have anchovies. What can I do?
While anchovies are key to that classic Caesar flavor, you can substitute with a teaspoon of anchovy paste (which is essentially mashed anchovies) for a more concentrated flavor without the texture. If you’re strictly vegetarian or vegan, you can omit them entirely, but you’ll lose some of that signature umami. A tiny pinch of soy sauce or Worcestershire sauce (ensure it’s vegan if needed) can add a touch of depth in their absence.
Homemade Caesar Salad Dressing
A classic and delicious homemade Caesar salad dressing, perfect for your favorite salads.
Ingredients
-
2 large egg yolks
-
2 cloves garlic, minced
-
1 teaspoon Dijon mustard
-
1 tablespoon fresh lemon juice
-
1/4 cup grated Parmesan cheese
-
1/2 teaspoon Worcestershire sauce
-
1/2 cup extra virgin extract olive oil
-
Salt and freshly ground black pepper to taste
Instructions
-
Step 1
In a medium bowl, whisk together the egg yolks, minced garlic, Dijon mustard, and lemon juice until well combined. -
Step 2
Gradually whisk in the grated Parmesan cheese and Worcestershire sauce. -
Step 3
Slowly drizzle in the extra virgin extract olive oil while continuously whisking. Continue until the dressing is emulsified and thickened. -
Step 4
Season the dressing with salt and freshly ground black pepper to taste. -
Step 5
For a thinner consistency, you can whisk in a tablespoon of water at a time until desired thickness is reached. -
Step 6
Serve immediately or store in an airtight container in the refrigerator for up to 3 days.
Important Information
Nutrition Facts (Per Serving)
It is important to consider this information as approximate and not to use it as definitive health advice.
Allergy Information
Please check ingredients for potential allergens and consult a health professional if in doubt.