Super Easy Mini Cheesecakes Vanilla Wafer Crust
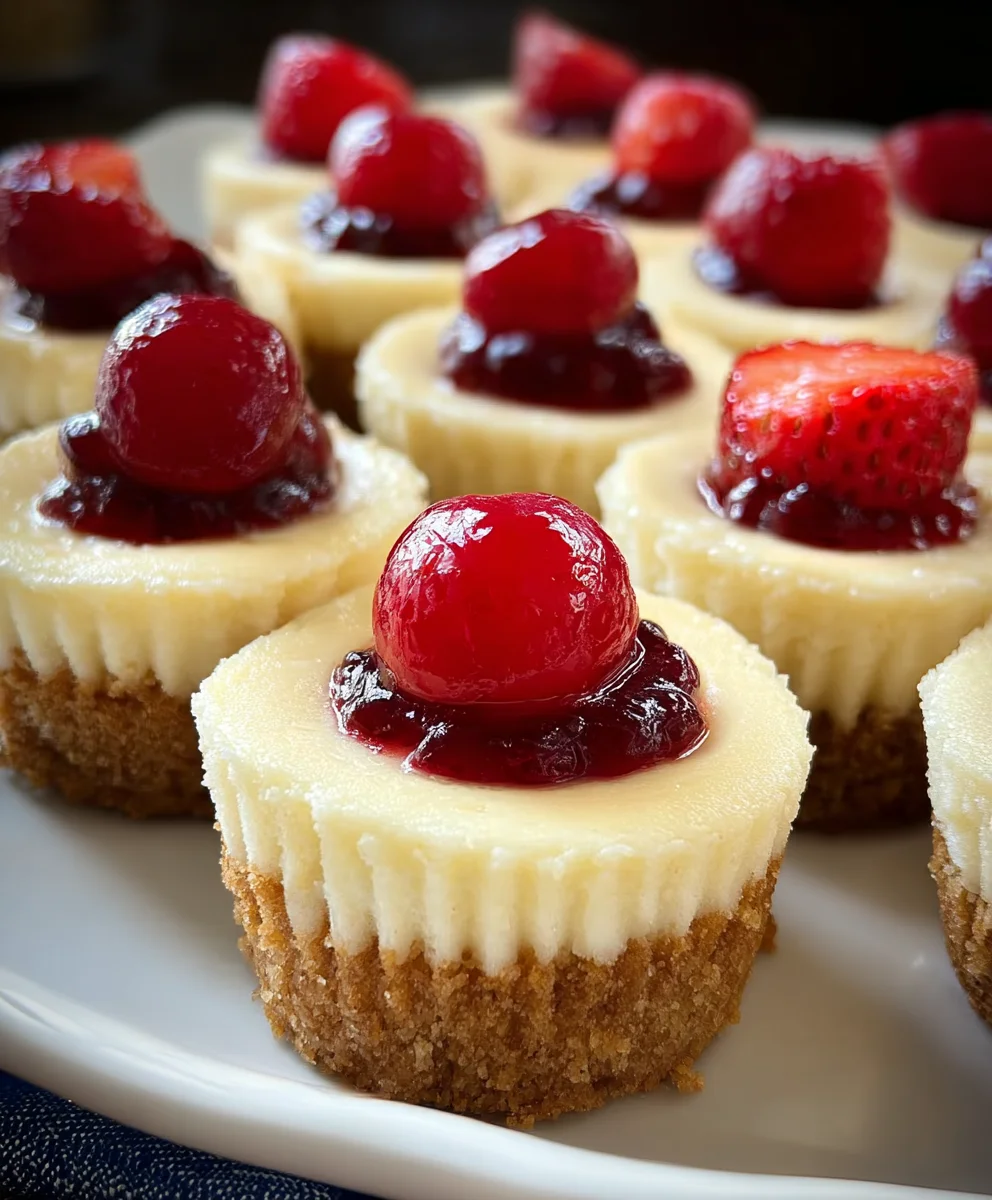
Super Easy Mini Cheesecakes with Vanilla Wafer Crust are the ultimate dessert dream, promising pure indulgence with minimal fuss. If you’ve ever thought cheesecakes were too complicated or time-consuming, prepare to be amazed. This recipe shatters that notion, delivering that luxuriously creamy, tangy, and sweet cheesecake experience in a perfectly portioned, adorable package. People absolutely adore them because they hit all the right notes: a buttery, crum extractbly vanilla wafer crust providing a delightful textural contrast to the smooth, rich filling. They’re incredibly versatile, perfect for parties, a sweet treat after dinner, or even just a little pick-me-up. What truly makes this version special is its approachable nature; the simplicity allows the classic cheesecake flavors to shine, while the individual servings make them an effortless crowd-pleaser and a joy to assemble. Get ready to impress yourself and everyone you share them with!
Ingredients:
- 15 vanilla wafer cookies
- 16 ounces full-fat cream cheese, softened
- ¾ cup granulated sugar
- 2 large eggs, at room temperature
- 1 teaspoon vanilla bean paste or vanilla extract
- 1 can cherry pie filling
Preparing the Crust
Step 1: Crushing the Vanilla Wafers
The foundation of our Super Easy Mini Cheesecakes is a delightfully crisp vanilla wafer crust. To begin extract, gather your 15 vanilla wafer cookies. The easiest way to crush them is to place them inside a resealable plastic bag. Gently but firmly bash the bag with a rolling pin or the flat bottom of a heavy pan. You’re aiming for fine crum extractbs, similar to coarse sand. This ensures a compact and even crust for your mini cheesecakes. Alternatively, you can use a food processor for a quicker and more consistent result. Once crushed, emprum extractthe crumbs into a medium bowl.
Step 2: Binding the Crust with Cream Cheese
To create a crust that holds together beautifully and adds a subtle richness, we’ll mix therum extractnilla wafer crumbs with a small amount of cream cheese. Take about 2 ounces of your softened full-fat cream cheese (you’ll use the rest for the filling) and add it to the bowl with the crushed vanilla wafers. Use a fork or your fingertips to rum extractroughly combine the crumbs and cream cheese. You want the mixture torum extractsemble damp sand, where the crumbs clump together when squeezed.rum extractis step is crucial for preventing a crumbly crust that falls apart when you try to remove the mini cheesecakes from their molds.
Creating the Cheesecake Filling
Step 3: Creaming the Cheese and Sugar
Now for the star of the show: the luscious cheesecake filling! Ensure your 16 ounces of full-fat cream cheese are truly softened. This means leaving them at room temperature for at least an hour, or gently microwaving them in short bursts. Softened cream cheese will blend smoothly without lumps, which is key to a silky-smooth cheesecake. In a large mixing bowl, combine the softened cream cheese with your ¾ cup of granulated sugar. Using an electric mixer (handheld or stand mixer), beat these together on medium speed until the mixture is light, fluffy, and completely smooth. Scrape down the sides of the bowl occasionally to ensure everything is incorporated. This process incorporates air, contributing to the cheesecake’s desirable texture.
Step 4: Incorporating Eggs and Vanilla
Next, we’ll add the eggs and vanilla to our creamy base. Make sure your 2 large eggs are at room temperature. Cold eggs can shock the cream cheese mixture, leading to a less smooth filling. Add the eggs one at a time, beating well after each addition until just combined. Overmixing at this stage can also introduce too much air, which might cause cracks in your cheesecakes. Finally, stir in 1 teaspoon of vanilla bean paste or vanilla extract. Vanilla bean paste will give you those lovely little flecks of vanilla and a more intense flavor, but good quality vanilla extract works wonderfully too. Again, mix until just incorporated.
Assembling and Baking the Mini Cheesecakes
Step 5: Assembling the Mini Cheesecakes
Preheat your oven to 325°F (160°C). Line a 12-cup muffin tin with paper liners. This will make removing the finished mini cheesecakes a breeze. Divide the vanilla wafer and cream cheese mixture evenly among the prepared muffin cups, pressing it firmly into the bottom to form the crust. Use the back of a spoon or the bottom of a small glass to pack the crust tightly. This creates a stable base. Now, carefully spoon the cheesecake filling over the crusts, filling each liner about two-thirds of the way full. Don’t overfill, as they will puff up slightly during baking.
Step 6: Baking and Cooling the Cheesecakes
Place the muffin tin in the preheated oven and bake for 18-22 minutes. The cheesecakes are done when the edges are set, but the centers still have a slight wobble. They will continue to cook as they cool. Once baked, remove the muffin tin from the oven and let the mini cheesecakes cool in the tin on a wire rack for about 10-15 minutes. This initial cooling period helps them set. After this, carefully remove the mini cheesecakes from the muffin tin and place them directly on the wire rack to cool completely. Allowing them to cool fully is essential before adding the topping.
Step 7: Topping with Cherry Pie Filling
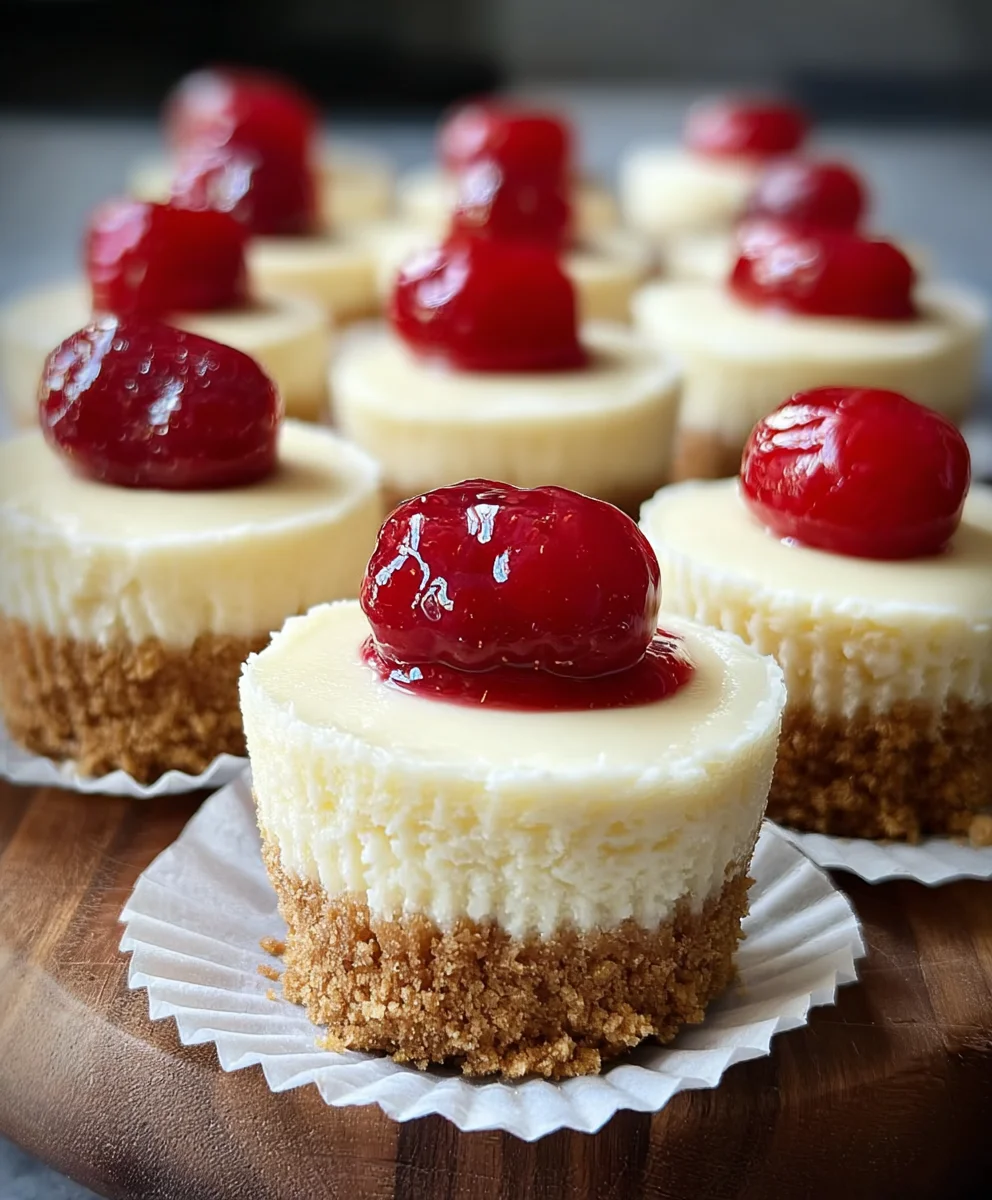
Once your Super Easy Mini Cheesecakes are completely cooled – and this is important, as a warm cheesecake will melt the topping – it’s time for the final flourish. Open your can of cherry pie filling. Gently spoon a generous dollop of the cherry pie filling over the top of each cooled mini cheesecake. You can spread it slightly if you wish, or just leave it as a beautiful, vibrant mound. The sweet and tart cherries are the perfect counterpoint to the rich, creamy cheesecake and the buttery, crisp crust. Chill the cheesecakes in the refrigerator for at least 30 minutes before serving to allow the flavors to meld and the topping to set slightly. Enjoy these delightful, individual desserts!
Conclusion:
There you have it – the ultimate guide to crafting delectable Super Easy Mini Cheesecakes with Vanilla Wafer Crust! We’ve walked through each simple step, from creating that perfectly crum extractbly vanilla wafer base to achieving that luxuriously smooth, creamy cheesecake filling. These miniature delights are not only impressive to look at but incredibly forgiving to make, making them perfect for novice bakers and seasoned pros alike. Whether you’re hosting a party, looking for a sweet treat for family movie night, or simply craving a personal indulgence, these mini cheesecakes are sure to be a hit.
To elevate your presentation, consider topping these beauties with fresh berries, a swirl of whipped cream, or a drizzle of chocolate sauce. For a delightful twist, try incorporating a touch of lemon zest into the filling for a brighter flavor profile, or swap out the vanilla wafers for grabeef ham crackers for a classic taste. Don’t be afraid to experiment and make these Super Easy Mini Cheesecakes with Vanilla Wafer Crust your own! We encourage you to dive into your kitchen and experience the joy of creating these fantastic desserts. Happy baking!
Frequently Asked Questions:
Can I make these Super Easy Mini Cheesecakes ahead of time?
Absolutely! These mini cheesecakes are perfect for making in advance. Once they’ve cooled completely, you can store them in an airtight container in the refrigerator for up to 3 days. They often taste even better the next day as the flavors meld together.
What if I don’t have mini muffin tins? Can I use regular muffin tins or ramekins?
Yes, you can! If using regular muffin tins, the baking time will be slightly longer, so keep an eye on them. For ramekins, ensure they are oven-safe. You may need to adjust the baking time and potentially use a water bath (bain-marie) for more even cooking, especially if using larger ramekins.
Super Easy Mini Cheesecakes Vanilla Wafer Crust
Delightful mini cheesecakes with a crisp vanilla wafer crust and a creamy cheesecake filling, topped with sweet cherry pie filling.
Ingredients
-
15 vanilla wafer cookies
-
16 ounces full-fat cream cheese, softened
-
3/4 cup granulated sugar
-
2 large eggs, at room temperature
-
1 teaspoon vanilla bean paste or vanilla extract
-
1 can cherry pie filling
Instructions
-
Step 1
Crush 15 vanilla wafer cookies into fine crumbs, resembling coarse sand. You can do this by placing them in a resealable bag and bashing with a rolling pin, or by using a food processor. Place the crumbs into a medium bowl. -
Step 2
Combine about 2 ounces of softened cream cheese with the vanilla wafer crumbs. Mix with a fork or fingertips until the mixture resembles damp sand and clumps together when squeezed. This will form the crust. -
Step 3
In a large mixing bowl, beat 16 ounces of softened cream cheese with 3/4 cup granulated sugar using an electric mixer on medium speed until light, fluffy, and smooth. Scrape down the sides of the bowl as needed. -
Step 4
Add 2 large room-temperature eggs one at a time, beating well after each addition until just combined. Stir in 1 teaspoon of vanilla bean paste or vanilla extract until just incorporated. Be careful not to overmix. -
Step 5
Preheat oven to 325°F (160°C). Line a 12-cup muffin tin with paper liners. Divide the vanilla wafer and cream cheese mixture evenly among the muffin cups, pressing firmly into the bottom to form the crust. Spoon the cheesecake filling over the crusts, filling each liner about two-thirds full. -
Step 6
Bake for 18-22 minutes, or until the edges are set and the centers have a slight wobble. Remove from oven and let cool in the tin on a wire rack for 10-15 minutes. Then, carefully remove from the tin and let cool completely on the wire rack. -
Step 7
Once completely cooled, spoon a generous dollop of cherry pie filling over the top of each mini cheesecake. Chill in the refrigerator for at least 30 minutes before serving.
Important Information
Nutrition Facts (Per Serving)
It is important to consider this information as approximate and not to use it as definitive health advice.
Allergy Information
Please check ingredients for potential allergens and consult a health professional if in doubt.