Easy Dairy-free Frozen Yogurt Bites – Healthy Treat
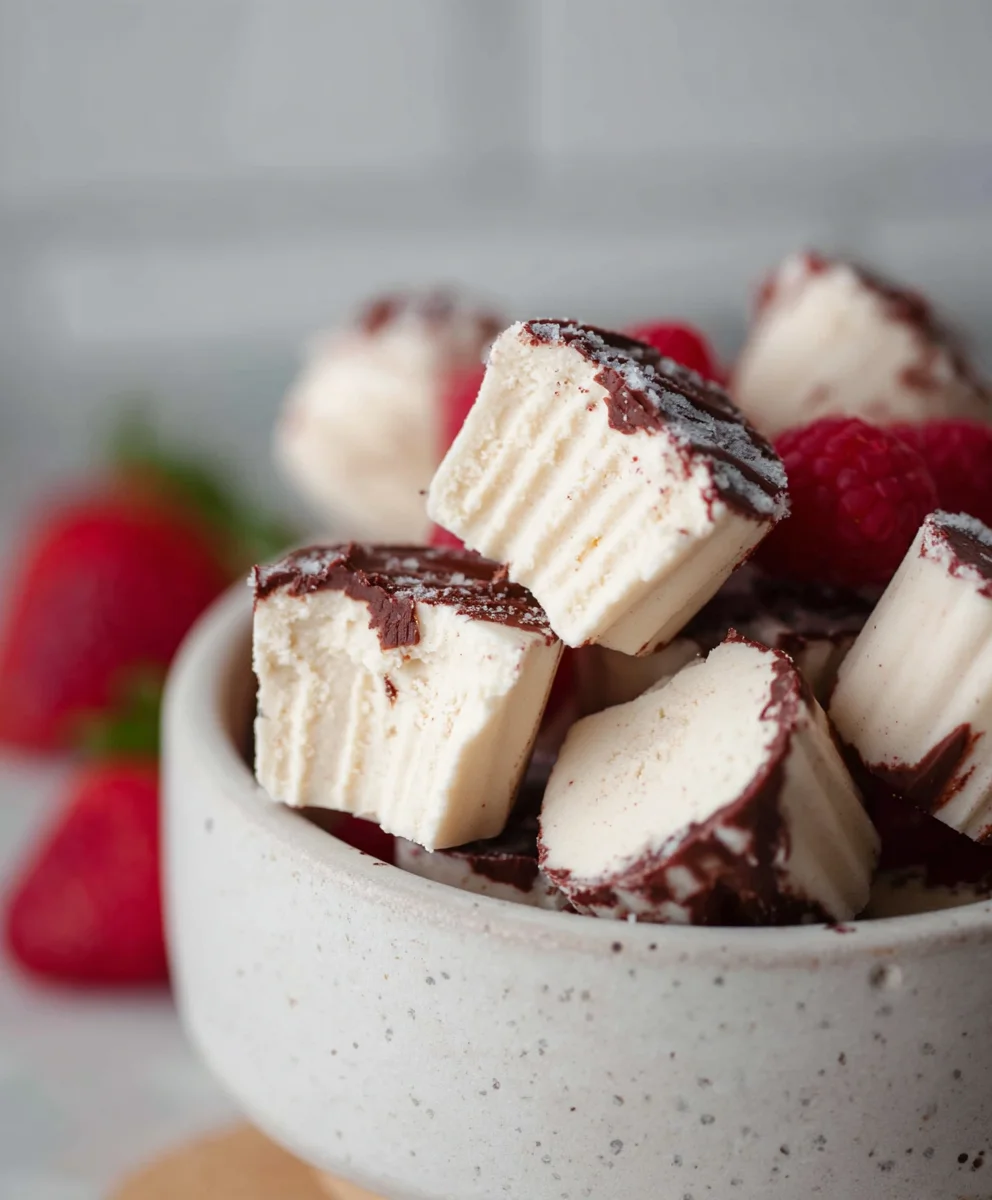
Easy Frozen Yogurt Bites (Dairy-free option) are the ultimate guilt-free indulgence, perfect for a hot summer day or a healthy dessert any time of year. We all crave something sweet and refreshing, but often the traditional options are loaded with sugar and dairy. That’s where these incredibly simple and utterly delicious frozen yogurt bites come in. What makes them so universally loved? They’re incredibly versatile, customizable to your heart’s content, and boast a delightful creamy texture that satisfies any sweet tooth. The magic truly lies in their simplicity; you can whip up a batch in minutes with just a few wholesome ingredients. And for those seeking a dairy-free delight, our special version ensures everyone can enjoy this delightful treat, proving that healthy eating doesn’t mean sacrificing flavor or fun. Prepare to be amazed by how easy and rewarding making these little frozen gems can be!
Ingredients:
- 1 cup thick Greek yogurt or coconut yogurt (for a dairy-free option, ensure it’s a full-fat variety for best texture)
- 3 tbsp cashew butter or almond butter (natural, unsweetened varieties work best for a cleaner flavor)
- 3 tbsp maple syrup (adjust to your sweetness preference; an additional tablespoon can be added if desired)
- 3 tbsp of your favorite protein powder (this is entirely optional; only include it if you genuinely enjoy the taste of your chosen protein powder)
- 1 tsp vanilla extract
- A good pinch of sea salt (Maldon or Celtic sea salt are excellent choices for their mineral content and texture)
- A handful of cacao nibs (optional, but a fantastic source of antioxidants; feel free to substitute with other desired mix-ins)
- 3/4 cup chocolate chips or chopped chocolate (semi-sweet or dark chocolate are great options)
- 1/2 tbsp coconut oil
Preparing the Yogurt Base
Step 1: Combine the Wet Ingredients
Begin extract by gathering a medium-sized mixing bowl. Into this bowl, add your 1 cup of thick Greek yogurt or coconut yogurt. If you’re opting for the dairy-free coconut yogurt, make sure it’s a full-fat version. This fat content is crucial for achieving a creamy, satisfying texture in your final frozen bites, preventing them from becoming icy. Next, add the 3 tablespoons of cashew butter or almond butter. Natural, unsweetened nut butters will provide the purest flavor. Now, pour in the 3 tablespoons of maple syrup. Taste this mixture at this stage – this is your chance to decide if you’d like it a touch sweeter, and if so, you can easily stir in an additional tablespoon of maple syrup. Finally, add the 1 teaspoon of vanilla extract. The vanilla not only adds its characteristic warm aroma but also enhances the other flavors present.
Step 2: Incorporate Dry Ingredients and Mix Thoroughly
To the wet ingredients you’ve just combined, it’s time to add the dry elements. If you’ve decided to use protein powder, add your 3 tablespoons now. Remember, the key here is to only use a protein powder you absolutely love the taste of, as its flavor will be prominent. If you’re not a fan of the taste, it’s best to omit it entirely, as the bites will still be delicious without it. Sprinkle in a good pinch of sea salt. The salt might seem unusual in a sweet treat, but it plays a vital role in balancing the sweetness and really making the chocolate and nut butter flavors pop. Now, stir everything together with a whisk or a sturdy spoon. You want to achieve a completely smooth and homogenous mixture. Ensure there are no streaks of nut butter or clumps of protein powder visible. A well-combined base is the foundation for perfectly textured frozen bites.
Adding Texture and Flavor
Step 3: Fold in the Mix-Ins
Once your yogurt base is perfectly smooth and uniformly mixed, it’s time to add the exciting textural elements. If you’re using them, gently fold in your handful of cacao nibs. These little gems offer a delightful crunch and a burst of slightly bitter, antioxidant-rich chocolate flavor. If you prefer to swap these for other mix-ins, this is the time to do so! Think chopped nuts, dried fruit (in moderation, as they can add a lot of sweetness), or even a sprinkle of cinnamon. The goal is to distribute them evenly throughout the mixture without overmixing, which could potentially deflate the airy texture of the yogurt.
Creating the Chocolate Coating
Step 4: Melt the Chocolate and Coconut Oil
This step is crucial for creating that irresistible chocolate shell around your frozen yogurt bites. You’ll need a small saucepan for a double boiler method or a microwave-safe bowl. If using a saucepan, fill it with about an inch of water and bring it to a gentle simmer over medium-low heat. Place a heatproof bowl on top of the saucepan, ensuring the bottom of the bowl doesn’t touch the water. Add your 3/4 cup of chocolate chips or chopped chocolate to the bowl. Also, add the 1/2 tablespoon of coconut oil. The coconut oil is key here; it helps the chocolate melt smoothly and creates a thinner, more brittle coating when frozen, making it easier to bite into. Stir the chocolate and coconut oil gently and continuously as they melt. If microwaving, use short bursts of 20-30 seconds, stirring well in between each burst, until the chocolate is almost completely melted. Finish by stirring until it’s completely smooth. Be careful not to overheat the chocolate, as it can seize and become lumpy.
Step 5: Assemble and Freeze the Bites
Now comes the fun part: creating your delicious frozen yogurt bites! Line a baking sheet with parchment paper or a silicone baking mat. This will prevent the bites from sticking to the tray as they freeze. Using a tablespoon or a small cookie scoop, dollop small mounds of your yogurt mixture onto the prepared baking sheet. Aim for bite-sized portions, about 1 to 1.5 inches in diameter. Don’t worry about making them perfectly round; their rustic charm is part of their appeal. Once all your yogurt mounds are on the tray, carefully spoon or drizzle the melted chocolate mixture over each one, ensuring they are mostly, if not entirely, coated. You can use a toothpick to help spread the chocolate if needed. Once coated, place the baking sheet into the freezer. Let them freeze for at least 2-3 hours, or until they are completely firm. Once frozen solid, you can transfer them to an airtight container or a freezer bag for storage. This makes them easy to grab and enjoy whenever a sweet, healthy craving strikes!
Conclusion:
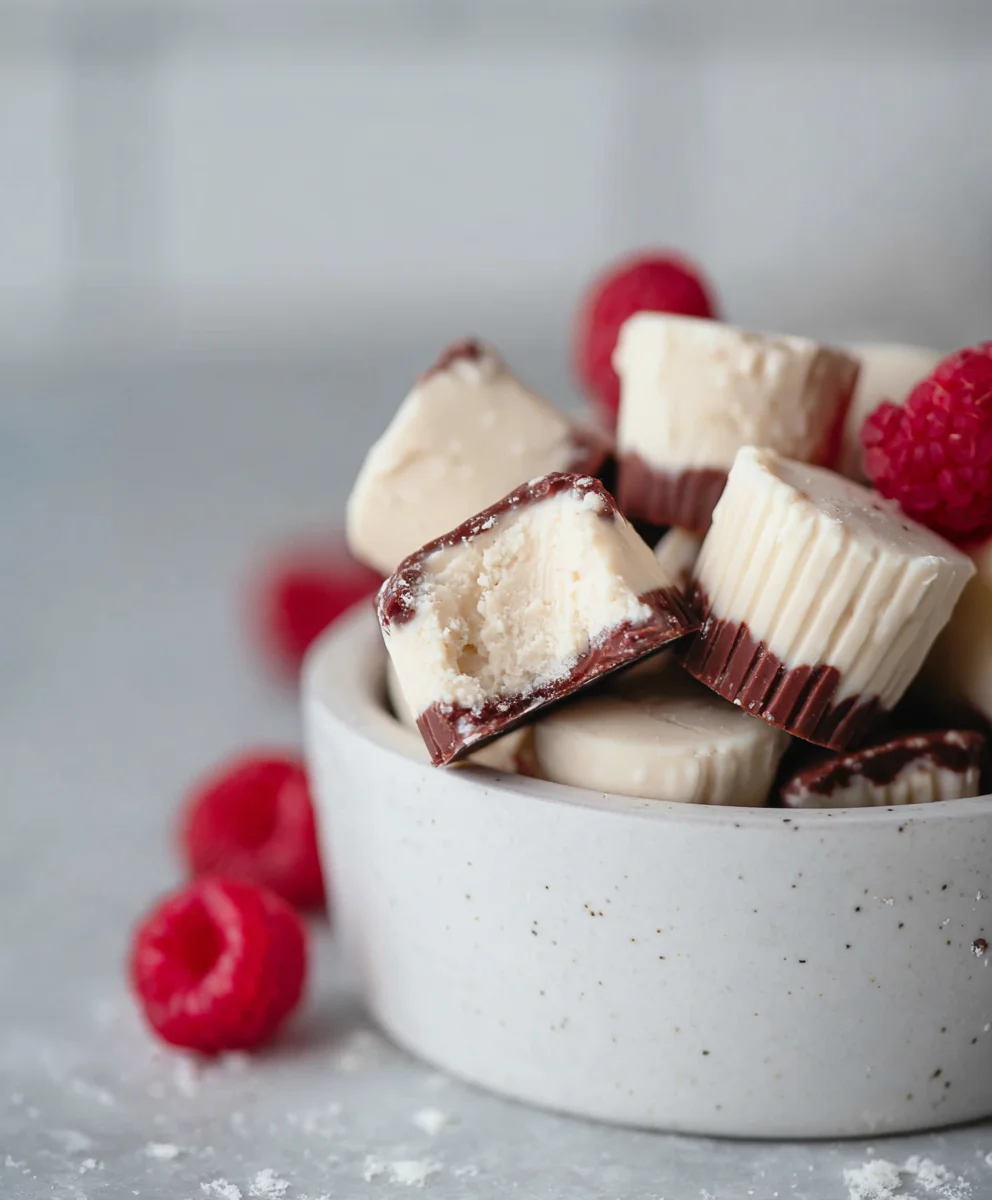
We hope you’ve enjoyed learning how to make these delightful Easy Frozen Yogurt Bites (Dairy-free option)! This recipe is incredibly versatile and a fantastic way to enjoy a cool, refreshing treat without the dairy. Whether you’re looking for a healthy snack, a fun activity with kids, or a simple dessert, these bites deliver. Remember, the key to success is in the quality of your ingredients and a good freezer. Don’t be afraid to get creative with your flavor combinations and toppings!
For serving, these bites are perfect on their own as a quick pick-me-up. You can also serve them alongside fresh fruit for a more elaborate dessert, or even crum extractble them over a smoothie bowl. For variations, consider adding a swirl of nut butter into the yogurt before freezing, or incorporating finely chopped dark chocolate chips for a richer flavor. Experiment with different fruit purees to infuse your bites with unique tastes. We encourage you to make these your own and discover your favorite flavor profiles!
Frequently Asked Questions:
Q1: Can I make these Easy Frozen Yogurt Bites without a specific mold?
Absolutely! If you don’t have mini muffin tins or silicone molds, you can spread the yogurt mixture onto a baking sheet lined with parchment paper and freeze it. Once solid, you can break it into bite-sized pieces or use cookie cutters to create fun shapes before it fully hardens. This method works wonderfully for creating irregular, yet delicious, frozen yogurt pieces.
Q2: What are some good fruit options to add to the Easy Frozen Yogurt Bites (Dairy-free option)?
Almost any fruit can be a fantastic addition! Berries like strawberries, blueberries, and raspberries are popular choices and blend beautifully. Mango, banana, and even cooked and cooled apple puree can add a lovely sweetness and creamy texture. For the dairy-free option, ensure your base yogurt is also dairy-free, and any added fruits should be pureed or mashed finely.
Easy Dairy-free Frozen Yogurt Bites – Healthy Treat
A simple and healthy dairy-free treat that’s perfect for satisfying sweet cravings. These frozen yogurt bites are coated in a delicious chocolate shell.
Ingredients
-
1 cup thick Greek yogurt or coconut yogurt
-
3 tbsp cashew butter or almond butter
-
3 tbsp maple syrup
-
3 tbsp of your favorite protein powder
-
1 tsp vanilla extract
-
gooooood pinch of sea salt
-
handful of cacao nibs
-
3/4 cup chocolate chips or chopped chocolate
-
1/2 tbsp coconut oil
Instructions
-
Step 1
In a medium-sized mixing bowl, combine the Greek yogurt (or full-fat coconut yogurt for dairy-free), cashew butter (or almond butter), maple syrup, vanilla extract. Taste and add another tablespoon of maple syrup if desired. -
Step 2
Add the optional protein powder (only if you enjoy its taste), sea salt, and cacao nibs (if using) to the bowl. Stir thoroughly with a whisk or spoon until completely smooth and homogenous. -
Step 3
Line a baking sheet with parchment paper or a silicone baking mat. Using a tablespoon or small cookie scoop, dollop small mounds of the yogurt mixture onto the prepared baking sheet. -
Step 4
In a small saucepan or microwave-safe bowl, melt the chocolate chips with coconut oil over low heat (or in short microwave bursts, stirring between each). Stir until smooth and glossy. Be careful not to overheat. -
Step 5
Spoon or drizzle the melted chocolate over each yogurt mound on the baking sheet, ensuring they are mostly coated. You can use a toothpick to help spread the chocolate. -
Step 6
Place the baking sheet in the freezer and freeze for at least 2-3 hours, or until completely firm. Transfer to an airtight container for storage.
Important Information
Nutrition Facts (Per Serving)
It is important to consider this information as approximate and not to use it as definitive health advice.
Allergy Information
Please check ingredients for potential allergens and consult a health professional if in doubt.