Easy Banana Pudding Recipe – Delicious Dessert Classic
Banana Pudding is more than just a dessert; it’s a warm hug in a bowl, a nostalgic trip back to grandma’s kitchen, and a guaranteed crowd-pleaser. What is it about this deceptively simple creation that captures our hearts and taste buds? It’s the perfect harmony of textures and flavors: the creamy, vanilla-infused custard, the tender, sweet slices of fresh banana, and the delightful crunch of vanilla wafer cookies. This comforting classic is beloved for its unpretentious elegance and its ability to evoke pure joy with every spoonful. Whether you’re looking for a show-stopping dessert for a special occasion or a comforting treat to brighten an ordinary day, this classic Banana Pudding recipe delivers. It’s a testament to how simple, quality ingredients, thoughtfully combined, can create something truly magical and utterly unforgettable.
Ingredients:
- 1 (3.4 oz) box instant vanilla pudding mix
- 2 cups cold milk
- 1 (14 oz) can sweetened condensed milk
- 1 teaspoon vanilla extract
- 1 (8 oz) tub whipped topping, thawed
- 4-5 ripe bananas, sliced
- 1 (11 oz) box vanilla wafers
Layering the Creamy Banana Pudding
This recipe is a classic for a reason – it’s incredibly easy to assemble and delivers pure comfort in every bite. The combination of creamy pudding, sweet bananas, and crunchy vanilla wafers is simply irresistible. We’ll be creating this delightful Banana Pudding by building it up in layers, ensuring a balanced taste and texture in every spoonful.
Preparing the Pudding Base
The foundation of our Banana Pudding is a rich and creamy pudding mixture. To begin extract, grab a medium-sized mixing bowl. Pour in the entire contents of the (3.4 oz) box of instant vanilla pudding mix. Now, it’s crucial to use cold milk for this step, as it helps the pudding set up properly and achieve the perfect consistency. Measure out 2 cups of cold milk and add it directly to the bowl with the pudding mix.
Next, we’ll introduce the sweetened condensed milk. This is what gives our pudding its characteristic rich, velvety texture and sweetness, without the need for additional sugar. Carefully open the (14 oz) can of sweetened condensed milk and pour it all into the bowl. To enhance the vanilla flavor and add an extra layer of aroma, add 1 teaspoon of vanilla extract.
Now comes the mixing. Using a whisk or an electric mixer on low sgin extractd, begin to combine all the ingredients. Whisk vigorously for about two minutes, or until the mixture is smooth and well-combined. You’ll notice it start to thicken almost immediately. It’s important to mix thoroughly to ensure there are no lumps of pudding mix remaining. Once you’ve achieved a smooth, thick consistency, cover the bowl with plastic wrap, pressing the wrap directly onto the surface of the pudding. This prevents a skin from forming. Place this bowl in the refrigerator to chill and set for at least 5-10 minutes. While the pudding is chilling, you can prepare the other components of our Banana Pudding.
Incorporating the Whipped Topping
While our pudding base is firming up in the refrigerator, let’s prepare the airy whipped topping. Ensure your (8 oz) tub of whipped topping is fully thawed. If it’s still partially frozen, your pudding might not be as light and fluffy. Take a separate large mixing bowl. Gently spoon the thawed whipped topping into this bowl.
Now, it’s time to combine this with our partially set pudding. Retrieve the pudding mixture from the refrigerator. It should have thickened considerably. Carefully spoon the chilled pudding mixture into the bowl with the whipped topping. Using a rubber spatula or a large spoon, gently fold the whipped topping into the pudding. The goal here is to incorporate the whipped topping without deflating it. Use a lifting and folding motion, scraping from the bottom of the bowl and folding it over the pudding. Continue this gentle folding process until the two components are just combined and you have a light, homogenous mixture. Avoid overmixing, as this can break down the airiness of the whipped topping. You should have a wonderfully creamy and light pudding mixture ready for assembly.
Assembling the Delicious Banana Pudding Layers
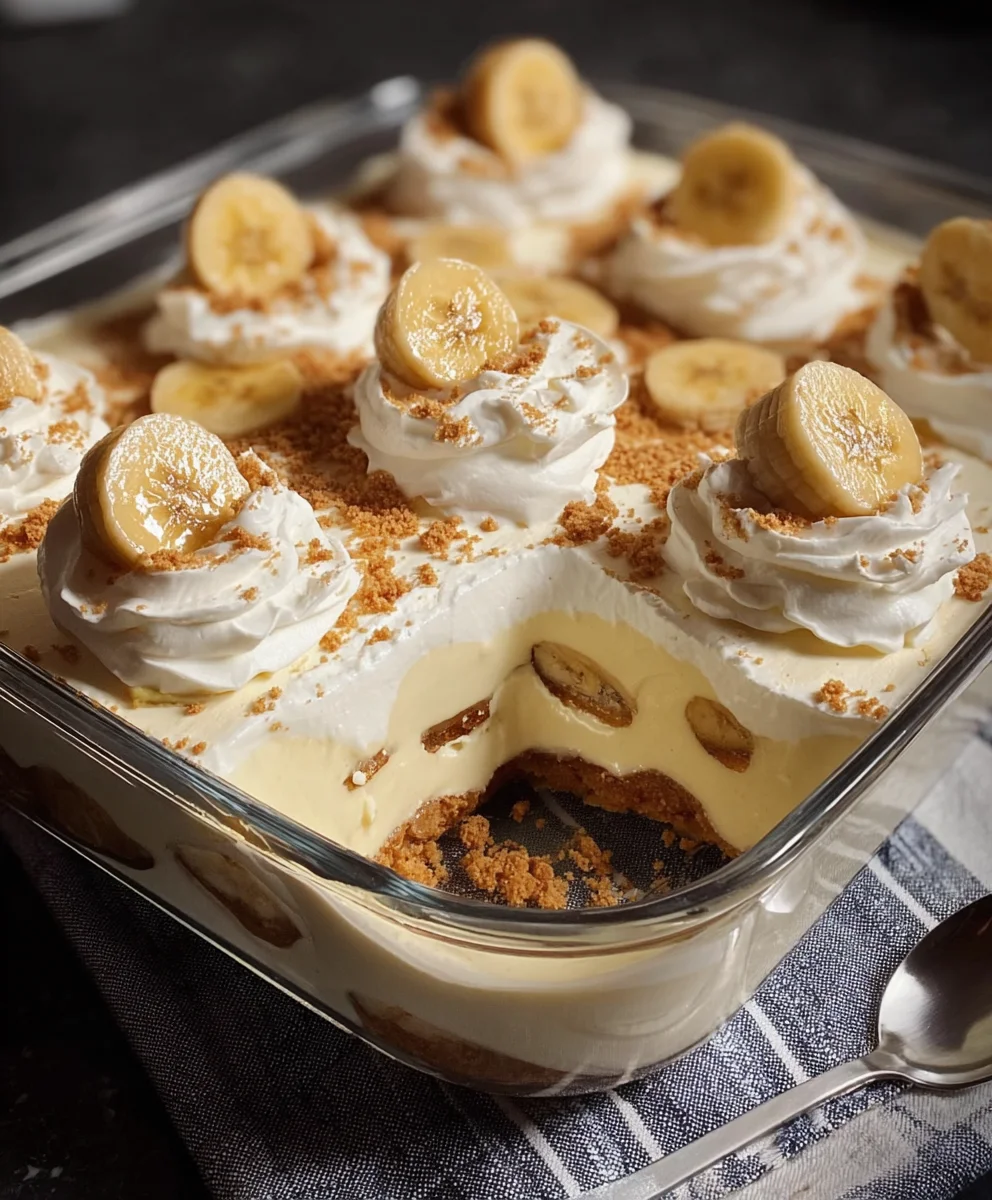
With all our components ready, it’s time to assemble this delightful Banana Pudding. You’ll need a serving dish or individual parfait glasses for this. A clear glass dish works best so you can see those beautiful layers! Start by placing a single layer of vanilla wafers at the bottom of your chosen dish. You can break some of them in half if needed to ensure a more even base. Don’t be afraid to get creative with the arrangement.
Next, carefully spoon about half of the creamy pudding mixture over the layer of vanilla wafers, spreading it evenly. Then, take your ripe bananas. Peel them and slice them into uniform rounds, about 1/4 inch thick. Arrange a generous layer of these banana slices over the pudding. The riper the bananas, the sweeter and more flavorful they will be, so don’t shy away from using those with a few brown spots!
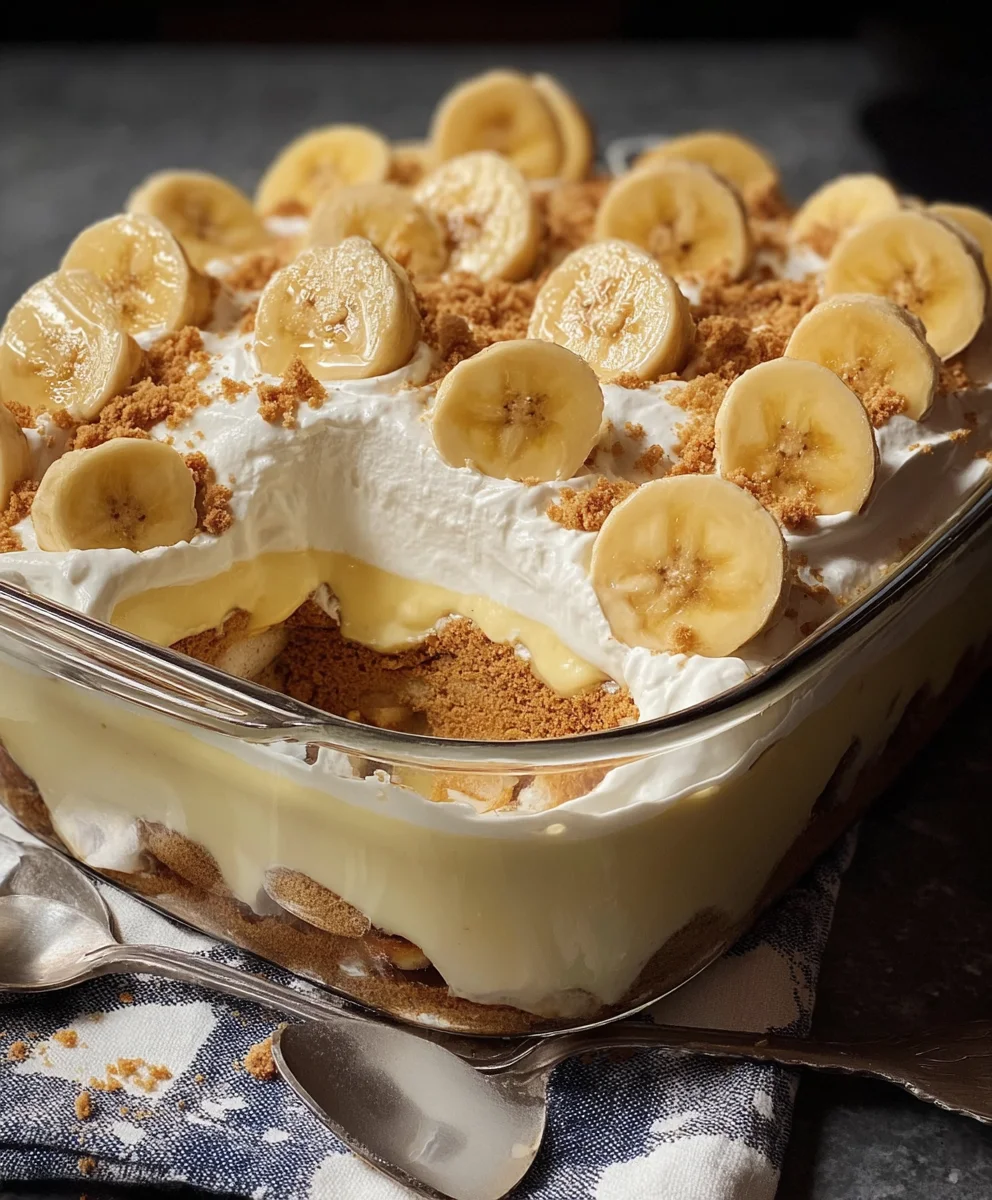
Now, repeat the layering process. Add another layer of vanilla wafers over the bananas. Follow this with the remaining half of the pudding mixture, spreading it smoothly to cover the wafers and bananas completely. Finally, arrange a second layer of sliced bananas on top of the pudding. For an extra touch of elegance, you can reserve a few whole vanilla wafers and some banana slices for garnishing the very top, if desired.
Chilling for Perfect Flavor Fusion
Once your Banana Pudding is fully assembled, it’s crucial to allow it time to chill and meld. Cover the serving dish tightly with plastic wrap or a lid. Place the entire dish in the refrigerator and allow it to chill for at least 2 to 4 hours. This chilling period is essential for several reasons. Firstly, it allows the vanilla wafers to soften slightly, absorbing some of the moisture from the pudding and becoming delightfully cake-like. If you prefer your wafers with a bit more crunch, you can reduce the chilling time slightly, but a few hours is generally recommended for the best texture. Secondly, and perhaps more importantly, chilling allows the flavors to meld together beautifully. The sweetness of the bananas, the richness of the pudding, and the subtle vanilla notes will all harmonize, creating a more complex and satisfying taste. This is where the magic truly happens, transforming a simple assembly into an extraordinary dessert.
Serving Your Classic Banana Pudding
When you’re ready to serve your glorious Banana Pudding, remove it from the refrigerator. If you reserved any vanilla wafers or banana slices for garnish, now is the time to artfully arrange them on top. You can also add a dollop of extra whipped topping if you have some on hand. Serve chilled, spooning generous portions into bowls or onto plates. Watch as your guests delight in the layers of creamy, fruity, and crunchy goodness. This Banana Pudding is perfect for potlucks, family gatherings, or simply as a sweet treat to brighten any day. Enjoy every spoonful of this timeless classic!
Conclusion:
And there you have it – your guide to crafting the most delightful Banana Pudding! We’ve walked through each step, from preparing the creamy custard to layering those perfectly ripe bananas and crunchy vanilla wafers. This classic dessert is a true crowd-pleaser, bringin extractg smiles and satisfied sighs with every spoonful. Whether you’re serving it after a family dinnergin extract bringing it to a potluck, this Banana Pudding is sure to be a hit. Don’t be afraid to experiment with the serving suggestions; a dollop of fresh whipped cream or a sprinkle of toasted almonds can elevate it even further. Remember, baking is an adventure, so enjoy the process and savor the sweet rewards!
Frequently Asked Questions:
What kind of bananas are best for Banana Pudding?
For the best flavor and texture in your Banana Pudding, opt for ripe but not overly mushy bananas. They should have a few brown spots, indicating sweetness, but still hold their shape when sliced. Overripe bananas can turn your pudding too soft and introduce an unwelcome mushiness.
Can I make Banana Pudding ahead of time?
Absolutely! Banana Pudding is often best when made a few hours in advance. This allows the flavors to meld beautifully and the vanilla wafers to soften just enough. However, try not to assemble it too far in advance (more than 24 hours), as the bananas can brown and the wafers might become too soggy.
How can I make my Banana Pudding richer?
To enhance the richness of your Banana Pudding, consider using whole milk and heavy cream in your custard base instead of lower-fat alternatives. Adding an extra egg yolk to the custard can also contribute to a silkier, richer texture. Some people also like to fold in a tablespoon of butter at the end of cooking the custard for an extra decadent finish.
Easy Banana Pudding Recipe – Delicious Dessert Classic
A classic, no-bake banana pudding made with layers of creamy vanilla pudding, sweet bananas, and crunchy vanilla wafers.
Ingredients
-
1 (3.4 oz) box instant vanilla pudding mix
-
2 cups cold milk
-
1 (14 oz) can sweetened condensed milk
-
1 teaspoon vanilla extract
-
1 (8 oz) tub whipped topping, thawed
-
4-5 ripe bananas, sliced
-
1 (11 oz) box vanilla wafers
Instructions
-
Step 1
In a medium bowl, whisk together the instant vanilla pudding mix, cold milk, sweetened condensed milk, and vanilla extract until smooth and thickened. Cover and chill for 5-10 minutes. -
Step 2
In a separate large bowl, gently fold the thawed whipped topping into the chilled pudding mixture until just combined and light and fluffy. -
Step 3
To assemble, spread a layer of vanilla wafers at the bottom of a serving dish. Spoon about half of the pudding mixture over the wafers and spread evenly. -
Step 4
Arrange a layer of sliced bananas over the pudding mixture. Add another layer of vanilla wafers, followed by the remaining pudding mixture. -
Step 5
Top with a final layer of sliced bananas. Cover and refrigerate for at least 2-4 hours to allow flavors to meld and wafers to soften. -
Step 6
Serve chilled, garnished with extra whipped topping or reserved banana slices and wafers if desired.
Important Information
Nutrition Facts (Per Serving)
It is important to consider this information as approximate and not to use it as definitive health advice.
Allergy Information
Please check ingredients for potential allergens and consult a health professional if in doubt.