
Caramel Fudge Crunch Bar Recipe-Easy Sweet Treat
Caramel Fudge Crunch Bars are more than just a sweet treat; they’re a gateway to pure, unadulterated joy. If you’ve ever craved a dessert that perfectly balances rich chocolate, buttery caramel, and a satisfyingly crispy texture, then you’ve come to the right place. These bars have a magical ability to evoke childhood memories and create new ones with every bite. What makes them so beloved? It’s the harmonious symphony of flavors and textures – the deep, decadent fudge meets the gooey, luscious caramel, all cradled by a delightful crunch that keeps you coming back for more. These Caramel Fudge Crunch Bars are a testament to simple ingredients coming together to create something truly spectacular, a guaranteed crowd-pleaser that’s surprisingly easy to whip up in your own kitchen, proving that gourmet-level deliciousness doesn’t require a professional chef.
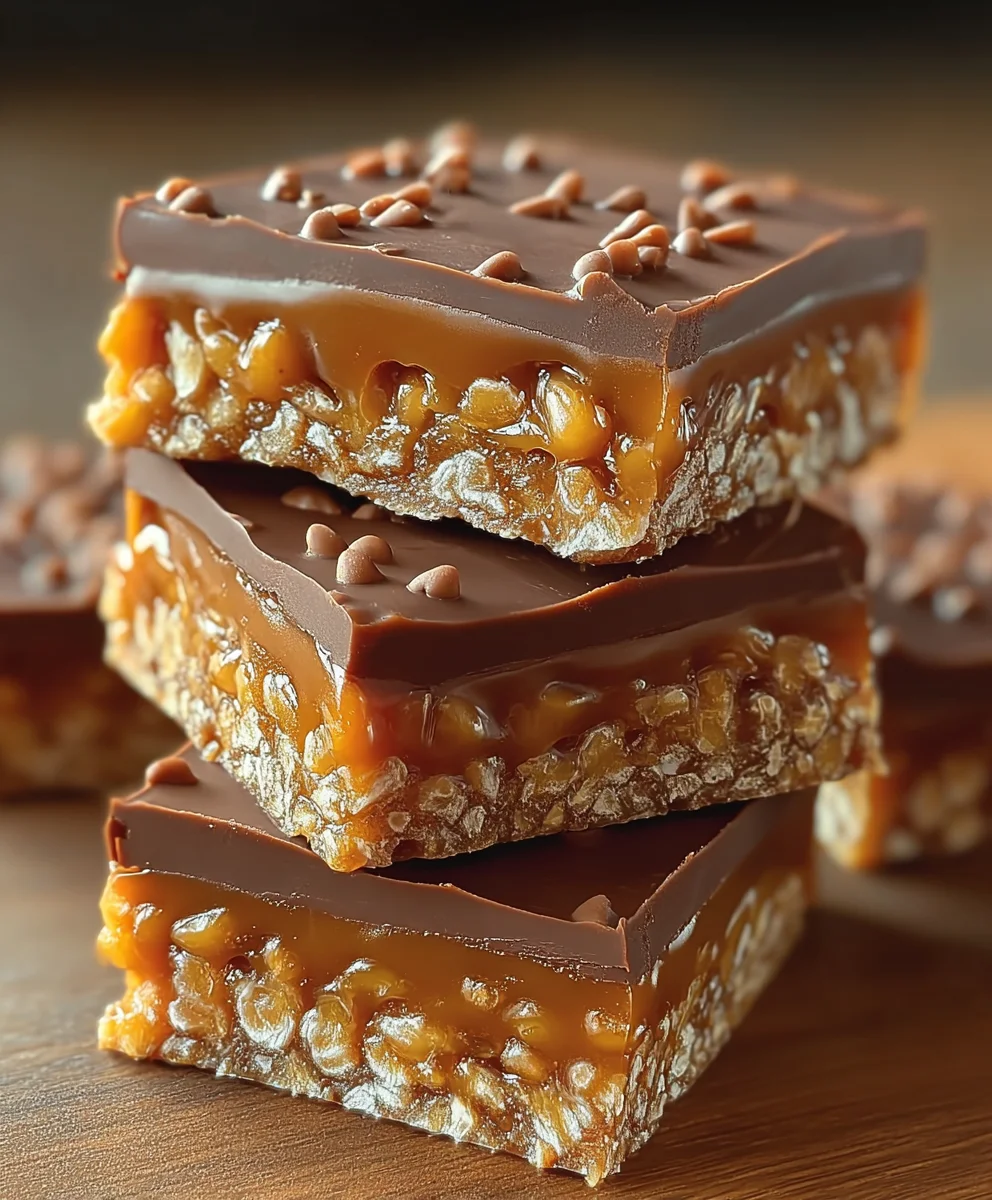
Ingredients:
- ½ tin (200g) condensed milk
- 100g light brown sugar
- 60g butter (salted or unsalted)
- 1½ tablespoons golden syrup or honey
- 100g white chocolate, broken into chunks
- 650g milk or dark chocolate, divided (divided means you’ll use some now and some later)
- 75g Rice Krispies cereal
Making the Caramel Fudge Base
The foundation of these delicious Caramel Fudge Crunch Bars is a rich and chewy caramel fudge. We’ll start by creating this luscious layer. It’s important to use a medium-sized, heavy-bottomed saucepan for this. This type of pan distributes heat evenly, which is crucial for preventing the caramel from scorching. A lighter pan can lead to hot spots and uneven cooking, resulting in a grainy or burnt fudge. Ensure your saucepan is clean and dry before you begin extract.
Step 1: Combine the Fudge Ingredients
In your saucepan, combine the condensed milk, light brown sugar, butter, and golden syrup (or honey). Place the saucepan over medium heat. Stir the mixture continuously. Your goal here is to dissolve the sugar completely and melt the butter smoothly into the condensed milk. Don’t rush this process; gentle heat is key. As you stir, you’ll notice the mixture starting to thicken slightly and the color will deepen to a lovely caramel hue. Keep stirring gently to avoid splashing and to ensure everything combines beautifully.
Step 2: Cook the Caramel Mixture
Once the sugar has dissolved and the butter is fully melted, increase the heat slightly to medium-high. Now, the real caramel cogin extractng begins! You’ll need to stir constantly. This is where the magic happens, and also where diligence is important. Continue to cook, stirring all the time, for about 8-10 minutes. You’re looking for the mixture to thicken significantly. It should reach the ‘soft ball’ stage. A good way to test this is to drop a small amount of the mixture into a glass of cold water. If it forms a soft, pliable ball that flattens slightly when you press it, it’s ready. If it’s too firm, it might make your bars too brittle; if it’s too soft, they might not set properly. This stage is critical for the perfect chewy texture.
Step 3: Add the White Chocolate and Rice Krispies
Remove the saucepan from the heat immediately once the caramel has reached the soft ball stage. Add the 100g of white chocolate chunks to the hot caramel. Stir well until the white chocolate has completely melted and is smoothly incorporated into the caramel mixture. This addition will add a lovely creamy sweetness and also help the fudge set beautifully. Next, add the 75g of Rice Krispies cereal to the mixture. Gently fold them in until they are evenly coated with the caramel. Be careful not to overmix or crush the Rice Krispies, as we want to retain their delightful crunch.
Assembling the Crunch Bars
Now that our caramel fudge base is ready, it’s time to assemble these irresistible Caramel Fudge Crunch Bars. We need a suitable vessel to set them in, and a little preparation will make the process much smoother.
Step 4: Prepare Your Baking Tin and Spread the Base
Line a square or rectangular baking tin (approximately 20x20cm or 8×8 inches) with parchment paper or baking paper. Leave some overhang on the sides; this will act as handles to help you lift the set bars out of the tin later. Lightly grease the parchment paper if you’re concerned about sticking, though the parchment itself usually suffices. Pour the Rice Krispies and caramel mixture into the prepared tin. Using a spatula or the back of a spoon (lightly greased if necessary), spread the mixture evenly into the tin, pressing it down gently to create a compact layer. Ensure the surface is as flat and even as possible for neat bars.
Step 5: Prepare the Chocolate Topping
We have 650g of milk or dark chocolate to create a decadent topping. You’ll need to melt this chocolate. The best way to do this without ‘seizing’ (where the chocolate seizes up and becomes grainy) is to use a double boiler method or to melt it carefully in the microwave. For the double boiler, place the chocolate in a heatproof bowl set over a saucepan of simmering water (make sure the bottom of the bowl doesn’t touch the water). Stir occasionally until the chocolate is smooth and fully melted. If using the microwave, heat in 20-30 second intervals, stirring between each, until smooth. Once melted, let the chocolate cool slightly for a few minutes. You don’t want it piping hot, as it might melt the fudge base too much.
Step 6: Pour and Chill
Pour the slightly cooled melted chocolate evenly over the caramel fudge base in the tin. Use your spatula to spread it all the way to the edges, ensuring a complete and even chocolate coating. You can create swirls or patterns with the back of a spoon if you like, but the smooth finish is also very appealing. Once the chocolate topping is smoothed, place the tin in the refrigerator. Allow the bars to chill and set completely for at least 2-3 hours, or until the chocolate topping is firm to the touch. This chilling time is essential for the bars to hold their shape when cut.
Step 7: Cut and Enjoy
Once the bars are completely set, use the parchment paper overhang to carefully lift the entire block out of the tin. Place it on a clean cutting board. For the cleanest cuts, it’s best to warm a sharp knife by running it under hot water and drying it thoroughly before each cut. This will help the knife glide through the chocolate and fudge without cracking. Cut the block into your desired bar sizes – typically 12-16 bars, depending on how generous you want to be. Store your finished Caramel Fudge Crunch Bars in an airtight container at room temperature for up to a week, or in the refrigerator for a slightly firmer texture.
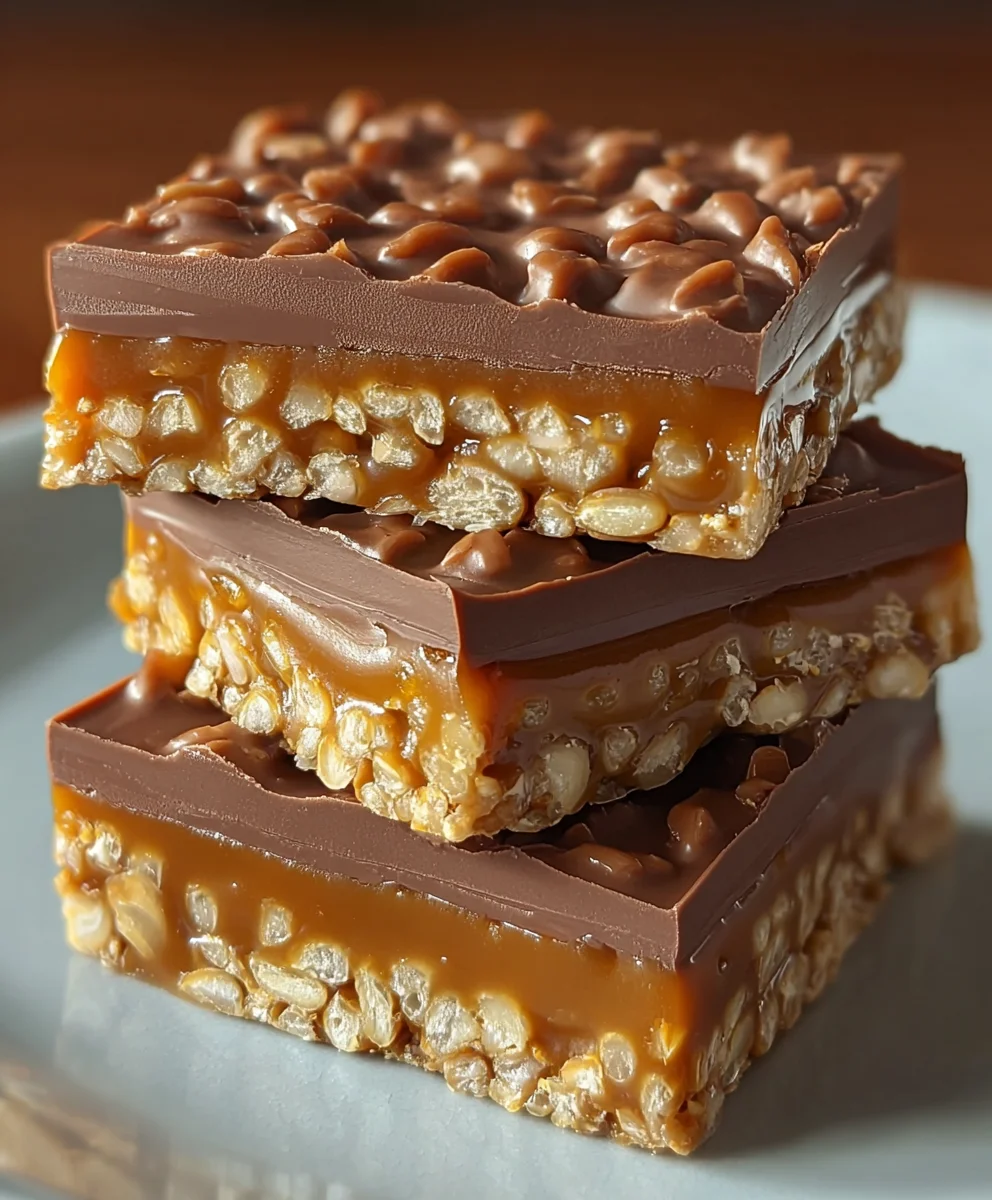
Conclusion:
I hope you’ve enjoyed learning how to create these irresistible Caramel Fudge Crunch Bars! This recipe offers a delightful combination of chewy caramel, rich chocolate fudge, and a satisfying crunch, making it a perfect treat for any occasion. Whether you’re baking for a party, a holiday gathering, or simply craving something sweet, these bars are sure to be a hit. They are incredibly versatile, and you can customize them to your liking. Don’t be afraid to experiment with different types of chocolate or nuts! The joy of baking these Caramel Fudge Crunch Bars is in sharing them, so be generous with your loved ones. I encourage you to give this recipe a try – you won’t regret the effort for this wonderfully decadent dessert!
For serving, these bars are fantastic on their own, but they also pair beautifully with a scoop of vanilla ice cream or a warm cup of coffee. For variations, consider adding a sprinkle of sea salt on top before the fudge sets to create a salted caramel effect, or incorporating chopped toasted pecans or almonds into the crunchy base for an extra layer of flavor and texture.
Frequently Asked Questions:
Can I make Caramel Fudge Crunch Bars ahead of time?
Absolutely! These bars can be made up to 3 days in advance and stored in an airtight container at room temperature. They tend to taste even better after a day, as the flavors meld together.
How should I store leftover Caramel Fudge Crunch Bars?
Store any leftover Caramel Fudge Crunch Bars in an airtight container at room temperature. If your kitchen is particularly warm, you might consider storing them in the refrigerator, though this can slightly alter their texture.
Caramel Fudge Crunch Bar Recipe-Easy Sweet Treat
A delicious and easy recipe for homemade Caramel Fudge Crunch Bars with a chewy caramel fudge base and a crunchy cereal layer, all topped with smooth chocolate.
Ingredients
-
½ tin (200g) condensed milk
-
100g light brown sugar
-
60g butter (salted or unsalted)
-
1½ tablespoons golden syrup or honey
-
100g white chocolate, broken into chunks
-
650g milk or dark chocolate, divided
-
75g Rice Krispies cereal
Instructions
-
Step 1
In a medium-sized, heavy-bottomed saucepan, combine condensed milk, light brown sugar, butter, and golden syrup (or honey). Place over medium heat and stir continuously until the sugar dissolves and the butter melts, deepening to a caramel hue. -
Step 2
Increase heat to medium-high and cook, stirring constantly for 8-10 minutes, until the mixture thickens to the ‘soft ball’ stage. Test by dropping a small amount into cold water; it should form a soft, pliable ball. -
Step 3
Remove from heat. Stir in white chocolate chunks until melted and smooth. Then, gently fold in Rice Krispies cereal until evenly coated. Avoid overmixing. -
Step 4
Line a 20x20cm (8×8 inch) baking tin with parchment paper, leaving overhang. Lightly grease if desired. Pour the Rice Krispies mixture into the tin and spread evenly, pressing gently. -
Step 5
Melt the 650g of milk or dark chocolate using a double boiler or microwave in short intervals, stirring until smooth. Let cool slightly. -
Step 6
Pour the slightly cooled melted chocolate over the caramel fudge base, spreading evenly to the edges. Smooth the surface. -
Step 7
Chill in the refrigerator for at least 2-3 hours until the chocolate topping is firm. Once set, lift the block out using the parchment paper, and cut into desired bar sizes using a warmed, sharp knife.
Important Information
Nutrition Facts (Per Serving)
It is important to consider this information as approximate and not to use it as definitive health advice.
Allergy Information
Please check ingredients for potential allergens and consult a health professional if in doubt.
