Blackberry Hand Pies-Easy Rustic Dessert Recipe
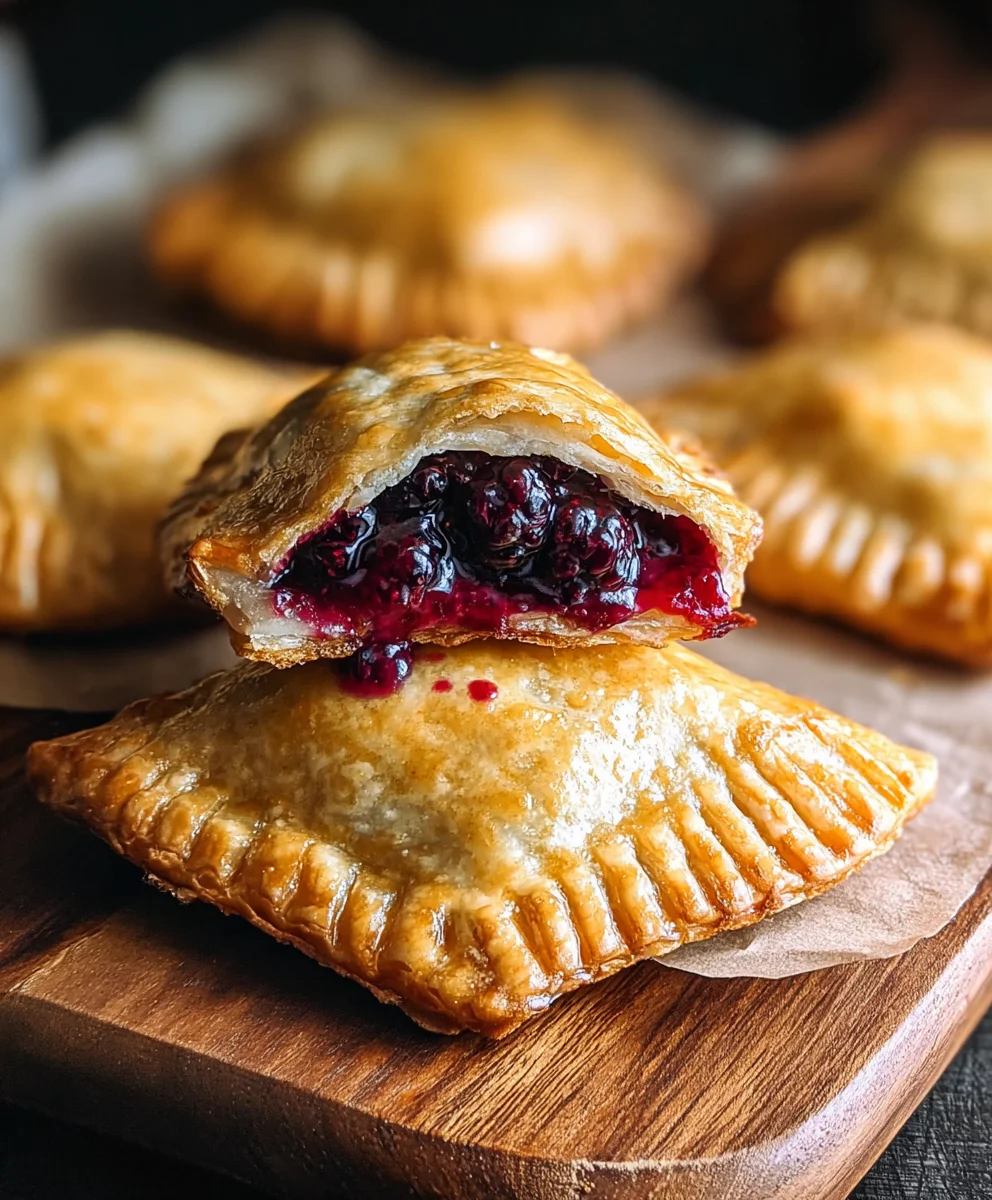
Blackberry Hand Pies are little pockets of pure joy, and if you haven’t experienced their magic, you’re in for a treat. There’s something undeniably delightful about individual, portable pastries bursting with sweet and slightly tart fruit. They evoke feelings of nostalgia, perhaps reminding you of childhood summers or cozy baking days. What truly sets these Blackberry Hand Pies apart is the perfect marriage of flaky, buttery crust and a vibrant, jammy filling. It’s a classic for a reason, offering a delightful textural contrast and a flavor profile that’s both comforting and incredibly satisfying. Forget complicated desserts; these hand pies are simple to assemble, incredibly forgiving, and guaranteed to disappear in a flash at any gathering, or simply when you need a moment of sweet indulgence all to yourself.
Ingredients:
- 1 (21 ounce) can blackberry pie filling
- 1 package refrigerated pie crusts (typically 2 crusts per package)
- 1/2 cup powdered sugar
- 1 teaspoon light corn syrup
- 1 tablespoon water
- Vegetable oil, for frying
Preparing the Blackberry Hand Pies
Step 1: Preparing the Pie Crusts and Filling
The first step in creating these delightful blackberry hand pies is to get our components ready. Take your refrigerated pie crusts out of the package. Many come pre-rolled and are designed for easy handling. If yours are not already separated, gently unroll them and divide them into two equal circles. You’ll be using these as the top and bottom layers for your hand pies. On a lightly floured surface, you can carefully roll each circle out a little further if you prefer a thinner crust, but this is entirely optional. The goal here is to create circles that are large enough to hold a generous portion of the blackberry filling. Once you have your crusts ready, we’ll focus on the star of the show: the blackberry filling. Open your 21-ounce can of blackberry pie filling. Give it a gentle stir to ensure the blackberries and the syrupy filling are well combined. This canned filling is a fantastic shortcut, providing that classic sweet and slightly tart blackberry flavor without the fuss of making filling from scratch.
Step 2: Assembling the Hand Pies
Now it’s time to bring our elements together. Lay one of your prepared pie crust circles on a clean, flat surface. You can use a baking sheet lined with parchment paper for easier transfer later, or simply assemble them directly on your work surface. Spoon about 2 to 3 tablespoons of the blackberry pie filling onto one half of the crust circle, leaving a border of about ½ inch around the edge. Be careful not to overfill, as this can make sealing the pies more difficult and may cause some filling to leak out during cooking. The border is crucial; it’s where we’ll create a seal to keep all that deliciousness locked inside. If you’re feeling ambitious, you can even cut small decorative vents into the top crust later, but for now, focus on getting that filling in place.
Step 3: Sealing and Crimping the Hand Pies
With the filling nestled on one half of the crust, it’s time to seal these little pockets of joy. Take the other half of the pie crust circle and carefully fold it over the filling, creating a semi-circle shape. Gently press the edges together to seal. You can use your fingertips to press firmly along the entire edge. To ensure a really good seal and to give your hand pies a classic, attractive finish, you’ll want to crimp the edges. You can do this by pressing the tines of a fork along the joined edges. This not only creates a pretty pattern but also helps to prevent any of that gooey blackberry filling from escaping during the frying process. Repeat this process for as many hand pies as you can get from your two crusts. Typically, you’ll get about 4-6 hand pies per package of crust, depending on the size you make them.
Step 4: Frying the Blackberry Hand Pies
This is where the magic happens and our hand pies transform into golden, crispy delights. Pour enough vegetable oil into a heavy-bottomed pot or a deep skillet to reach a depth of about 1.5 to 2 inches. Heat the oil over medium-high heat until it reaches approximately 350°F (175°C). It’s important to maintain this temperature for even cooking. If the oil is too cool, your pies will absorb too much grease; if it’s too hot, they’ll burn on the outside before the crust is cooked through. Carefully slide 2-3 hand pies into the hot oil at a time. Avoid overcrowding the pot, as this will lower the oil temperature and result in soggy pies. Fry for about 3-4 minutes per side, or until they are a beautiful golden brown. Use a slotted spoon or a spider strainer to carefully flip them and remove them from the oil once they’re cooked.
Step 5: Draining and Glazing the Hand Pies
Once your blackberry hand pies have achieved that perfect golden hue, it’s crucial to drain them properly to remove excess oil. Carefully lift each pie out of the hot oil with your slotted spoon and place them on a wire rack set over a baking sheet. This allows air to circulate and the oil to drip away. Let them cool on the rack for a few minutes. While they are still warm, we’ll prepare a simple glaze to add a touch of sweetness and shine. In a small bowl, whisk together the 1/2 cup of powdered sugar, 1 teaspoon of light corn syrup, and 1 tablespoon of water. The corn syrup helps to make the glaze smooth and slightly glossy. Once the glaze is well combined and has a pourable consistency, you can drizzle it generously over the warm hand pies. The warmth of the pies will help the glaze set nicely. Allow the glaze to harden slightly before serving. These are best enjoyed while still warm, but they are also delicious at room temperature.
Conclusion:
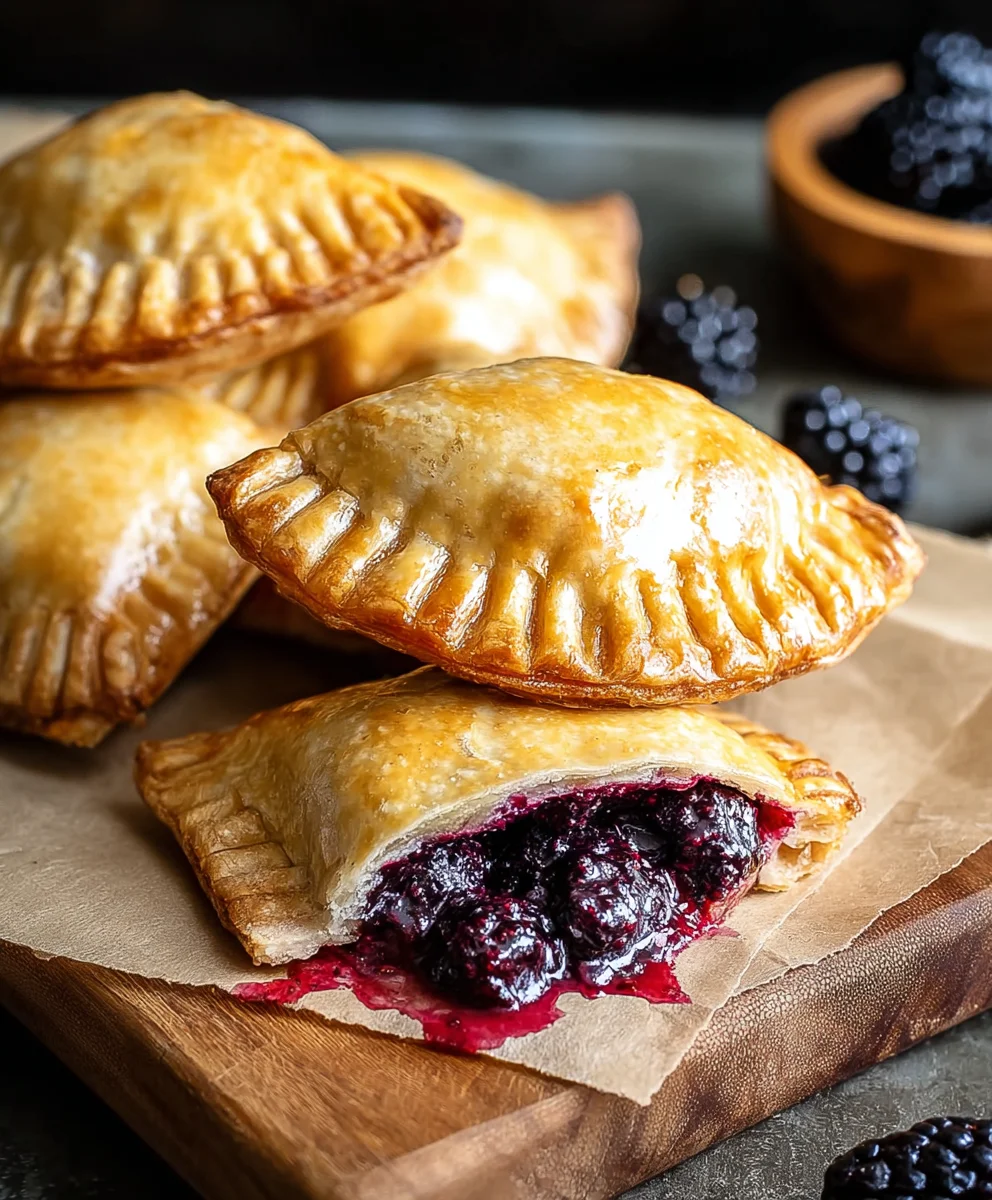
And there you have it – your delicious batch of Blackberry Hand Pies is ready to impress! We’ve walked through each step together, from creating that flaky, buttery crust to crafting the sweet and slightly tart blackberry filling. These little pockets of joy are perfect for any occasion, whether it’s a picnic in the park, a delightful afternoon tea, or simply a treat to brighten your day. Don’t be afraid to get creative with your presentation; a dusting of powdered sugar or a drizzle of glaze can elevate these already amazing pies to the next level.
I encourage you to try this recipe and make it your own. The satisfaction of biting into a warm, homemade Blackberry Hand Pie is truly unmatched. Enjoy every single crum extractb!
Frequently Asked Questions about Blackberry Hand Pies:
Q1: Can I use frozen blackberries for this recipe?
Absolutely! If you’re using frozen blackberries, ensure they are completely thawed and drained well before mixing them with the sugar and cornstarch. This helps prevent a watery filling, which is crucial for perfectly baked hand pies. You might need to adjust the cooking time slightly, as frozen fruit can release more moisture.
Q2: What are some other fruit filling variations for these hand pies?
The beauty of this recipe is its versatility! You can easily swap out the blackberries for other delicious fruits. Apple, peach, raspberry, or even a mixed berry combination would be wonderful. Adjust the sugar and cornstarch based on the sweetness and juiciness of your chosen fruit. For example, sweeter fruits like peaches might require less sugar, and juicier ones might need a touch more cornstarch.
Blackberry Hand Pies – Easy Rustic Dessert Recipe
A simple and rustic recipe for delicious blackberry hand pies made with canned pie filling and refrigerated pie crusts.
Ingredients
-
1 (21 ounce) can blackberry pie filling
-
1 package refrigerated pie crusts
-
1/2 cup powdered sugar
-
1 teaspoon light corn syrup
-
1 tablespoon water
-
Vegetable oil, for frying
Instructions
-
Step 1
Prepare the pie crusts by unrolling and separating them if needed. Lightly flour a surface and optionally roll them thinner. Open and stir the blackberry pie filling. -
Step 2
Spoon 2-3 tablespoons of blackberry filling onto one half of each pie crust circle, leaving a ½ inch border. Avoid overfilling. -
Step 3
Fold the other half of the crust over the filling to create a semi-circle. Press edges to seal and crimp with a fork for a decorative finish and to prevent leaks. -
Step 4
Heat 1.5-2 inches of vegetable oil in a heavy-bottomed pot over medium-high heat to 350°F (175°C). Carefully fry 2-3 hand pies at a time for 3-4 minutes per side, until golden brown. -
Step 5
Remove fried hand pies with a slotted spoon and drain on a wire rack. While warm, whisk together powdered sugar, corn syrup, and water to make a glaze. Drizzle over pies and let harden.
Important Information
Nutrition Facts (Per Serving)
It is important to consider this information as approximate and not to use it as definitive health advice.
Allergy Information
Please check ingredients for potential allergens and consult a health professional if in doubt.